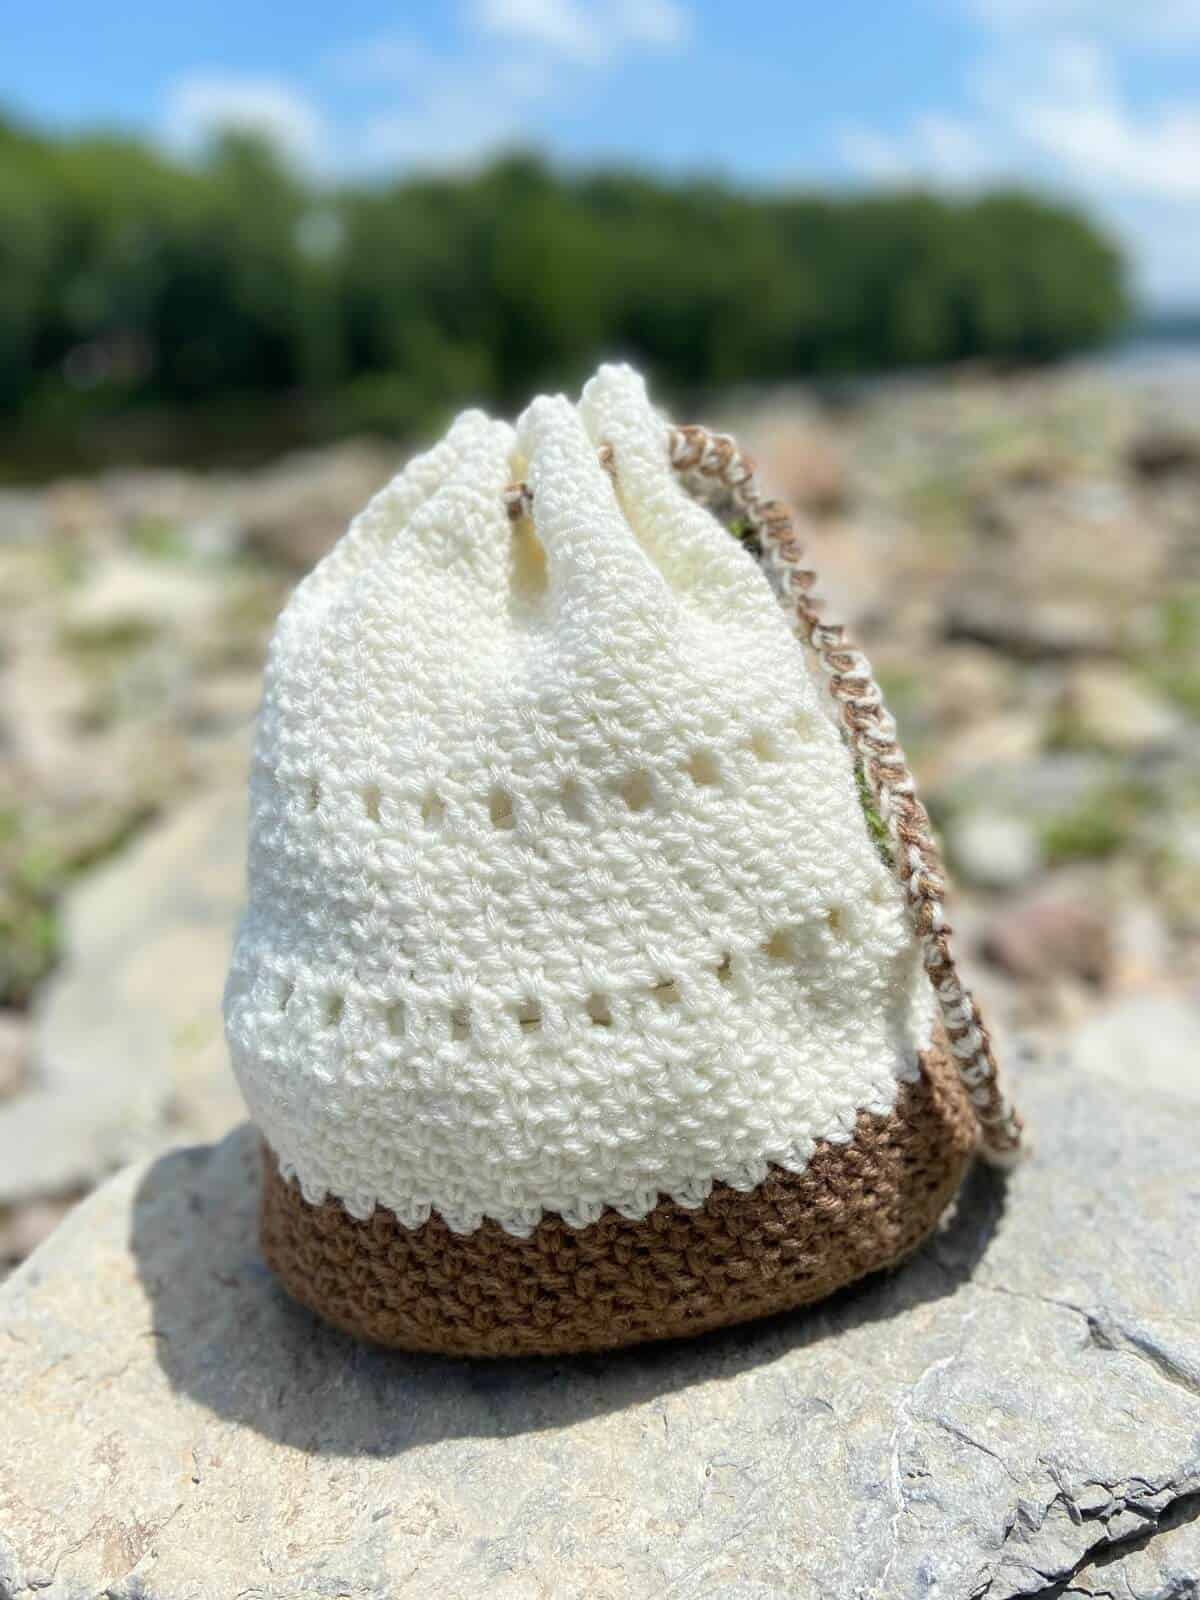
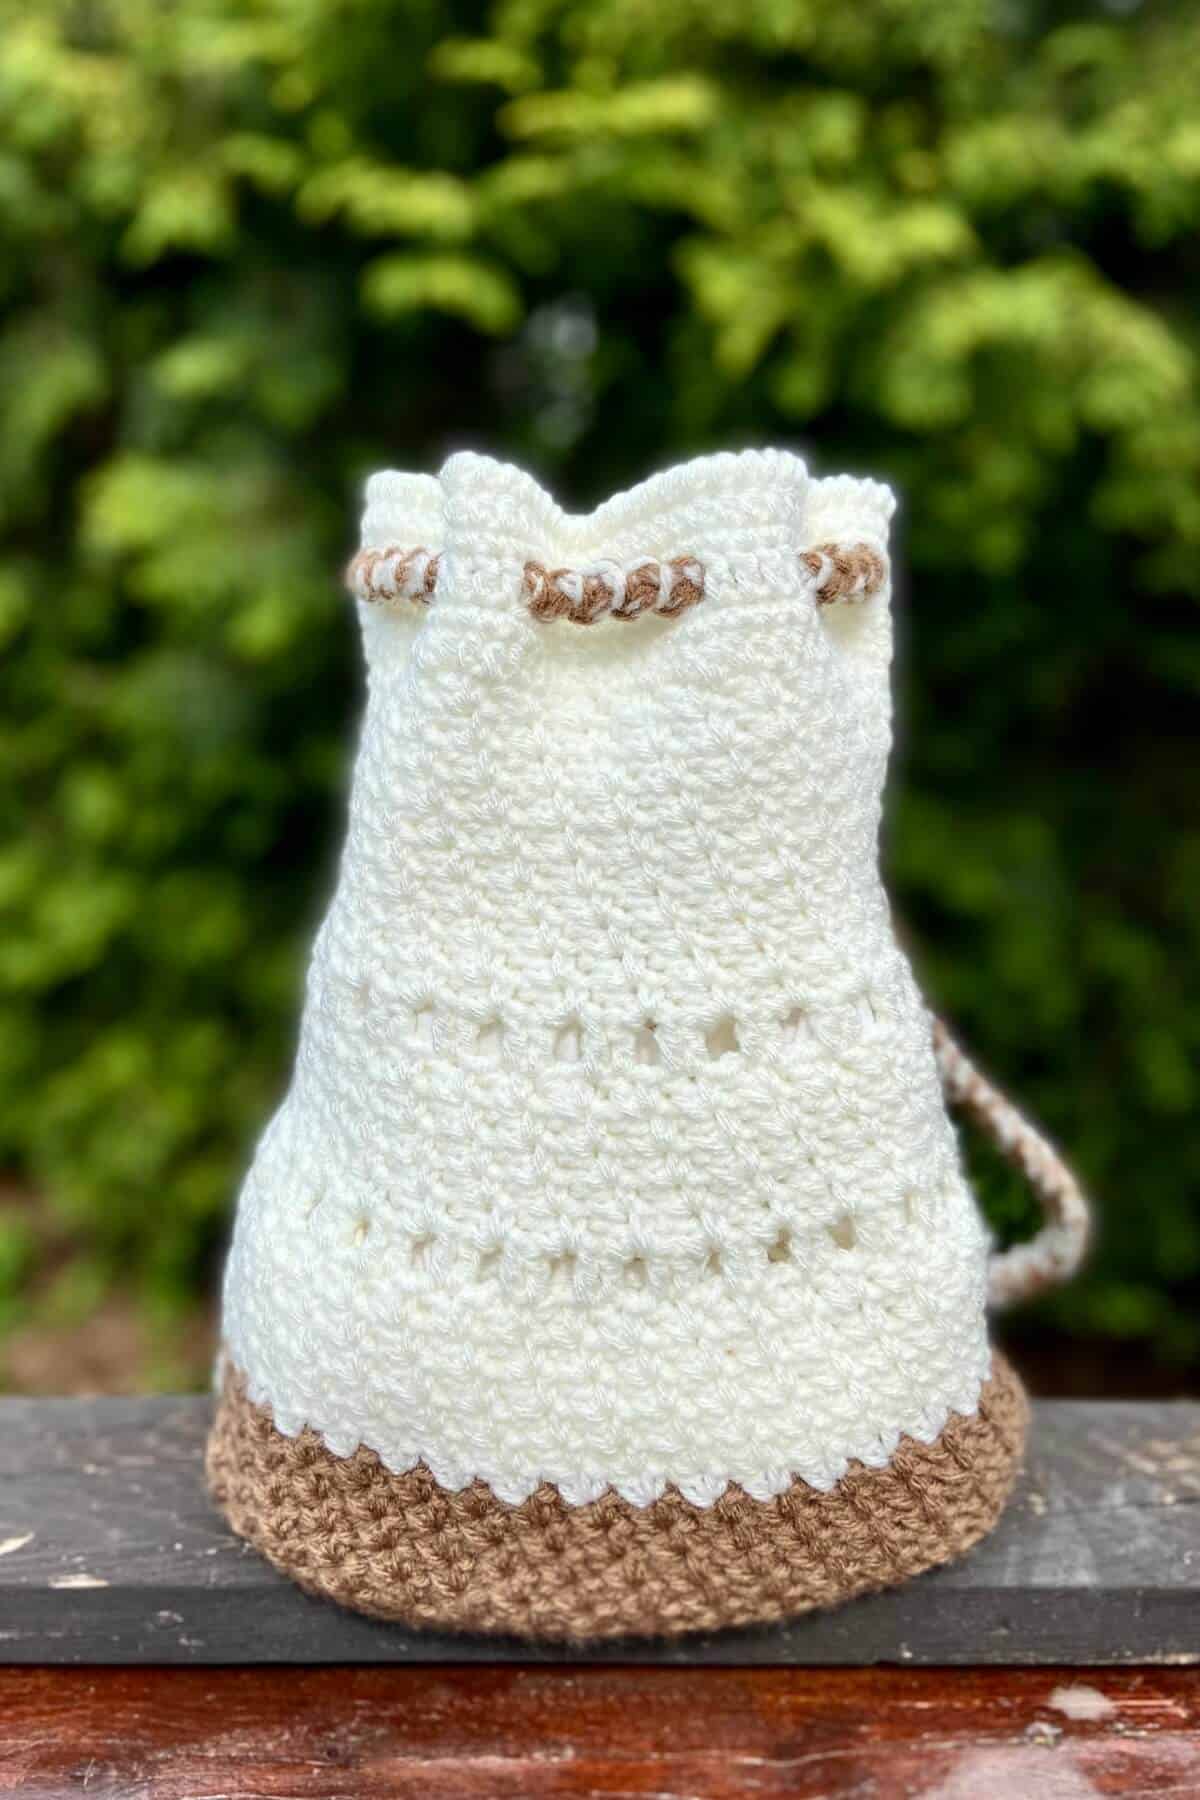
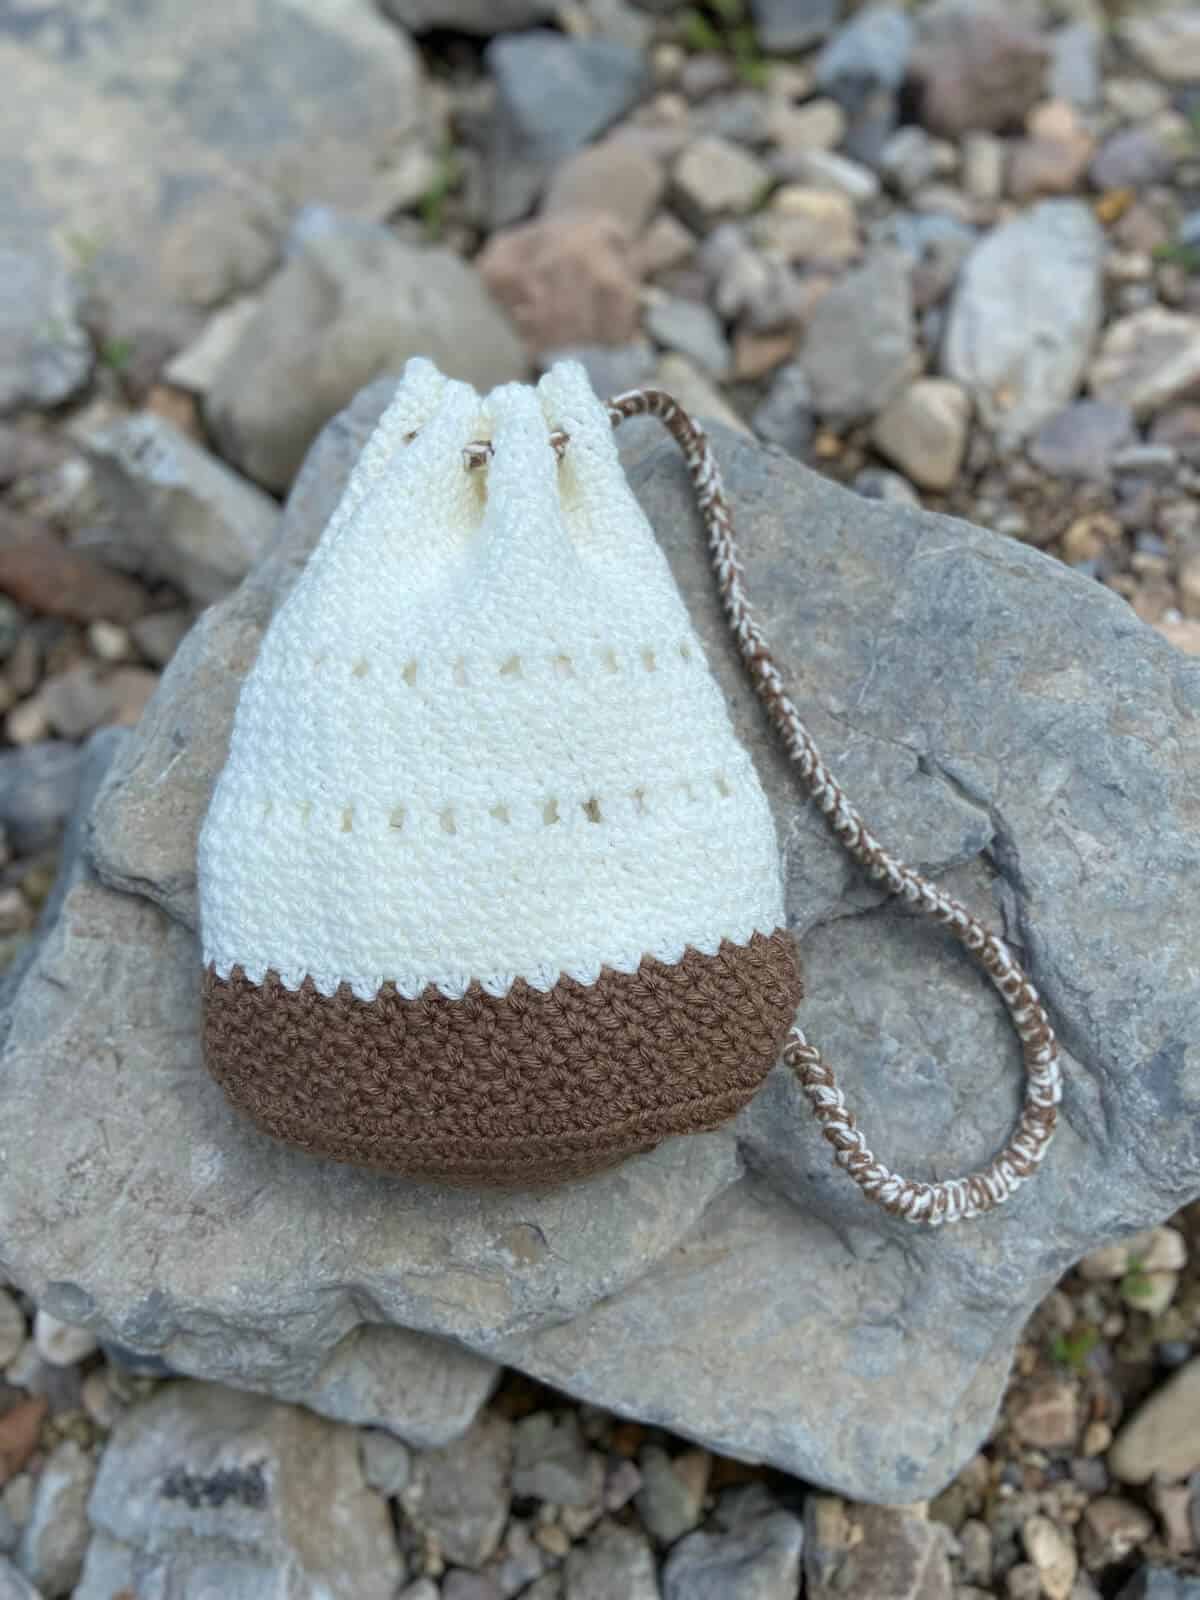
This fun crochet drawstring bag will be your new go-to bag around town. Whether you're meeting some friends for lunch or relaxing on the beach, this DIY drawstring bag will carry everything you want to bring along for the trip.
Jump to:
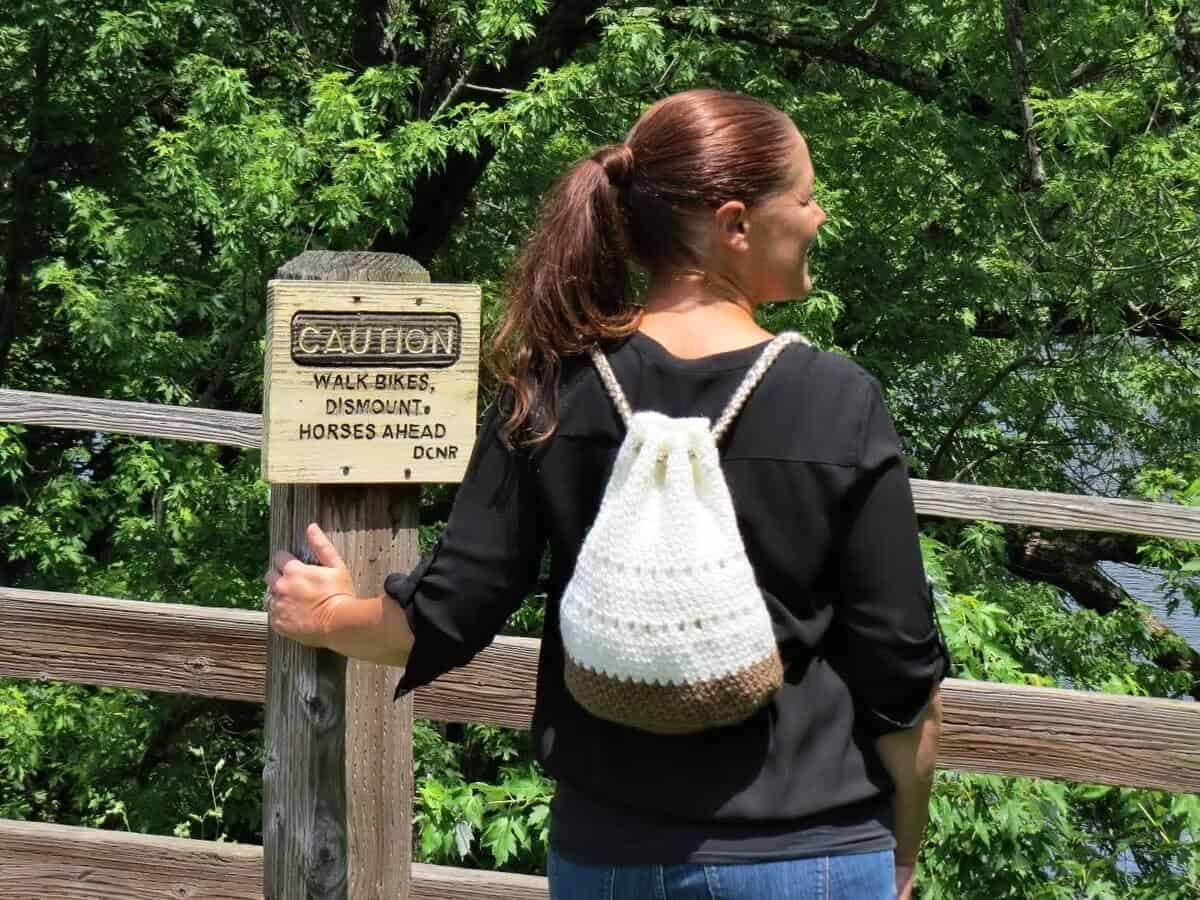
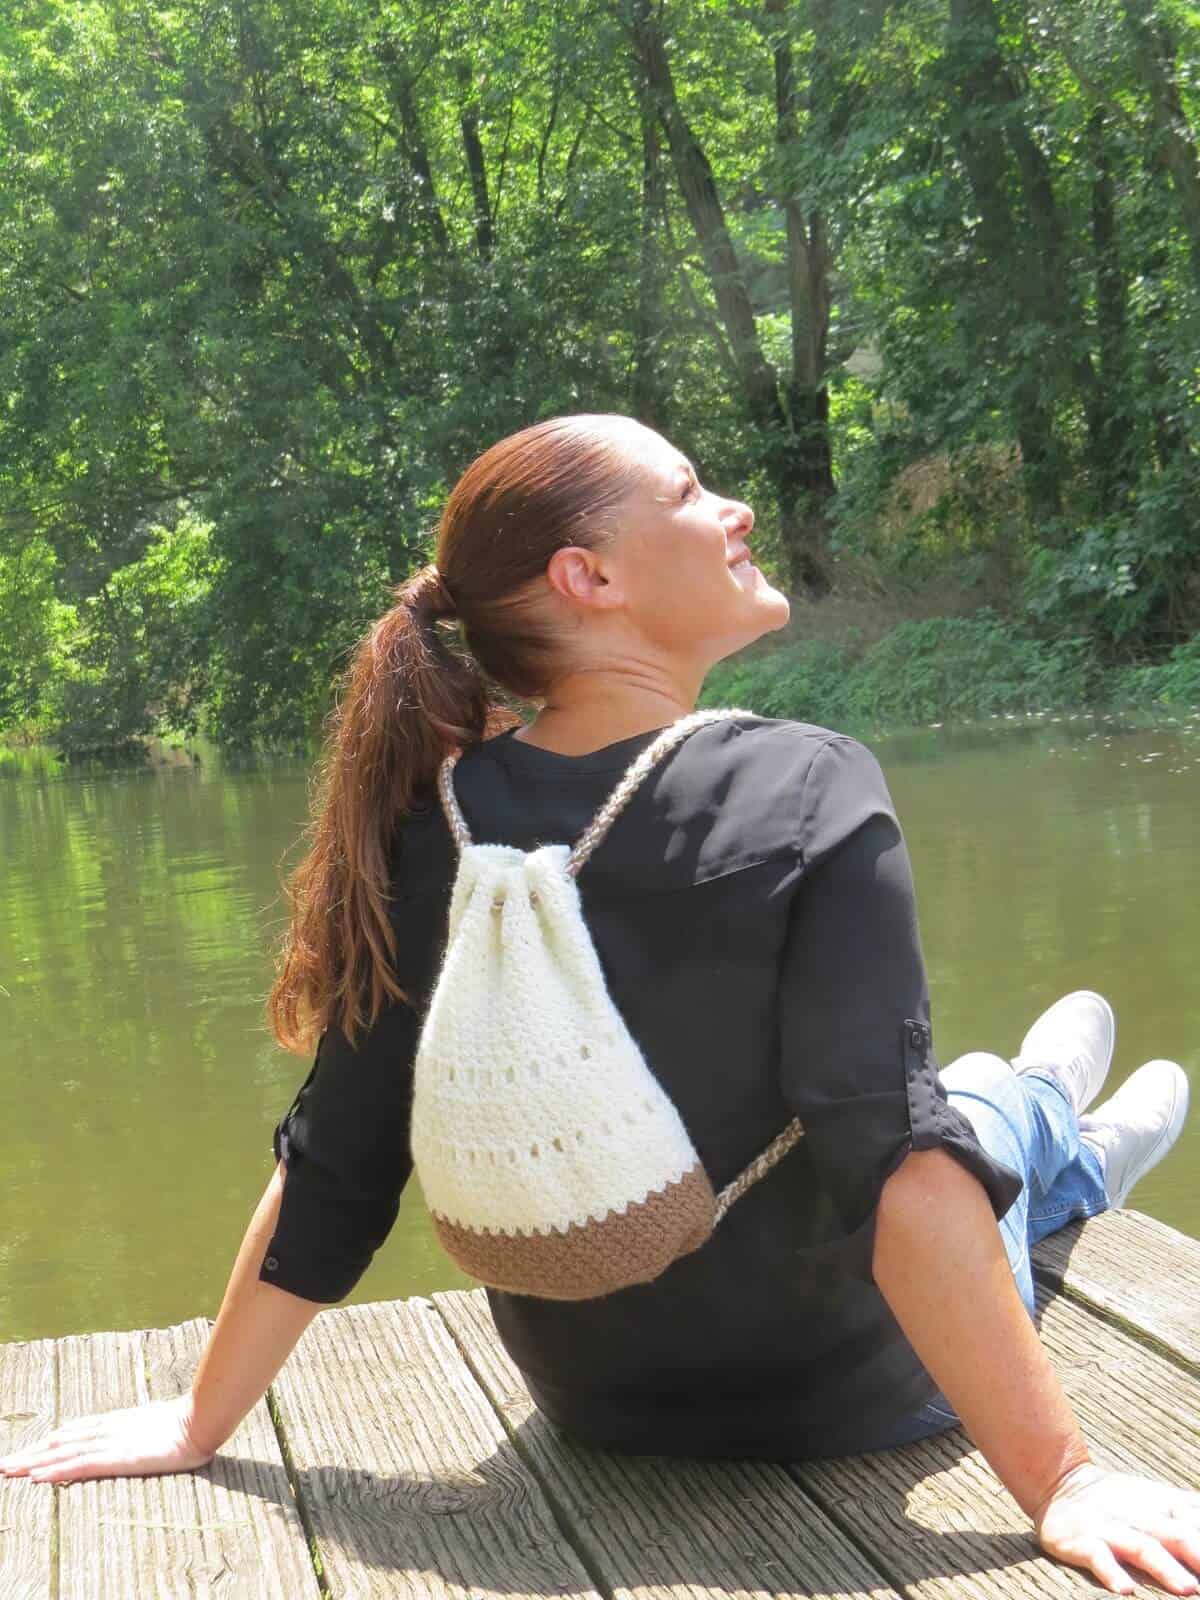
So pack your sunglasses, that novel you've been wanting to read, and get ready to relax in style. Wear it as a backpack or sling it over one shoulder for a casual fun look this season! This bag is lightweight, weighing less than 6 ounces, and measures a roomy 10" x 14", so you'll be able to bring everything you need, in comfort and style.
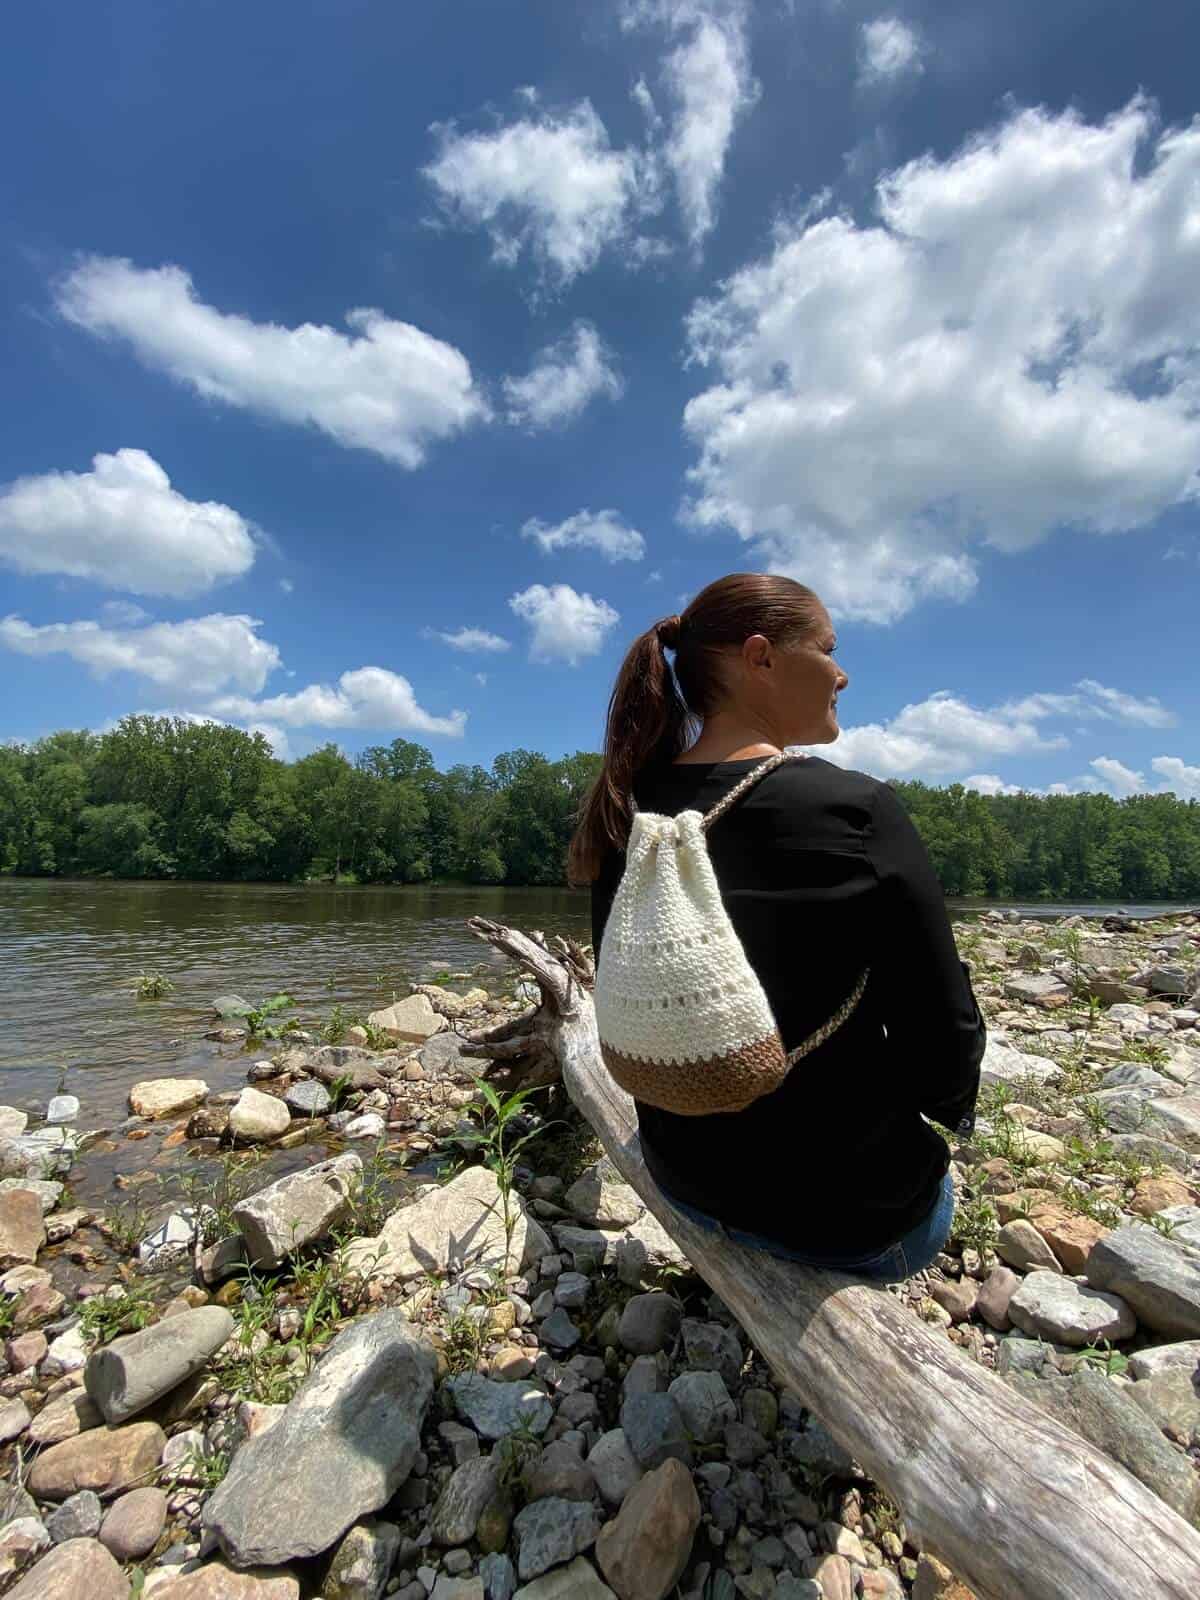
This easy crochet drawstring bag uses three stitches you may not be familiar with, but no worries, I've made a tutorial video for you, explaining these easy stitches every step of the way. And if you’d like to review any of the stitches before getting started, read my article and watch the videos here! With my video tutorial and a download of the printable free crochet pattern, let’s get started!
🧶 Materials
- A total of approx 350 yards of #4 worsted weight yarn in two colors (for this bag, I used Red Heart Cafe Latte and Soft White)
- F-5 / 3.75-mm crochet hook and K-10.5 / 6.5-mm hook
- Stitch markers
- Scissors
- Yarn needle
⭐ Notes
- All instructions, abbreviations, and materials in this pattern are given in US terminology.
- Space (sp) refers to the opening between two stitches or columns
🪝 Crochet abbreviations for this pattern
- st – stitch
- sk – skip
- sp – space
- sc – single crochet
- hdc – half double crochet
- dc – double crochet
- tog – together
- inc – increase
📹 Video tutorial for wattle stitch, reverse single crochet, and Romanian cord
📝 Pattern
Row 1: Ch 21.
Row 2: Sc in 3rd st from hook, sc in next 17 st, then 3 sc in next st (inc).
At this point, you're going to start working "in-the-round", so don't turn the work, but continue working around it to make an oval shape. So, there are not really "rows" anymore, in the sense that it's in the round, but for clarity's sake, I've described the pattern this way:
Row 3: Sc in next 19 st, then 3 sc in next st (inc).
Row 4: Sc in next 20 st, then 3 sc in next st (inc).
Row 5: Sc in next 21 st, then 3 sc in next st (inc).
Row 6: Sc in next 23 st, then 3 sc in next st (inc).
Row 7: Sc in next 24 st, then 3 sc in next st (inc).
Row 8: Sc in next 23 st, 3 sc in next st (inc), one sc in each of the next 2 st, then 3 sc in next st (inc).
Row 9: Sc in next 22 st, 3 sc in next st (inc), one sc in each of the next 2 st, then 3 sc in next st (inc).
Row 10: Sc in next 24 st, 3 sc in next st (inc), one sc in next st, 2 sc in next st (inc), 2 sc in next st (inc), one sc in next st, then 3 sc in next st (inc).
Row 11: Sc in next 24 st, 2 sc in next st (inc), one sc in next st, then 3 sc in next st (inc).
Row 12: Sc in next 26 st, *2 sc in next st (inc), one sc in each of the next 2 st*; repeat from * to * two more times; 2 sc in next st (inc).
Row 13: Sc in next 26 st, *2 sc in next st (inc), one sc in each of the next 2 st*; repeat from * to * two more times; 2 sc in next st (inc), one sc in each of the next 14 st.
Row 14: Hdc in next 13 st, *2 hdc in next st (inc), one hdc in each of the next 2 st*; repeat from * to * three more times; 2 hdc in next st (inc).
Row 15: Hdc in next 27 st, *2 hdc in next st (inc), one hdc in each of the next 2 st*; repeat from * to * three more times; 2 hdc in next st (inc).
Row 16: Hdc in next 20 st, *2 hdc in next st (inc), one hdc in each of the next 6 st*; repeat from * to * one more time; 2 hdc in next st (inc).
Row 17: Hdc in next 30 st, *2 hdc in next st (inc), one hdc in each of the next 6 st*; repeat from * to * one more time; 2 hdc in next st (inc).
Row 18: *Hdc in next 10 st, 2 hdc in next st (inc)*; repeat from * to * nine more times.
At this point, insert a stitch marker here, to keep track of where the beginning of each "row" is.
Row 19: Begin wattle stitch. *All in the next st: Sc, ch 1, and dc*. Then sk 2 and repeat from * to * all the way around.
Rows 20 - 23: Continue making wattle stitch in each ch-1 sp, skipping 2 st between each, x 4 rows (please see the above video for tutorial).
Change color now.
Row 24: Continue making wattle stitch for 6 more rows.
Row 25: *Dc in next 2 st, ch 2, sk 2*; repeat from * to * all the way around.
Row 26: Make wattle stitch in ch-2 spaces, all the way around.
Rows 27 - 31: Make wattle stitch in ch-1 sp, all the way around, x 5 rows.
Row 32: *Dc in next 2 st, ch 2, sk 2*; repeat from * to * all the way around.
Row 33: Make wattle stitch in ch-2 spaces, all the way around.
Rows 34 - 43: Make wattle stitch in ch-1 sp, all the way around, x 10 rows.
Row 44: Hdc in each st, all the way around.
Row 45: Sc in each st, all the way around.
Row 46: *Dc in next 8 st, ch 2, sk 2, dc in next 4 st, ch 2, sk 2*; repeat from * to * all the way around.
Row 47: Sc in each st, all the way around (make 2 sc into each of the ch-2 spaces).
Row 48: Hdc in each st, all the way around.
Row 49: Reverse single crochet in each st, all the way around (please see the above video for tutorial, starting at 4:45).
🪢 Romanian cord
Please see video above for a tutorial (starting at 6:58) on how to make the Romanian Cord using 2 strands of yarn. The total length should measure approx 53". You can always make the cord longer or shorter by decreasing or increasing the number of stitches.
I also recommend feeding the cord through the ch-2 spaces at the top of the bag and attaching the ends of the straps near the bottom of the bag using either stitch markers or safety pins. Try it on and see how it fits. Would you like it longer or shorter? This is the best way to make sure it's most comfortable for you.
Love crochet? Check out my other fun crochet projects:
- Learn to Crochet
- How to C2C Crochet
- Crochet Market Bag
- Waffle Stitch Blanket
- Modern Crochet Pillow
- Easy Infinity Scarf Crochet Pattern
- Easy 2-Hour Slouch Hat
- Quick & Easy Crochet Pet Bed
- Mazie the Amigurumi Cat
- Polar Bear Stuffed Animal
- Santa Hat Crochet Pattern
- Adorable Crochet Pumpkin
- Crochet Pocket Shawl
- Rudolph the Red Nosed Reindeer
Did you make this Crochet Drawstring Bag? Let us know in the comments below!
Please be respectful and do not sell this pattern or finished product in any way, especially as your own. Instead, share the original article link or contact me for any commercial purposes (Contact Us found in the footer area of this page)!



Leave a Reply