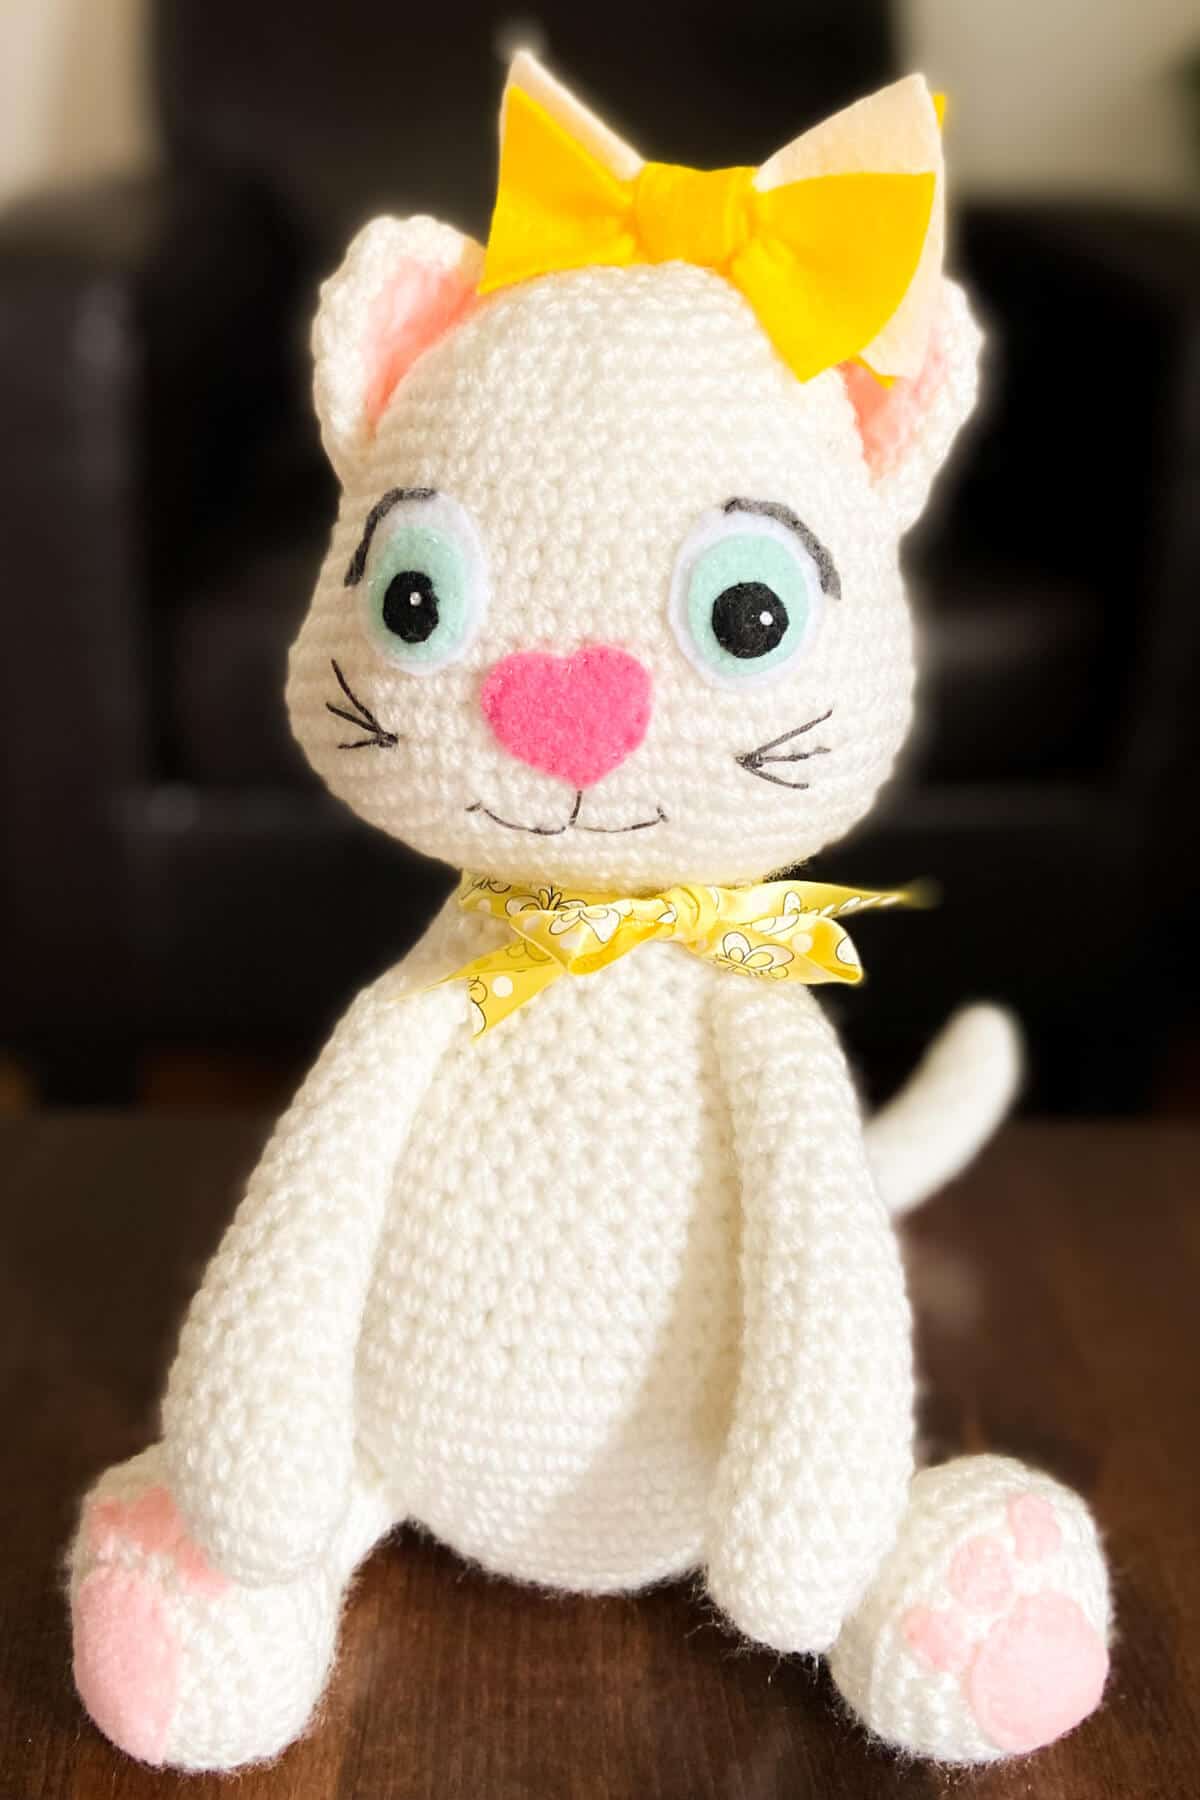
Meet Mazie, the amigurumi cat! She's a sweetheart, ready to cuddle up with you all day long. Made with soft yarn and felt, this toy is fun and safe for children of all ages.
Jump to:
I'm a cat lady through and through. My home has always been filled with furballs of the feline variety and boy-oh-boy are they spoiled with lots of love, attention, and treats. If you're a cat lover like me, you're gonna love Mazie!
When I finished making this cute amigurumi cat, my daughter immediately claimed that she loved and wanted her (absolutely!) and my mom asked if she had a name. I said no and asked if she had any suggestions. Her idea was Mazie and I immediately loved it! It fit her perfectly. Then, I googled the name. Mazie apparently means child of light or pearl. Pearl?!?! That's our kitty's name...our real kitty!
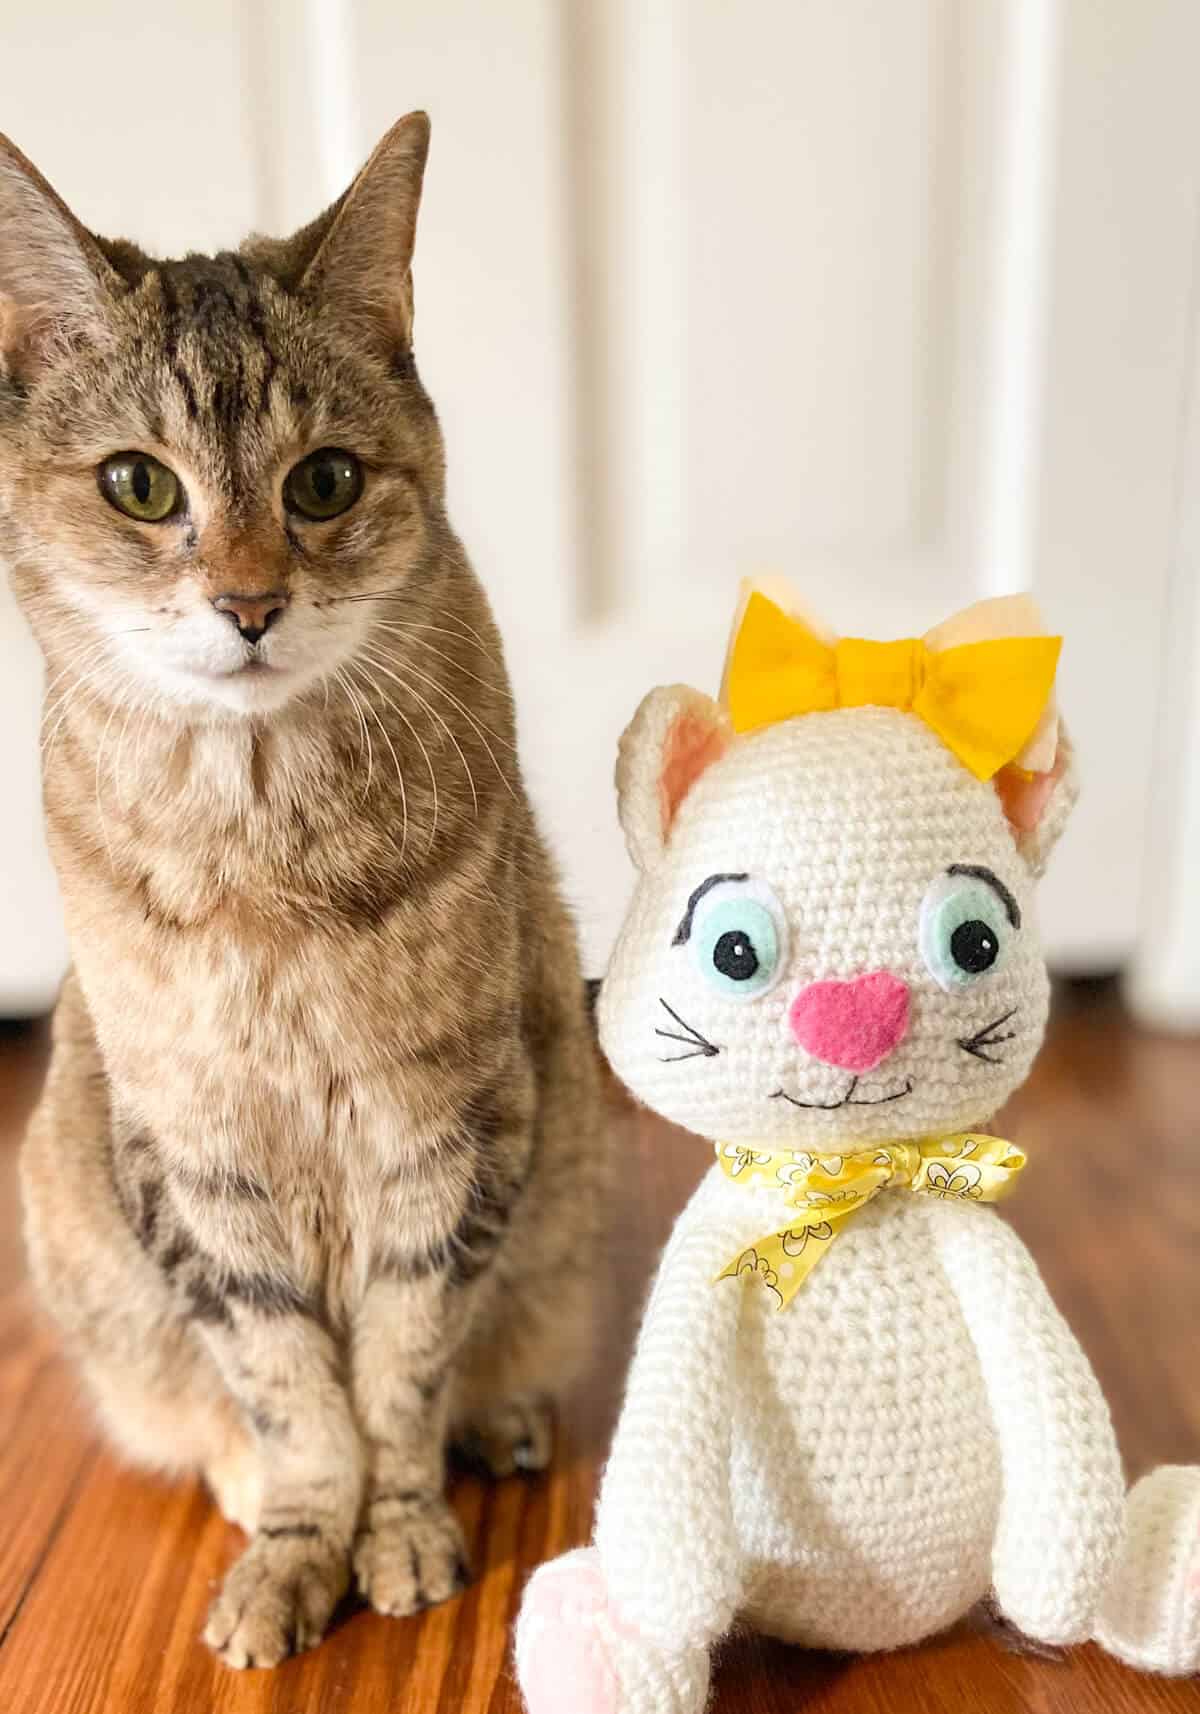
This free crochet pattern is easy, using only single crochet stitches, with increases and decreases. In a seated position, Mazie is 11 inches tall, so she's the perfect size for cuddling.
😃 Something new...
I'm trying something new with my instructions in this amigurumi crochet pattern, so please let me know what you think...
Some of the rows' instructions may be confusing when written out, so I've also included an aka (also known as) in parentheses at the end of some of these rows. This way, you can see how I write it out for myself, and maybe you do the same. It's just another way of reading it. Do you like this? Should I do this with future patterns? Let me know in the comments. 😃

🧶 Materials
- Approximately 200 yards of #4 worsted weight yarn
- Felt in white, black, dark grey, blue, light pink, dark pink, and yellow (or any colors you choose)
- F-5 / 3.75-mm crochet hook
- FiberFil stuffing
- Embroidery floss for the mouth and whiskers (dark grey or black) and French knot white dots in the eyes (white)
- Sewing thread corresponding to the felt colors you're using
- Scissors
- Yarn needle
- Stitch markers
🧷 Stitch markers
Stitch markers will come in handy for multiple steps throughout making this amigurumi doll. As most parts are worked in-the-round, you’ll find it handy to place a stitch marker at the beginning of each “row” so you’ll know when you’ve made a complete circle (unless you want to count every single stitch, which I certainly don’t want to do).
Also, stitch markers will come in handy when you’re assembling the finished piece. See “Putting Mazie, the amigurumi cat, together” at the bottom of this pattern.
📏 Finished size
This crochet cat measures approximately 11″ tall in a seated position.
⭐ Notes
- All instructions, abbreviations, and materials in this pattern are given in US terminology.
- For this project, we will work “in-the-round,” meaning that you will not slip stitch at the end of each row, but will continue working continuously around. However, in most cases, for each row, I’ve included the number of stitches that should be in each row at the end, in parentheses.
- For a reminder of how to do increase (inc) and decrease (dec) stitches, watch my Crochet Pumpkin Video, for instruction. There are a lot of decreases in this pattern. Due to that, I recommend that you make your decreases pretty tight, to avoid any gaps in the finished doll.
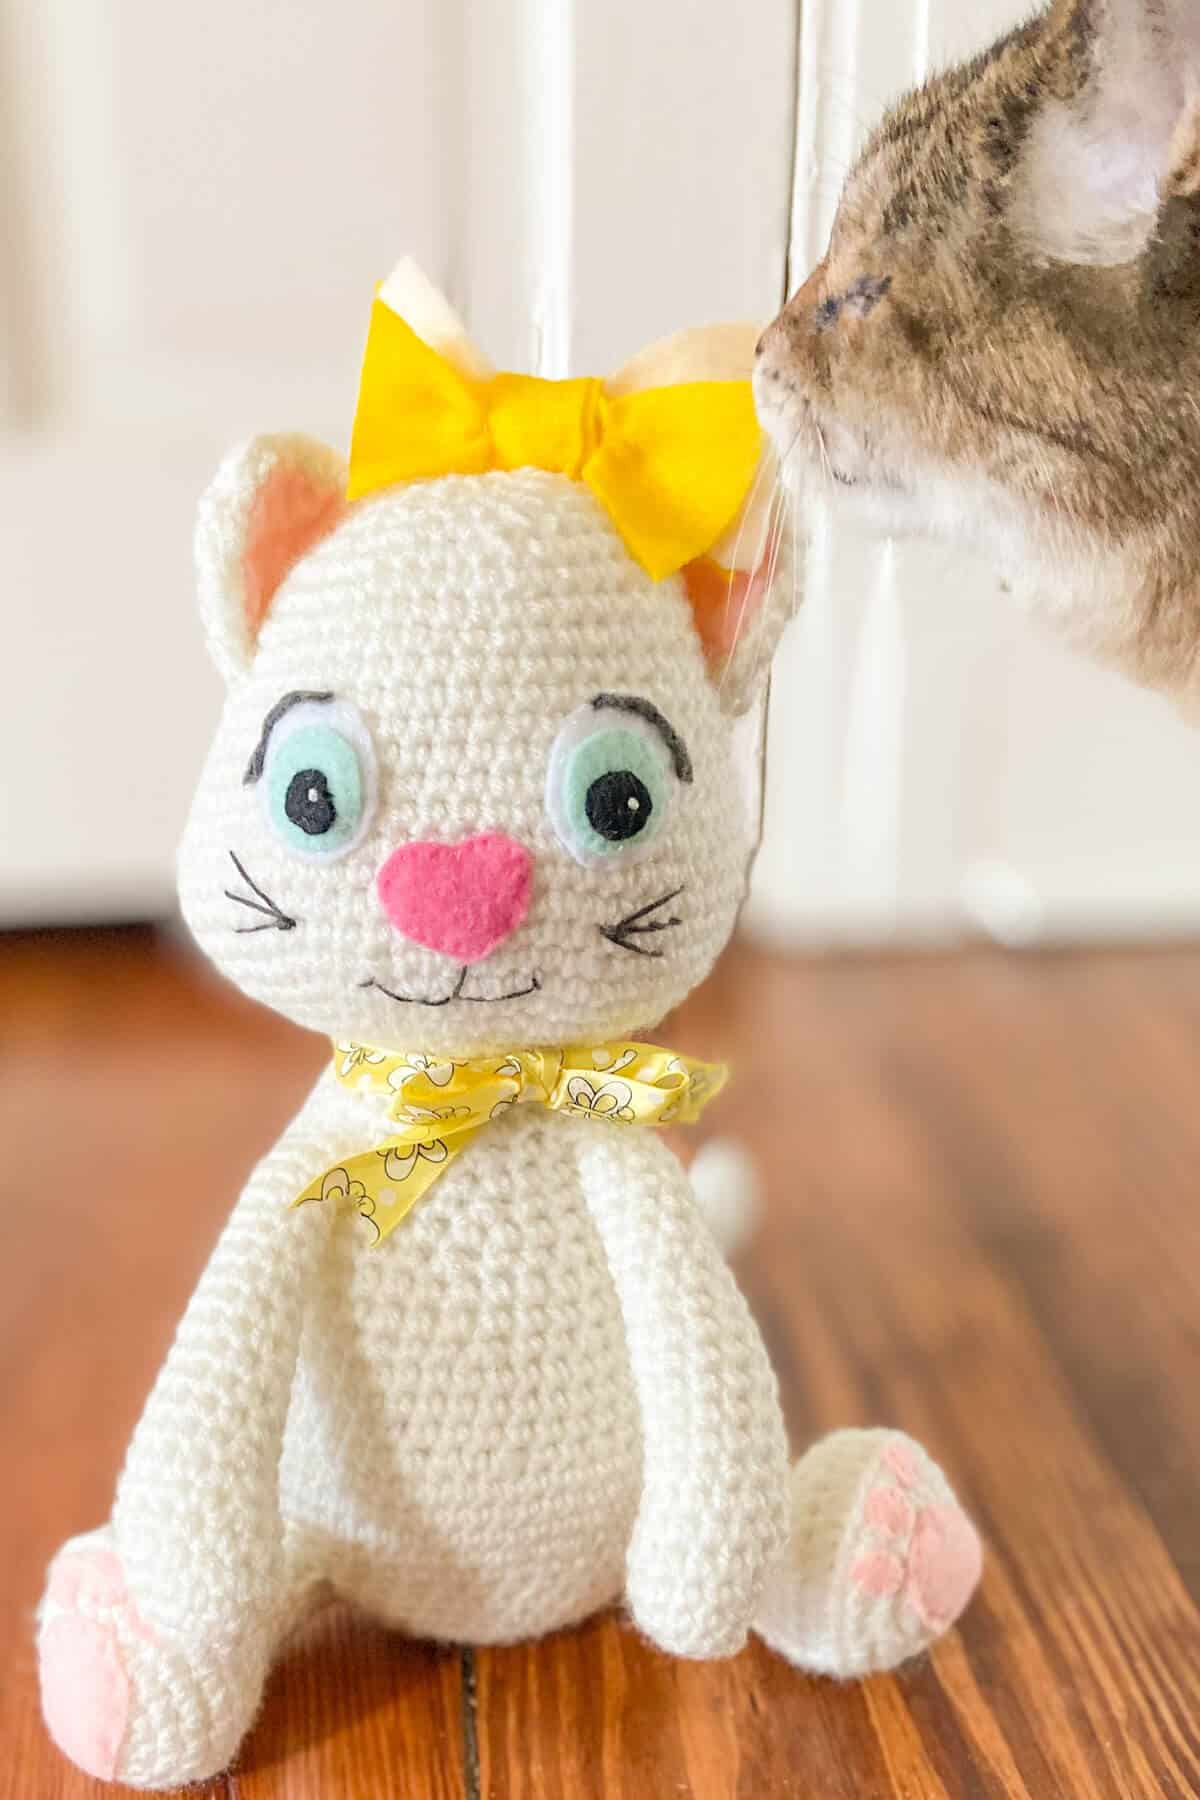
- The head and body will be crocheted together as one piece. All other parts will be crocheted separately. At the end of the pattern, you’ll use a yarn needle to sew the arms, legs, ears, and tail onto the body (there is no tutorial for this part…it’s just a simple whip stitch). Likewise, as you may want different eyes, nose, ears, mouth, whiskers, toe beans, and bow than I have done, there is no tutorial for that. Simply cut out the felt shapes and stitch them onto the head using regular thread, one layer at a time. For the mouth and whiskers, they are stitched using 6 strands of embroidery floss.
🪝 Crochet abbreviations for this pattern
- st – stitch
- ch – chain
- ch st – chain stitch
- sc – single crochet
- sl st – slip stitch
- inc – increase; perform two stitches in the same space/stitch
- dec – decrease; see “notes” above
- BLO – back loop only
📝 Pattern
Head and Body
Foundation: Magic Circle/Ring: 6 sc
Row 1: 2 sc in each st (12)
Row 2: 2 sc (inc) in each st (24)
Row 3: *Sc, then 2 sc (inc), sc*; repeat from * to * all the way around (36)
Row 4: Sc in each st around (36)
Row 5: *Sc in next 2 st, then 2 sc (inc)*; repeat from * to * all the way around (48)
Rows 6-10: Sc in each st around x 5 rows (48)
Row 11: *Sc in next 2 st, then 2 sc (inc)*; repeat from * to * 5 more times; then, *sc in next 2 st, then dec*; repeat this * to * 6 more times; then, sc in next 2 st (47) - (aka: *sc, sc, inc* - repeat 5 more times - *sc, sc, dec* - repeat 6 more times - sc x 2)
Row 12: *Sc in next 2 st, then 2 sc (inc)*; repeat from * to * 7 more times; then sc in next 23 st (55) - (aka: *sc, sc, inc* - repeat 7 more times - sc x 23)
Rows 13-15: Sc in each st around x 3 rows (55)
Row 16: *Sc in next 2 st, then dec*; repeat from * to * 7 more times; then, sc in next 23 st (47) - (aka: *sc, sc, dec* - repeat 7 more times - sc x 23)
Rows 17-19: Sc in each st around x 3 rows (47)
Row 20: *Sc in next 2 st, then dec*; repeat from * to * 5 more times; then sc in next 23 st (41) - (aka: *sc, sc, dec* - repeat 5 more times - sc x 23)
Rows 21-22: Sc in each st around x 2 rows (41)
Row 23: *Sc in next 2 st, then dec*; repeat from * to * 3 more times; then sc in next 25 st (37) - (aka: *sc, sc, dec* - repeat 3 more times - sc x 25)
Row 24: Sc in each st around (37)
Row 25: *Sc in next 4 st, then dec*; repeat from * to * all the way around (31)
Row 26: Sc in each st around (31)
Row 27: *Sc in next 4 st, then dec*; repeat from * to * all the way around (26)
Row 28: Sc in each st around (26)
STUFF THE BODY AT THIS POINT
Row 29: *Sc in next 4 st, then dec*; repeat from * to * all the way around (22)
Row 30: *Sc in next 3 st, then dec*; repeat from * to * all the way around (18)
Row 31: Sc in next 2 st, then dec*; repeat from * to * all the way around (14)
Row 32: 2 sc (inc) in each st all the way around (28)
Row 33: *Sc, then 2 sc (inc) in next st*; repeat from * to * all the way around (42)
Row 34: Sc in each st around (42)
Row 35: *Sc in next 2 st, then 2 sc (inc) in next st*; repeat from * to * all the way around (56)
Row 36: Sc in each st around (56)
Row 37: *Sc in next 3 st, then 2 sc (inc) in next st*; repeat from * to * all the way around (69)
Row 38: *Sc in next 7 st, then dec*; repeat from * to * all the way around (62)
Row 39: Sc in each st around (62)
Row 40: *Sc in next 8 st, then 2 sc (inc)*; repeat from * to * all the way around (68)
Row 41: Dec 2 times, sc in next 32 st, dec 2 times, then sc in next 28 st (64) - (aka: dec, dec, sc x 32, dec, dec, sc x 28)
Row 42: Dec 2 times, sc in next 30 st, dec 2 times; then *sc in next 4 st, then dec*; repeat from * to * 3 more times; then, sc in next 3 st (57) - (aka: dec, dec, sc x 30, dec, dec, *sc x 4, dec*, repeat * to * 3 more times, sc x 3)
Row 43: Dec, sc in next 29 st, dec, sc in next 22 st (53) - (aka: dec, sc x 29, dec, sc x 22)
Row 44: Dec, sc in next 29 st, dec; then, *sc in next 4 st, then dec*; repeat from * to * 2 more times; then sc in next 3 st (49) - (aka: dec, sc x 29, dec, *sc x 4, dec*, repeat * to * 2 more times, sc x 3)
Row 45: Sc in each st around (49)
Row 46: Dec, sc in next 27 st, dec, sc in next 18 st (47)
Row 47: Sc in each st around (47)
Row 48: Dec 2 times, sc in next 23 st, dec 2 times, sc in next 16 st (43)
Row 49: Sc in each st around (43)
Row 50: Dec, sc in next 23 st, dec, sc in next 16 st (41)
Row 51: Dec, sc in next 21 st, dec, sc in next 16 st (39)
Row 52: *Sc in next 5 st, then dec*; repeat from * to * all the way around (34)
Row 53: *Sc in next 4 st, then dec*: repeat from * to * all the way around (29)
Row 54: *Sc in next 3 st, then dec*; repeat from * to * all the way around (24)
Row 55: *Sc in next 2 st, then dec*; repeat from * to * all the way around (18)
Row 56: *Sc, then dec*; repeat from * to * all the way around (12)
Row 57: Dec 5 times, then stitch closed.
Ears (make 2)
Foundation Row: Ch 3
Row 1: Sc in 2nd ch from hook (the first chain), turn
Row 2: Ch 1, 2 sc (inc) in each st, turn (4)
Row 3: Ch 1, 2 sc (inc) in each st, turn (8)
Row 4: Ch 1, sc in next 3 st, 2 sc (inc) in next st, sc in next 4 st, turn (9)
Row 5: Ch 1, sc in next 4 st, 2 sc (inc) in next st, sc in next 4 st, turn (10)
Row 6: Ch 1, sc in next 5 st, 2 sc (inc) in next st, sc in next 4 st, turn (11)
Row 7: Ch 1, sc in next 5 st, 2 sc (inc) in next st, sc in next 5 st, turn (12)
Row 8: Ch 1, sc in next 6 st, 2 sc (inc) in next st, sc in next 5 st, turn (13)
Row 9: Ch 1, sc in each st, turn (13)
Row 10: Ch 1, sc in next 6 st, dec, sc in next 5 st, turn (12)
Row 11: Ch 1, sc in next 5 st, dec, sc in next 5 st, turn (11)
Row 12: Ch 1, sc in next 4 st, dec, sc in next 5 st, turn (10)
Row 13: Ch 1, sc in next 4 st, dec, sc in next 4 st, turn (9)
Row 14: Ch 1, sc in next 4 st, dec, sc in next 3 st, turn (8)
Row 15: Ch 1, dec 4 times (4)
Row 16: Ch 1, dec 2 times (2)
Row 17: Dec (1)
Slip stitch closed and leave a yarn tail approximately 1 foot long. You should have a diamond shaped piece. Fold in half to form a triangle and stitch edges closed.
Arms (make 2)
Foundation: Magic Circle/Ring: 6 sc
Row 1: 2 sc (inc) in each st around (12)
Row 2: Sc in next 5 st, 2 sc (inc) in next st, sc in next 5 st, 2 sc (inc) in next st (14)
Rows 3-4: Sc in each st all the way around x 2 rows (14)
Row 5: Sc in next 6 st, dec, sc in next 6 st (13)
Row 6: Sc in each st around (13)
Row 7: Sc in next 6 st, dec, sc in next 5 st (12)
Row 8: Sc in each st around (12)
Row 9: Sc in next 5 st, dec, sc in next 5 st (11)
Row 10: Sc in each st around (11)
Row 11: Sc in next 5 st, dec, sc in next 4 st (10)
Row 12: Sc in each st around (10)
STUFF LOWER ARM AT THIS POINT
Row 13: Sc in next 4 st, dec, sc in next 4 st (9)
Row 14: Sc in each st around (9)
Row 15: Sc in next 4 st, dec, sc in next 3 st (8)
Rows 16-18: Sc in each st around x 3 rows (8)
STUFF ARM
Rows 19-21: Sc in each st around x 3 rows (8)
FINISH STUFFING ARM, but don't overstuff or the arms will be stiff.
Legs (make 2)
Foundation: Magic Circle/Ring: 6 sc
Row 1: 2 sc (inc) in each st around (12)
Row 2: Sc in next 5 st, 2 sc (inc) in next 2 st, then sc in next 5 st (14)
Row 3: *Sc in next 2 st, 2 sc (inc) in next st, sc in next 2 st*, 2 sc (inc) in next 4 st, then repeat * to * one time (20) - (aka: *sc x 2, inc, sc x 2*, inc x 4, repeat * to * one time)
Row 4: Sc in next 2 st, 2 sc (inc) in next st, sc in next 2 st, 2 sc (inc) in next st; *sc, 2 sc (inc)*, repeat * to * 3 more times; then sc in next 2 st, 2 sc (inc) in next st, sc in next 2 st, 2 sc (inc) in next st (28) - (aka: sc, sc, inc, sc, sc, inc, sc, inc, sc, inc, sc, inc, sc, inc, sc, sc, inc, sc, sc, inc)
Row 5: Sc in next 3 st, 2 sc (inc) in next st, sc in next 3 st, 2 sc (inc) in next st; *sc, 2 sc (inc)*, repeat * to * 4 more times; sc in next 3 st, 2 sc (inc) in next st, sc in next 3 st, 2 sc (inc) in next st, sc in next 2 st (37) - (aka: sc x 3, inc, sc x 3, inc, sc, inc, sc, inc, sc, inc, sc, inc, sc, inc, sc x 3, inc, sc x 3, inc, sc x 2)
Row 6: In BLO, *sc in next 3 st, dec*; repeat from * to * all the way around (30)
Row 7: *Sc in next 3 st, dec*; repeat from * to * all the way around (24)
Row 8: Sc in next 8 st, dec 4 times, sc in next 8 st (20)
Row 9: Sc in next 7 st, dec 3 times, sc in next 7 st (17)
Row 10: Sc in next 6 st, dec 3 times, sc in next 5 st (14)
Row 11: Sc in next 5 st, dec 3 times, sc in next 3 st (11)
STUFF FOOT AT THIS POINT
Rows 12-16: Sc in each st around x 5 rows (11)
STUFF LEG and leave a long tail of yarn to attach leg to body.
Tail
Foundation: Magic Circle/Ring: 6 sc
Rows 1-30: Sc in each st x 30 rows (6)
STUFF EVERY 5 ROWS OR SO WHILE MAKING TAIL. Leave a long tail of yarn to attach tail to body.
🐱 Putting Mazie, the amigurumi cat, together
At the end of the pattern, you’ll use a yarn needle to sew the arms, legs, ears, and tail onto the body (there is no tutorial for this part…it’s just a simple whip stitch).
Likewise, as you may want different eyes, nose, ears, toe beans, and bow than I have done, there is no tutorial for that. Simply cut out the felt shapes and stitch them on using regular thread, one layer at a time.
The white dots in the eyes were made by creating a French knot with 2 strands of embroidery floss. The mouth and whiskers were made using 6 strands of black embroidery floss.
⭐ Tip: Place each body part (arms, legs, ears, and tail) onto the body and attach with stitch markers. This way, you can see that they’re exactly where you want them before beginning to sew them on.

Love crochet? Check out my other fun crochet projects:
- Bunny Amigurumi
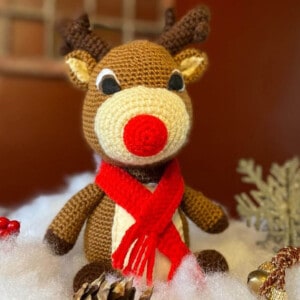
- Rudolph the Red Nosed Reindeer
- Easy Infinity Scarf Crochet Pattern
- 2-Hour Slouch Hat
- Crochet Pocket Shawl
- Polar Bear Stuffed Animal
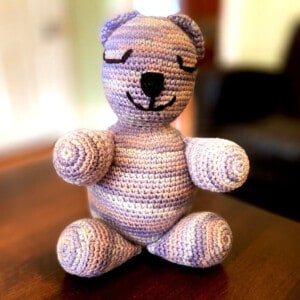
- Little Bear Amigurumi
- Crochet Market Bag
- Quick & Easy Pet Bed
Did you make this Amigurumi Cat? Let us know in the comments below!
Please be respectful and do not sell this pattern or finished product in any way, especially as your own. Instead, share the original article link or contact me for any commercial purposes (Contact Us found in the footer area of this page)!



Sarah Walker
I think the (aka) is an excellent idea. Anyone could understand it this way.
maplewoodroad
Thanks so much Sarah! I wasn't sure, so really appreciate your feedback! 🙂