This quick & easy crochet pet bed is a fun project that you can make in just a few hours, whether you’re a beginner or more advanced. Your cat or dog will be so happy and comfortable on their new pet bed, they’ll love you even more for this amazing handcrafted gift!
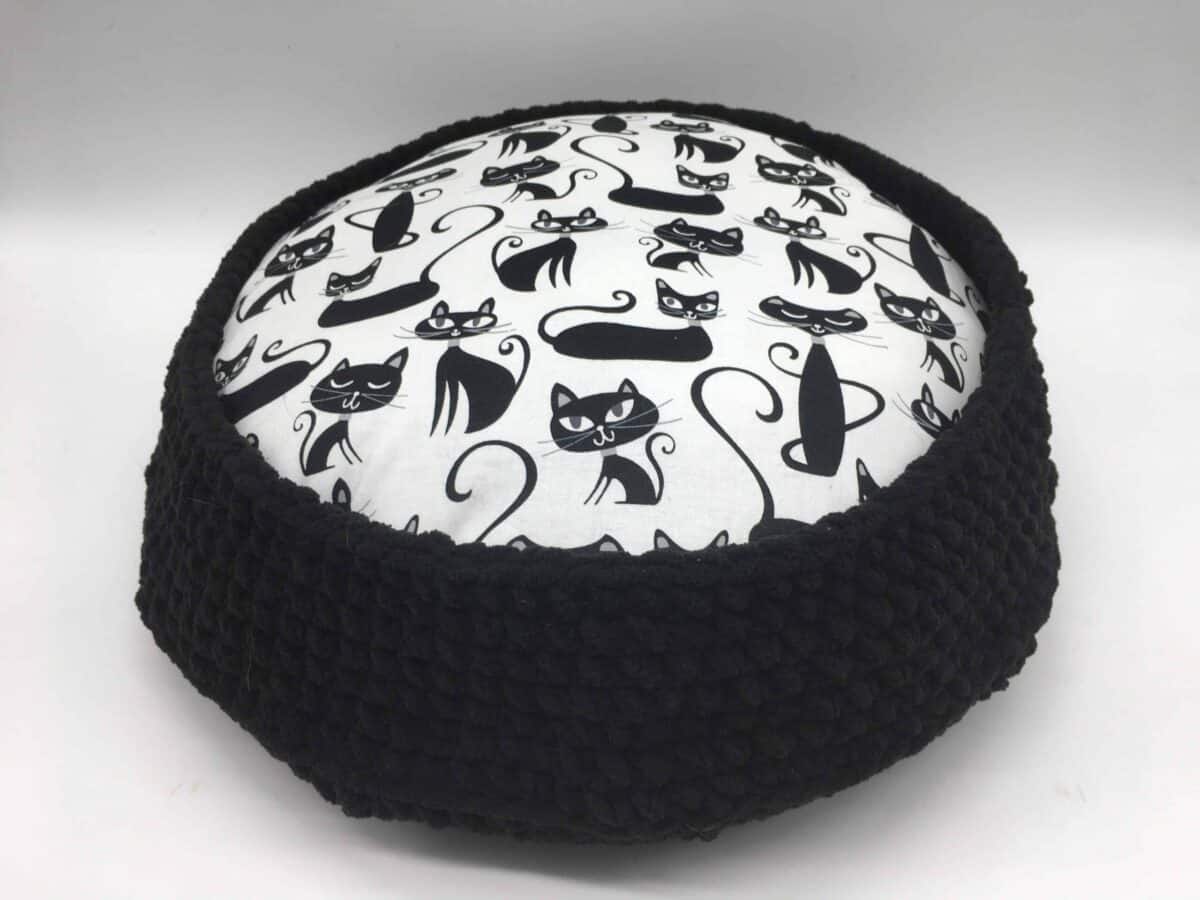
No more sleeping on the hard floor for your puppy or kitty...they’ll now have a beautifully designed bed, filled with a comfy fluffy pillow, where they can spend hours dreaming of chasing balls and toys.
And it’s completely customizable to your pet! You’ll notice in the materials list and directions, I do not give total stitch counts or lengths of yarn required. That’s because you’ll be able to make your pet bed the size you need for your pet...whether it’s a tiny kitten or chihuahua...or a Great Dane!
🧶 Materials
- #6 super bulky yarn or two strands of #4 worsted weight yarn (length required will differ depending on the size of the bed you’ll be making)
- L-11 / 8-mm hook
- Fabric for pillow
- Fiberfill for stuffing pillow
- Scissors
- Yarn needle
⭐ Notes
- All instructions, abbreviations, and materials in this pattern are given in US terminology.
- Watch the video for instructions on using the “3rd loop” for this crochet project.
- For the base of the bed, we will increase by 10 stitches each time around (see instructions for Rows 5+ or watch video for visual demonstration).
🪝 Crochet abbreviations for this pattern
- st -- stitch
- sl st – slip stitch
- ch – chain stitch
- hdc – half double crochet
- dc -- double crochet
- inc -- increase
This pattern uses the chain stitch, slip stitch, single crochet, and half double crochet.
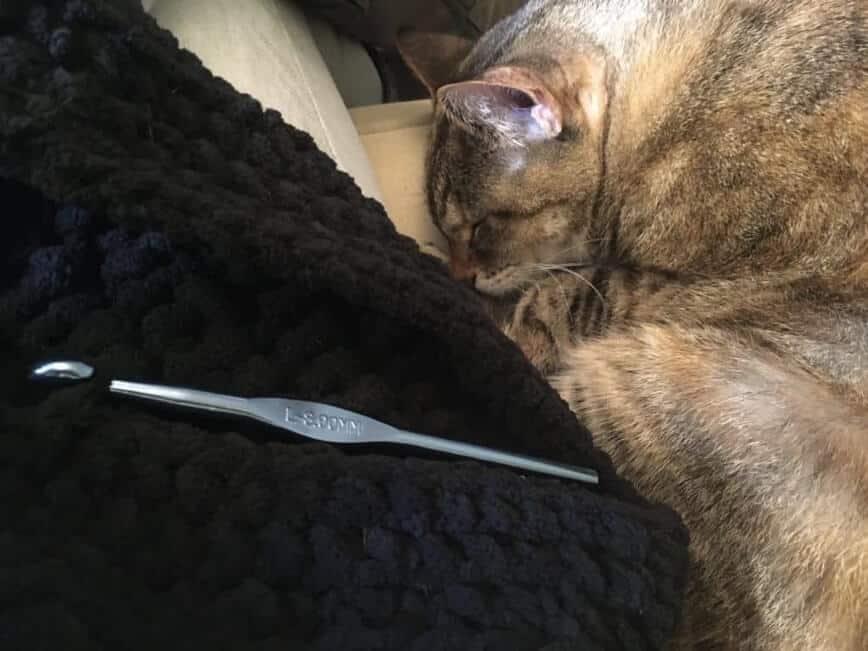
📹 Video tutorial
📝 Pattern
Base of bed
Magic Circle/Magic Ring: Wrap yarn around two fingers twice, then sl st. Make 5 sc around loop (watch video for a visual demonstration).
Row 1: Ch 2, then 2 dc in each st around, for a total of 10. Sl st at end. (10)
Row 2: Ch 2, then *one hdc in first st, then two hdc in next stitch (inc).* Continue instructions after * until you’ve stitched all the way around the circle (20).
Row 3: Ch 2, then *one hdc in next two st, then two hdc in next stitch (inc).* Continue instructions after * until you’ve stitched all the way around the circle (30).
Row 4: Ch 2, then *one hdc in next three st, then two hdc in next stitch (inc).* Continue instructions after * until you’ve stitched all the way around the circle (40).
Rows 5+: Continue increasing in this way (one hdc in next three st, then inc; one hdc in next four st, then inc; one hdc in next five st, then inc, and so on) until the base of the pet bed is the size that you want.
Sides of bed
Row 1: Ch 2, then *make a hdc in back loop and 3rd loop.* Continue instructions from * until you’ve stitched all the way around the circle.
Rows 2+: Ch 1, then sc all the way around the circle. Do NOT perform a sl st at the end of each row. Instead, continue making sc all the way around continuously, until you’ve reached the height of the sides you want.
✨ Pillow
Lay bed upside-down on a table. Cut fabric for the pillow slightly larger than the base of the bed (see video for visual demonstration). Place right sides of fabric facing each other and sew almost all the way closed. Stuff with fiberfill, then finish sewing pillow closed, and place inside the pet bed.
Introduce your pet to their comfy new pet bed! They’re gonna love it!
Love crochet? Check out my other fun crochet projects:
- Learn to Crochet
- How to C2C Crochet
- Mazie the Amigurumi Cat
- Easy Chunky Scarf Pattern
- 2-Hour Slouch Hat
- Crochet Market Bag
- Fun Ombre T-Shirt Rug
- Adorable Crochet Pumpkin
- Crochet Pocket Shawl
- Rudolph the Red Nosed Reindeer
Did you make this Crochet Pet Bed? Let us know in the comments below!
Please be respectful and do not sell this pattern or finished product in any way, especially as your own. Instead, share the original article link or contact me for any commercial purposes (Contact Us found in the footer area of this page)!


Leave a Reply