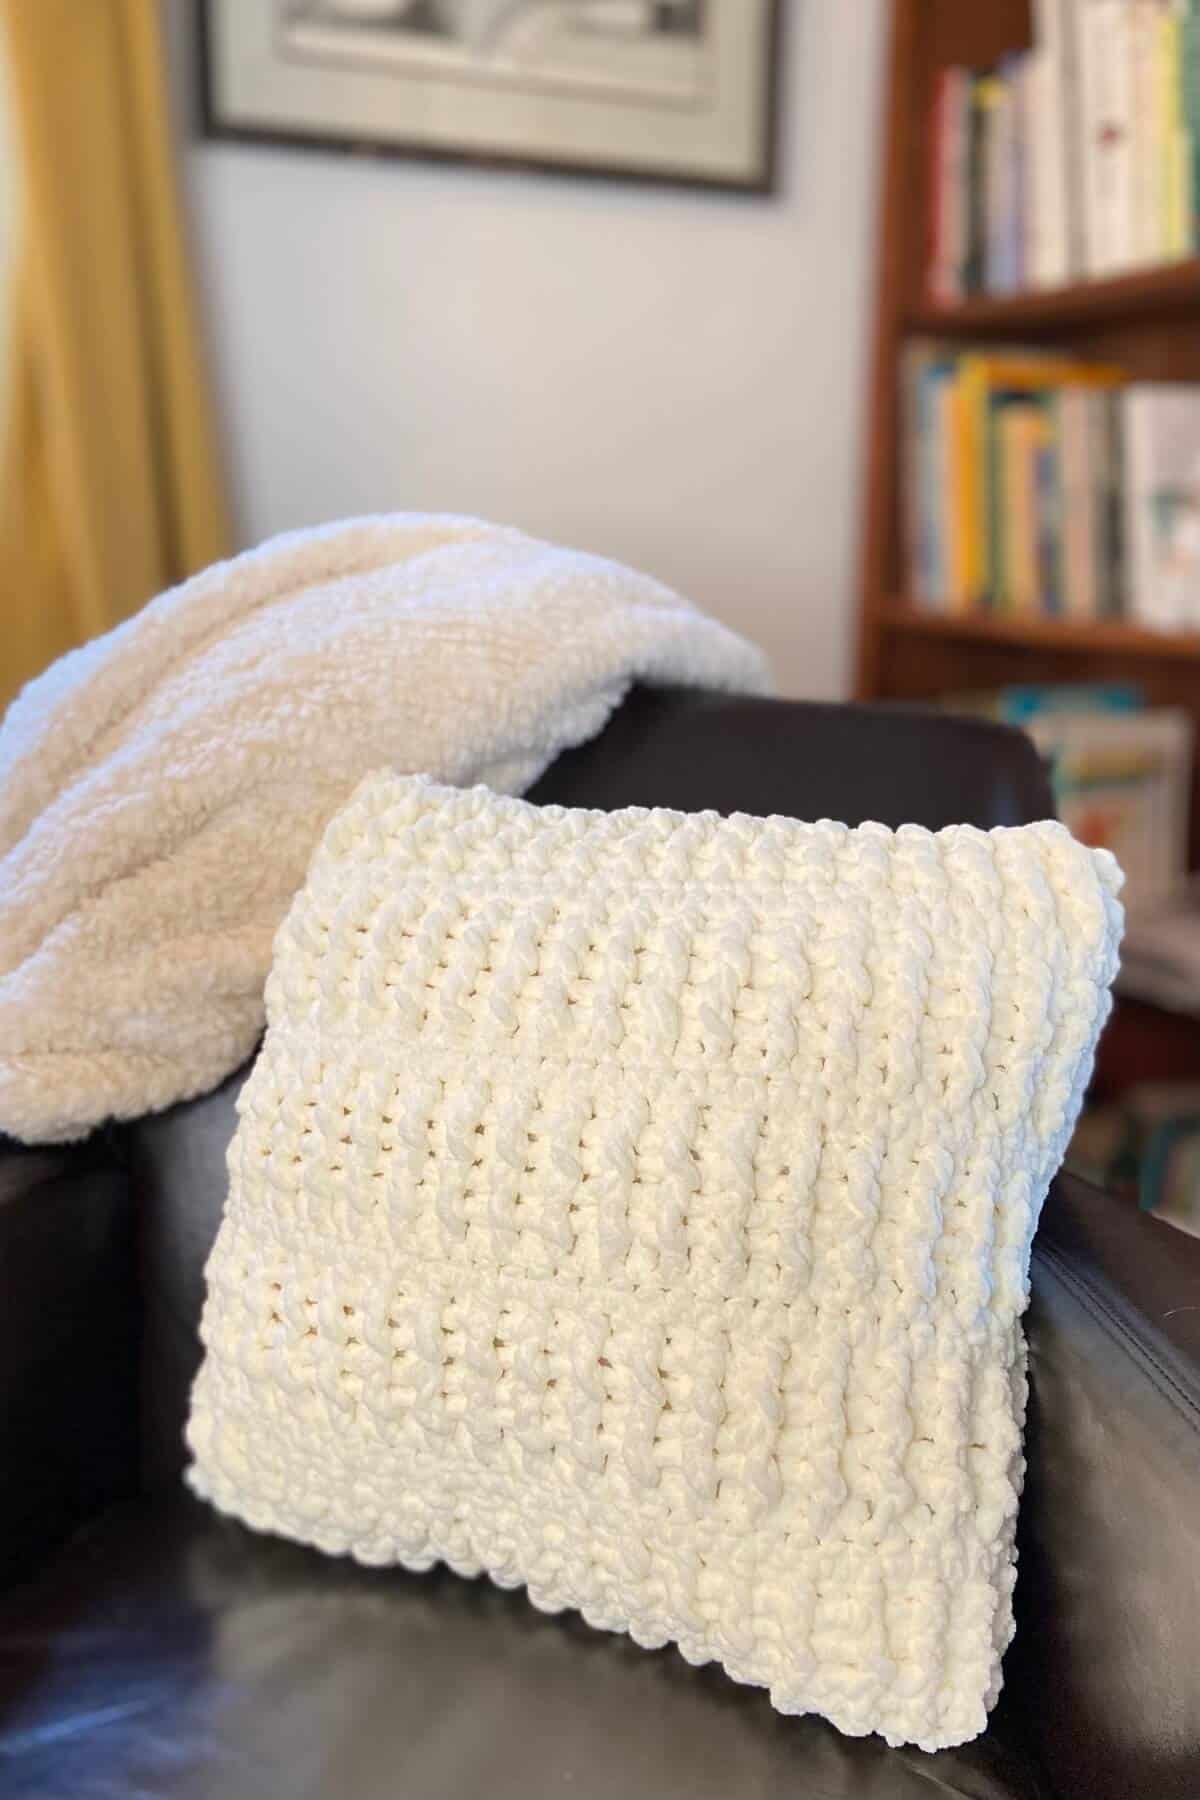
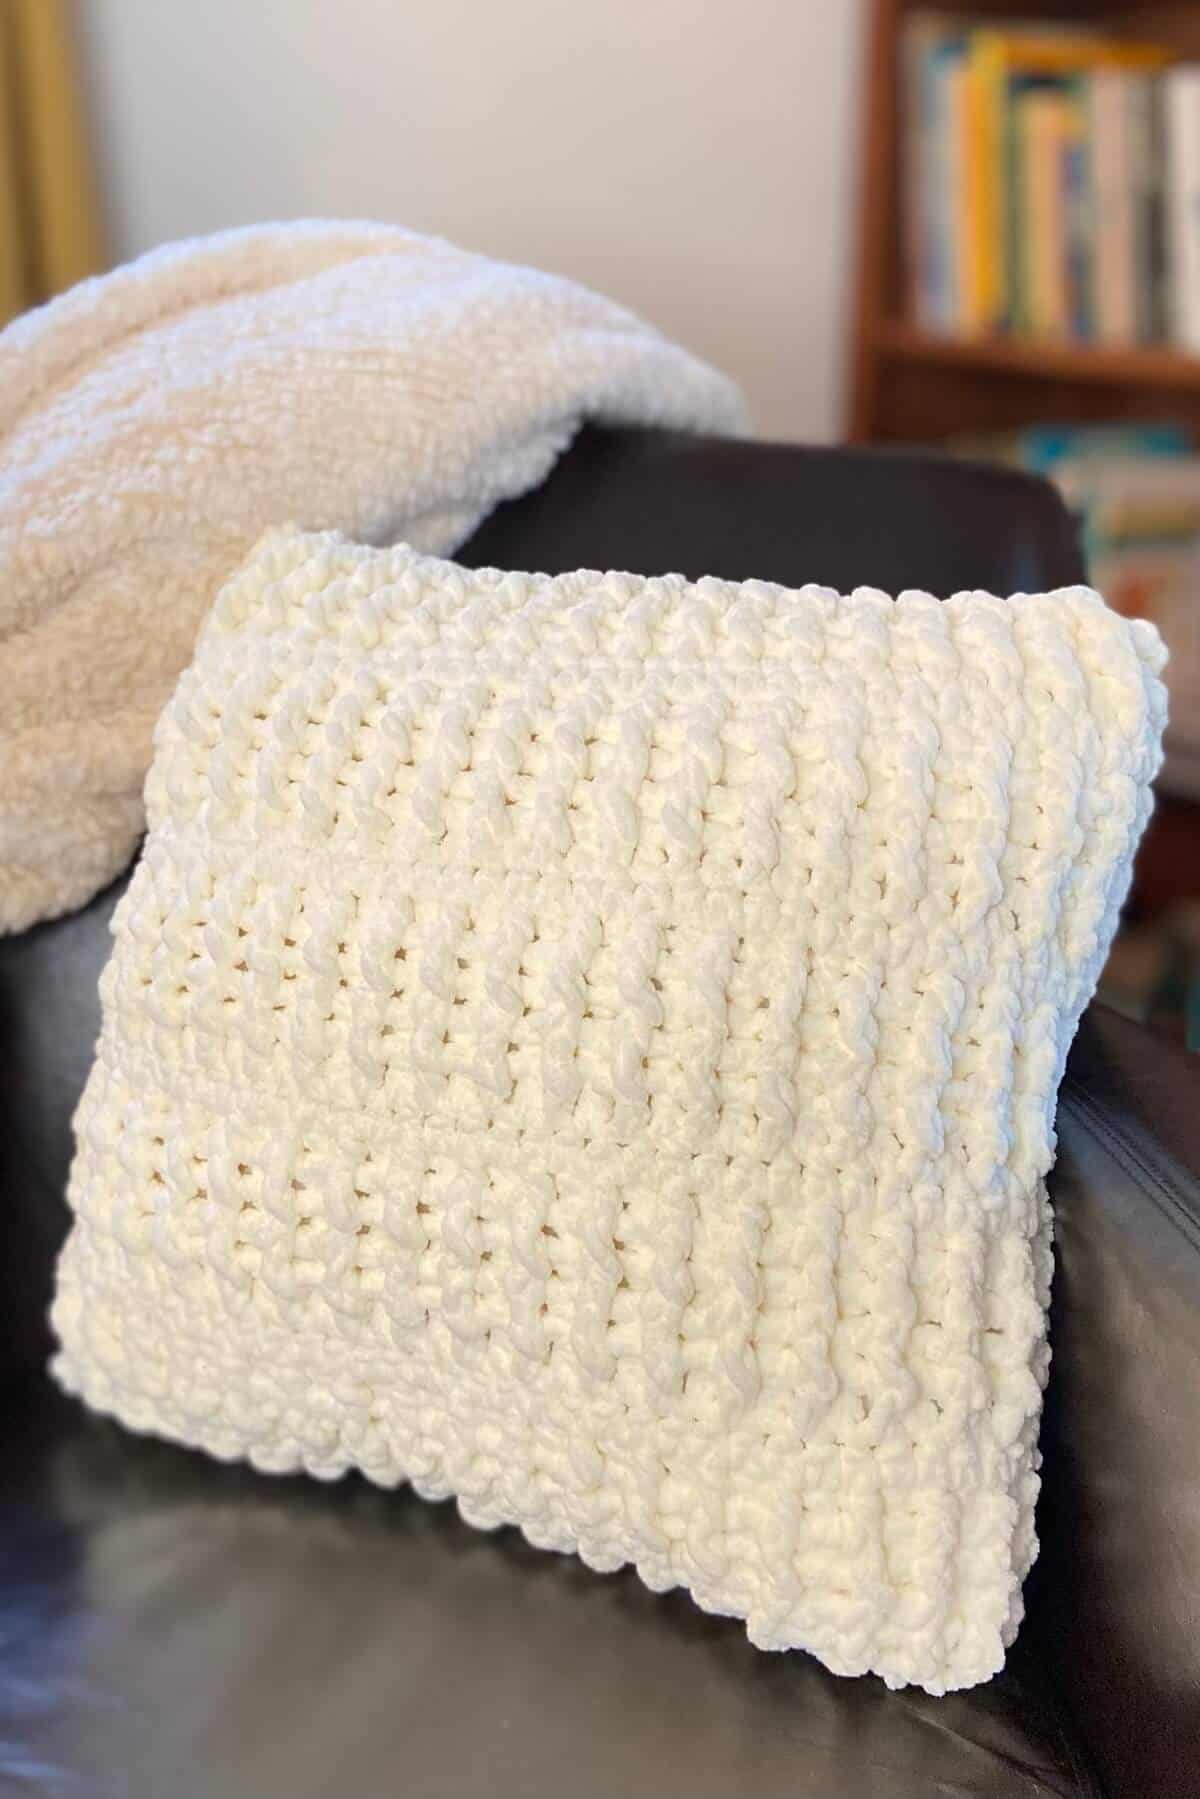
Everyone loves a snuggly pillow, whether it's for relaxing on the couch, reading a good book, or to hug tight during a scary movie on a Friday night. This beautiful crochet pillow will add some classy home decor to your living room, while being your soft and cozy companion day and night.
Jump to:
The modern design of my crochet pillow pattern is super easy for anyone to make in just a few hours, even beginners! Using a simple repeating pattern throughout, you'll be ready to enjoy this pillow on your sofa tonight!
So why not make several crochet pillows? Try different colors to change up your seasonal look throughout the year.
🪝 Crochet stitches
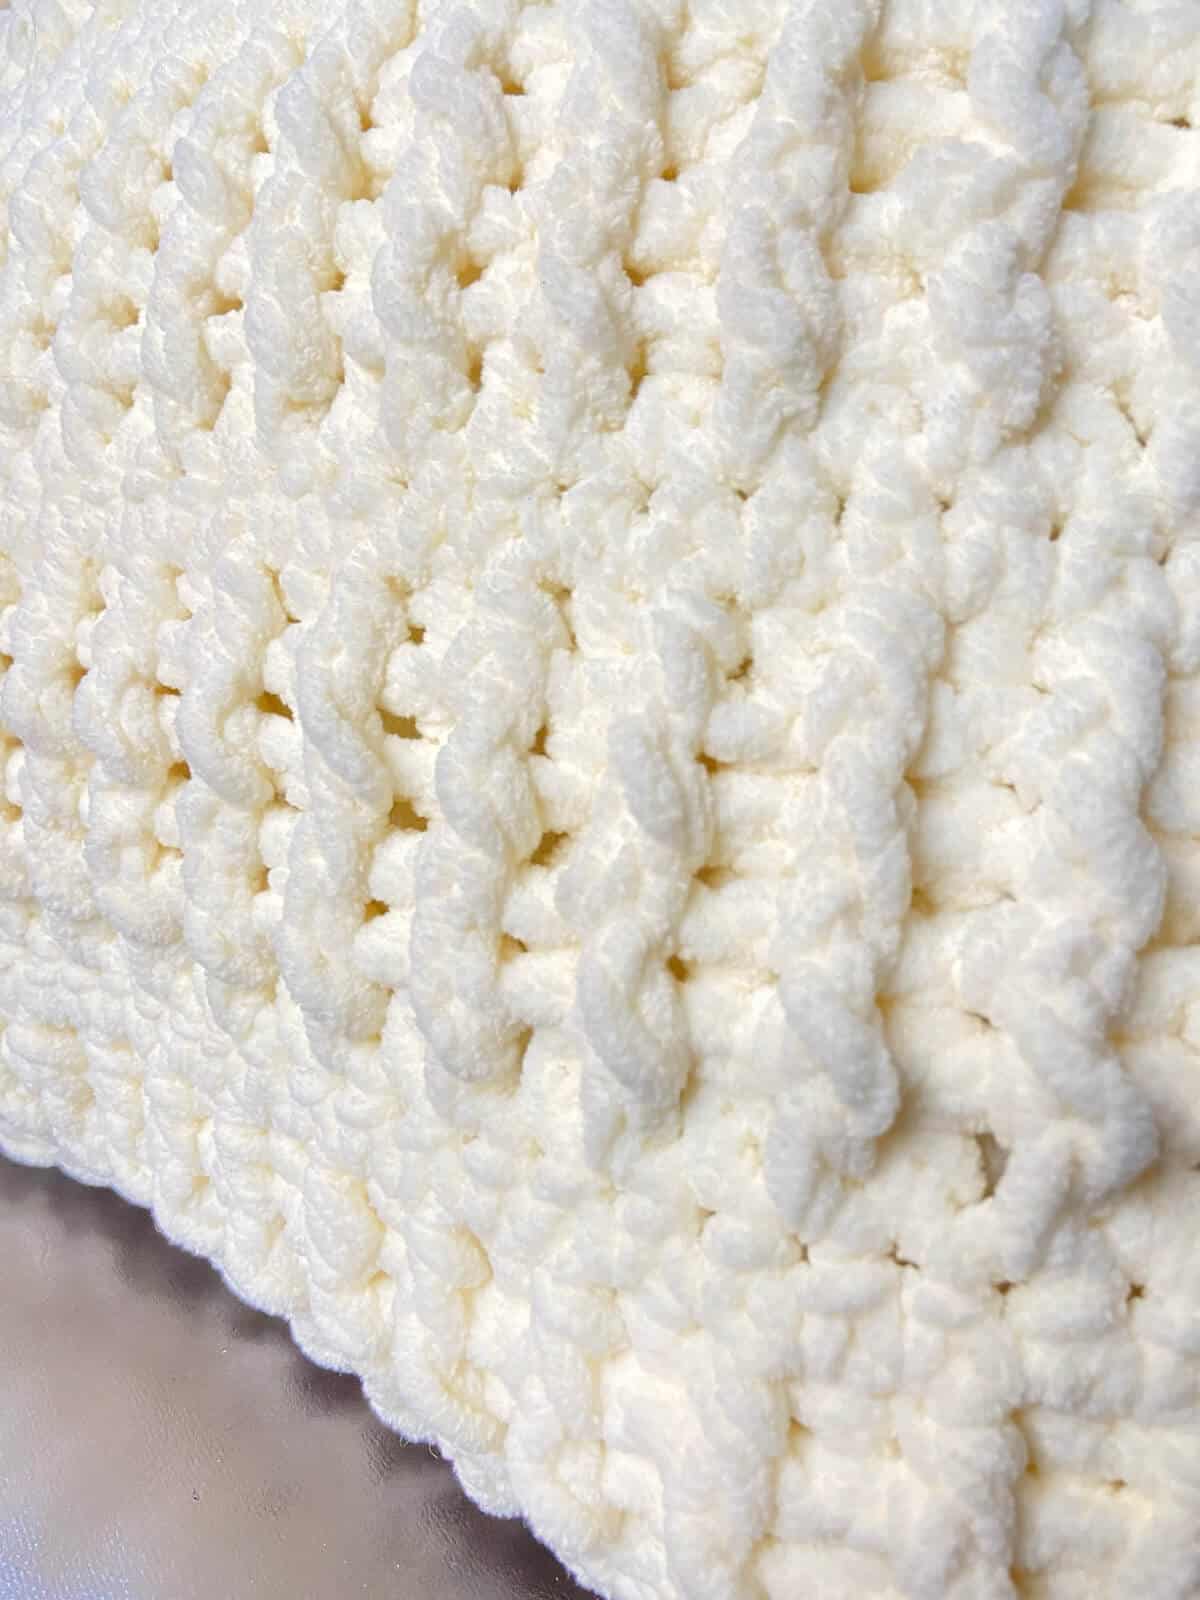
This easy and free crochet pillow pattern uses a simple repeating pattern of single crochet, half double crochet, front post half double crochet, and back post half double crochet. You'll be making two panels, then stitching the sides together around a pillow form.
And don't forget, I always have tutorial videos for you, so if you'd like, you can review the half double crochet and front/back post double crochet stitches before starting.
The only difference between front/back post double crochet and front/back post half double crochet is this: After pulling a loop of yarn around the post, in double crochet, you'll have three loops on your hook; you'll then pull through the first two loops, then yarn over again and pull through the second two loops. In front/back post half double crochet (as in this pattern), after pulling the yarn around the post, you'll also have three loops on your hook, and you'll pull through all three to make a half double crochet.
🧶 Materials
- Approx 500 yards of #6/super bulky, chenille type blanket yarn (I used Bernat Blanket yarn in vintage white)
- N-15 / 10-mm hook
- Scissors
- 18-inch pillow form
⭐ Notes
- All instructions, abbreviations, and materials in this pattern are given in US terminology.
- Please refer to the my tutorial videos on half double crochet and front/back post double crochet, if you'd like to review that first. See "notes" above for a description of the difference between front/back post double crochet and front/back post half double crochet.
✨ Crochet abbreviations for this pattern
- st – stitch
- sl st – slip stitch
- ch – chain
- ch st – chain stitch
- sc – single crochet
- hdc – half double crochet
- fphdc – front post half double crochet
- bphdc – back post half double crochet
📝 Pattern
Repeat this entire pattern twice, to make two panels.
Foundation Row: Ch 39
Row 1: Hdc in fourth ch from hook, then hdc in next 36 st, turn
Row 2: Ch 2, *fphdc in next st, then bphdc in the next st*; repeat * to * 16 more times; fphdc, hdc in last st, turn (37)
Row 3: Ch 2, *bphdc in next st, then fphdc in the next st*; repeat * to * 16 more times; bphdc, hdc in last st, turn (37)
Rows 4-5: Repeat rows 2 & 3
Row 6: Ch 1, sc in each st across, turn (37)
Row 7: Ch 2, hdc in each st across, turn (37)
Rows 8-27: Repeat rows 2-6 four more times.
🪡 Putting the pillow together
After tucking in any loose yarn ends, place one panel on each side of an 18-inch pillow form.
Using a long length of the same yarn (about 12 feet long), pull a bit of the yarn through the corners, leaving a tail of about 1 ft. This will attach the first corners together.
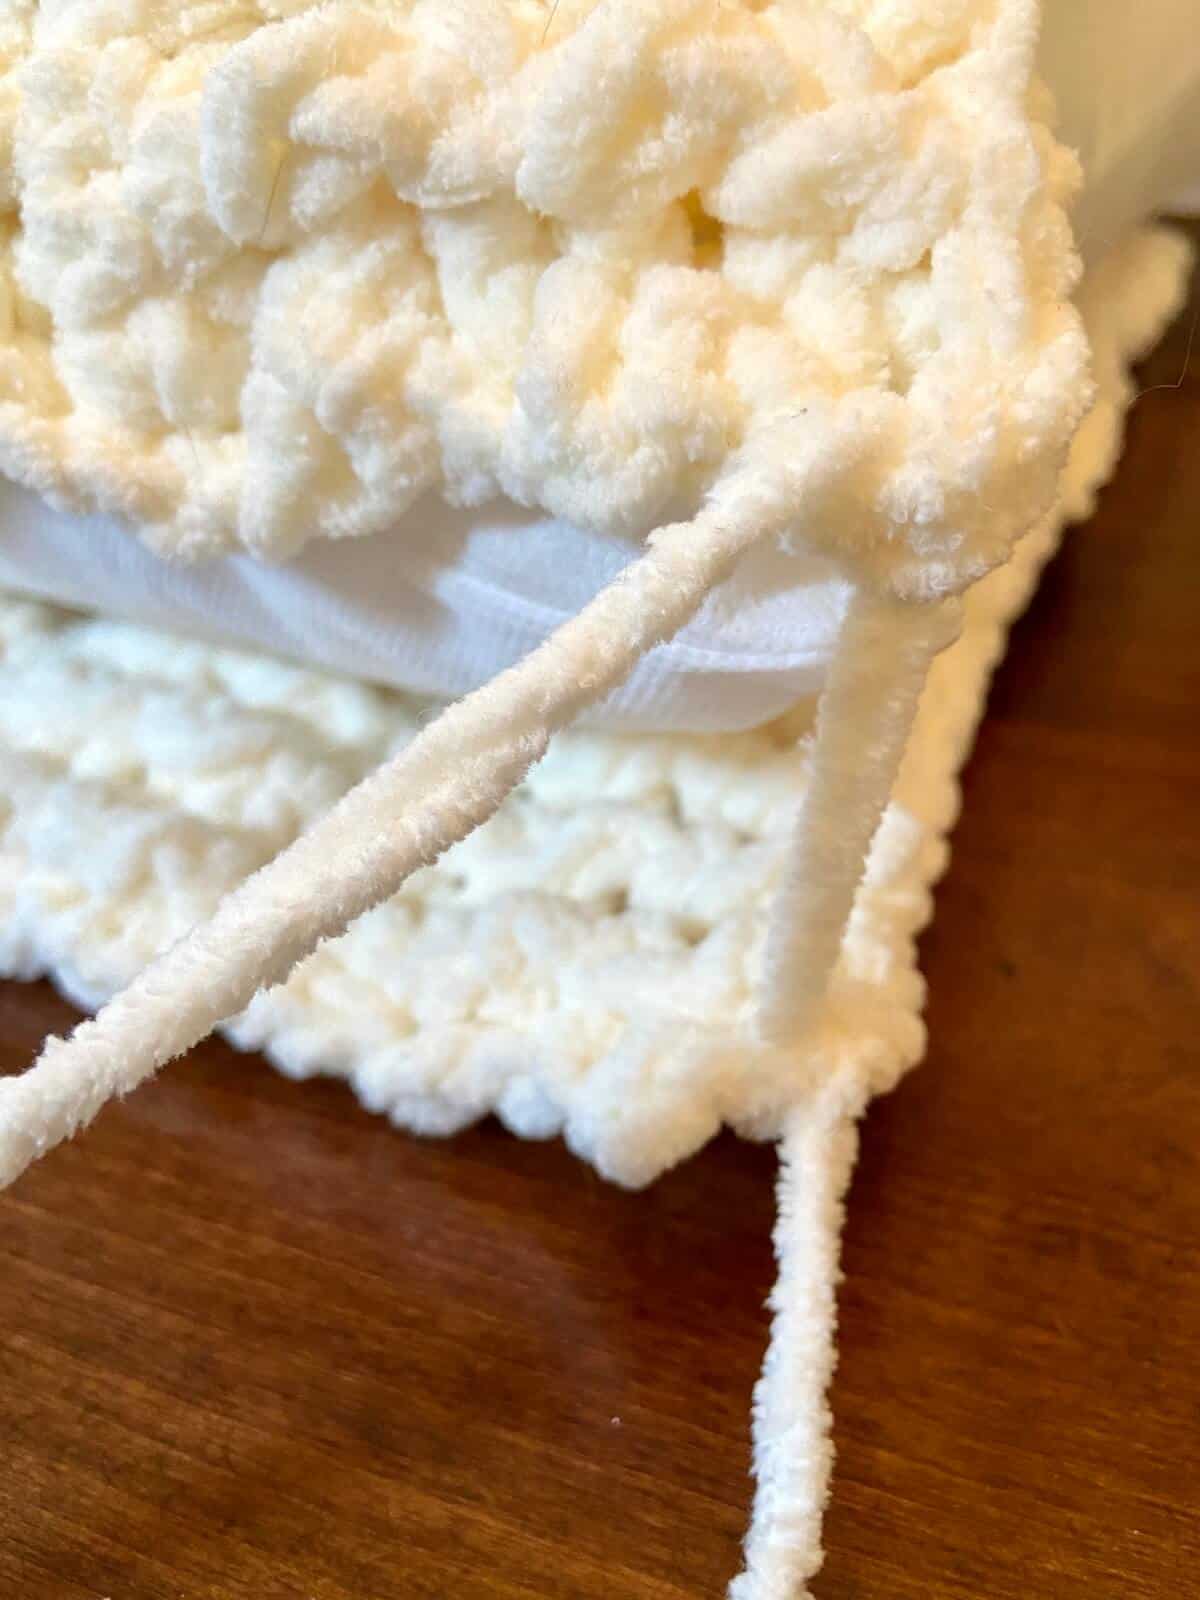
Let me preface this by saying that working your way around the pillow, stitching it together, is not an exact science. You do your best to keep the sides tight and matching up equally as best as possible. That being said...
About every ½" or so, or every-other-stitch, using your crochet hook, "stitch" the two sides together by pulling the yarn through. Continue doing this around all four sides of the pillow, until you've come all the way around to your starting point.
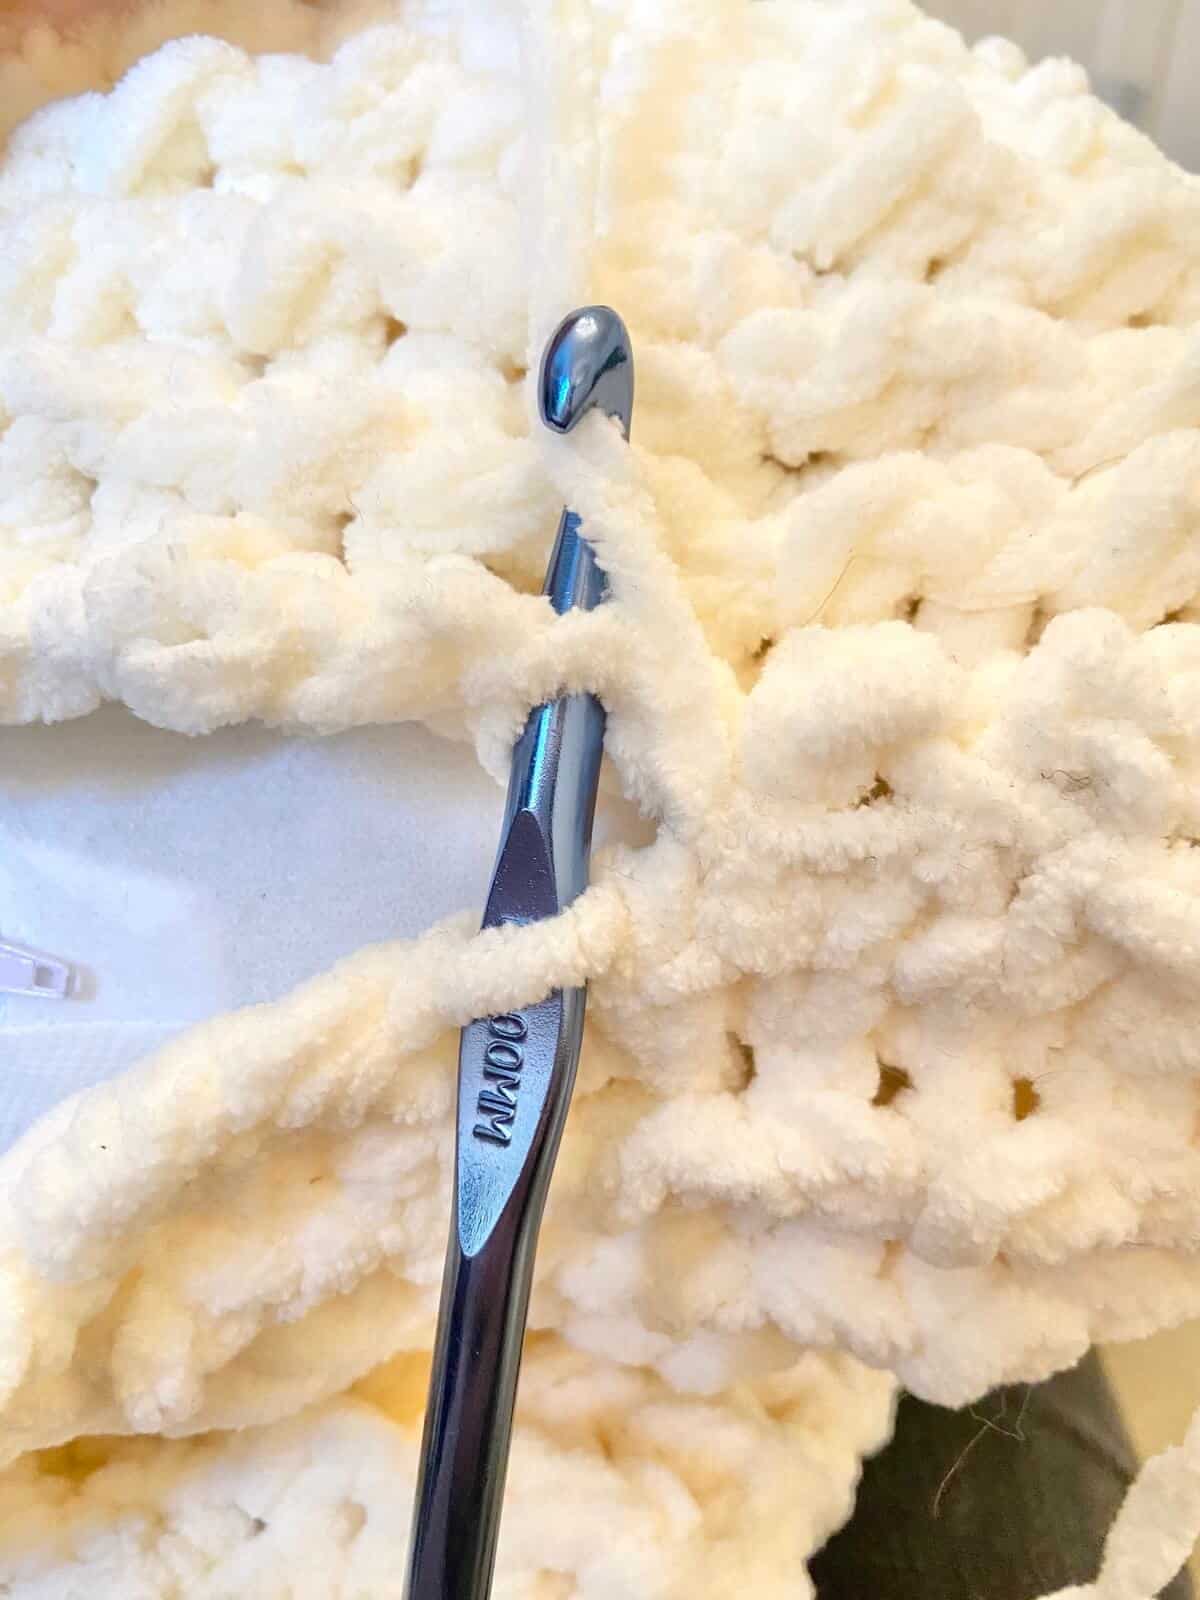
⭐ Helpful Tip: Fitting these panels around an 18-inch pillow form is a snug fit. As you go around, particularly when you get to the third and fourth sides, pay particular attention to keeping the tension of your "stitches" tight. This will take two hands. Make sure to pull the previous "stitch" tight before doing the next stitch. This will prevent any gaps in the sides of your crochet pillow.
When you're finished stitching all the way around, just knot it off, tuck in any loose ends, and you're done.
Enjoy your new beautiful crochet pillow!
Love crochet? Check out my other fun crochet projects:
- Learn to Crochet
- How to C2C Crochet
- Waffle Stitch Blanket
- Love You With All My Heart Crochet Blanket
- Crochet Drawstring Bag
- Easy Infinity Scarf
- Crochet Market Bag
- Winter Hat Pattern
- Easy 2-Hour Slouch Hat
- Crochet Pocket Shawl
- Quick & Easy Pet Bed
- Bunny Amigurumi Pattern
Did you make this Crochet Pillow? Let us know in the comments below!


Leave a Reply