Gardens are wonderful for growing your own fresh produce and eating homegrown food right off the vine. But they don’t have to be just functional...your garden can also be beautiful!
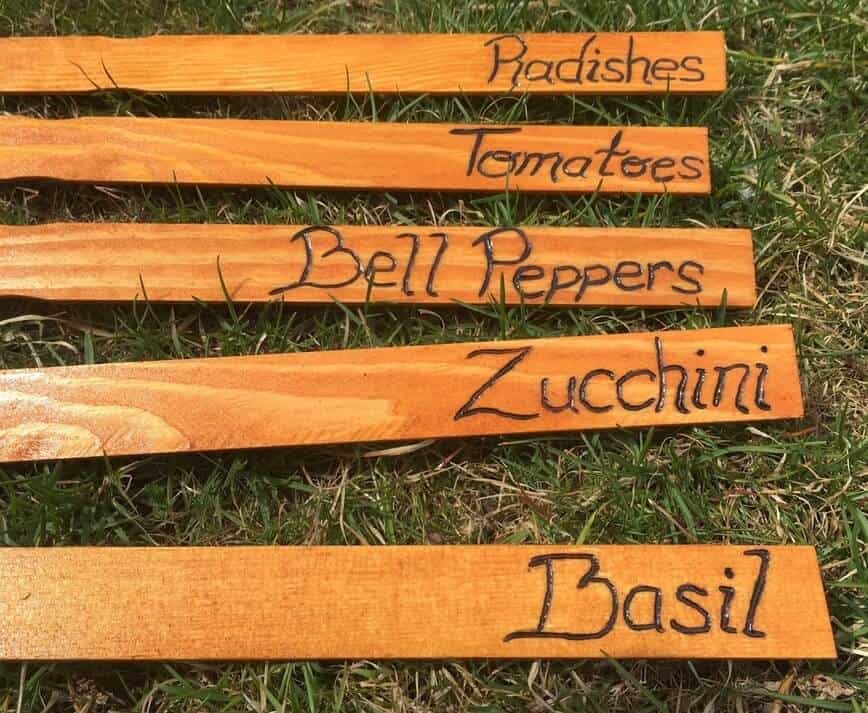
Wouldn’t it be wonderful to have fresh food growing in your own backyard, and for your garden to look as beautiful as Martha Stewart’s too! The first step toward achieving this is making these quick, easy, and inexpensive DIY plant markers!
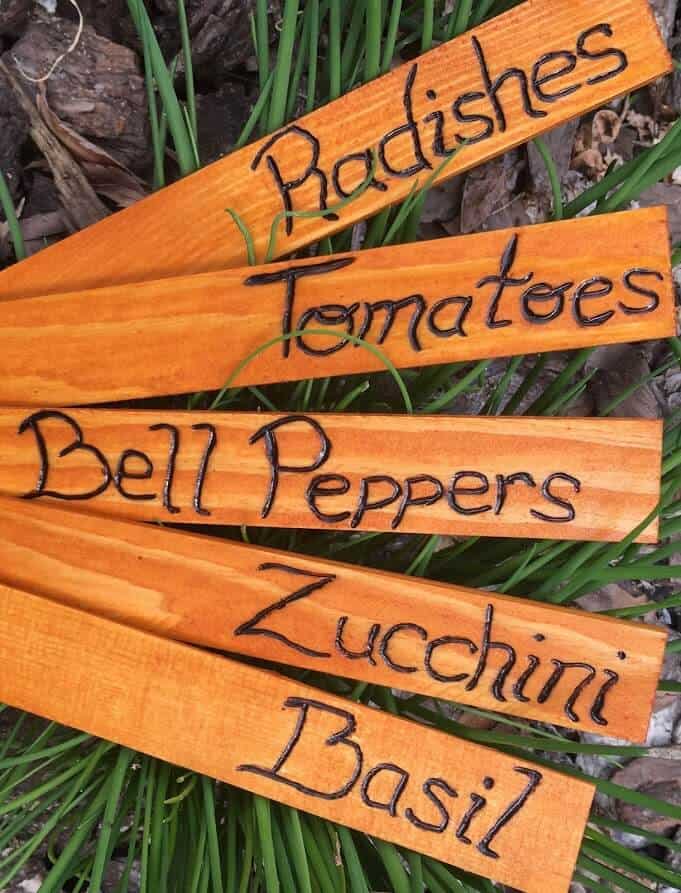
📋 Equipment and tools
- Paint stirring sticks
- Wood burning/pyrography tool
- Pencil
- Light-colored wood stain
- Paintbrush
- Lint-free rag
- Work gloves
- Face mask
While I was at the hardware store the other day, I saw a package of 10 paint stirring sticks for $1 and thought they would be absolutely perfect for my garden plant markers!
I already had a wood burning tool at home, but if you don’t have one, they’re inexpensive and can be found at your local craft store or online. Also, choose a wood stain that is lighter in color, as a dark color would make the words more difficult to read (I choose a transparent cedar stain).
✏️ Drawing the template
To make your plant markers, first decide what veggies & herbs you’re going to be growing this year.
Once that’s decided, get out your stirrer sticks and pencil, and write the plant names onto the wood. Don’t worry about the pencil marks, they’ll be burned off soon. Make sure to not write the letters too small, as tracing small letters would make the wood burning process a bit difficult.
⭐ Tip: If you’ve never done wood burning before, leave yourself an extra stick to practice on first. It’s fairly easy, but you’ll still want to familiarize yourself with the tool before getting started on the markers you’ll be using in your garden.
🪵 Wood burning
Once your words are all written out, place your wood burning tool on its provided stand and let it heat up for a few minutes. Be careful & never leave the tool unattended! They get very, very hot!
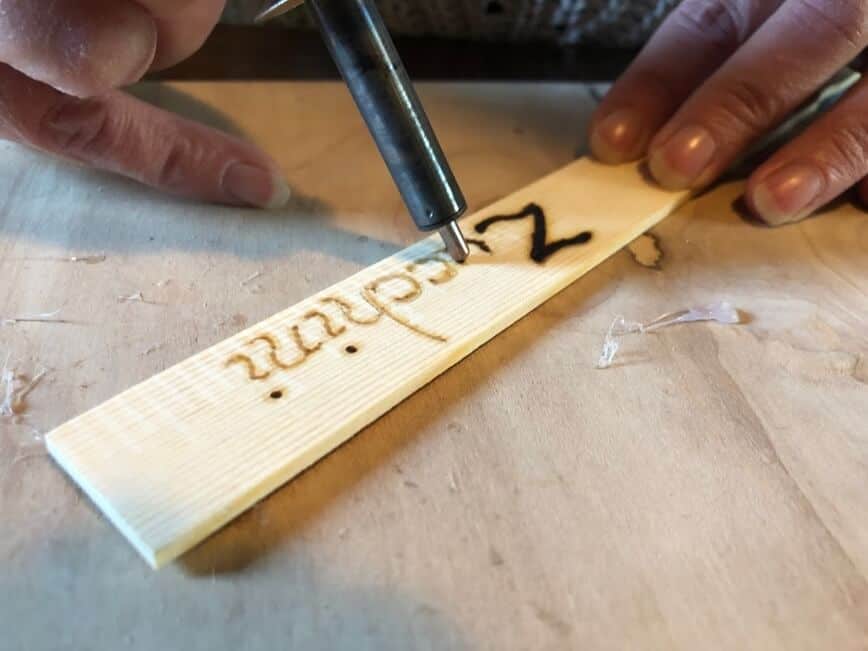
Wear a face mask, so as to not breathe in any fumes that may burn off the wood. Start tracing over your written letters with the tool, gradually going deeper into the wood. The idea here is not just to burn the letters to a darker color, but to actually burn a slight groove into the wood. After a bit, if the tool gets a little hot, wearing work gloves may help.
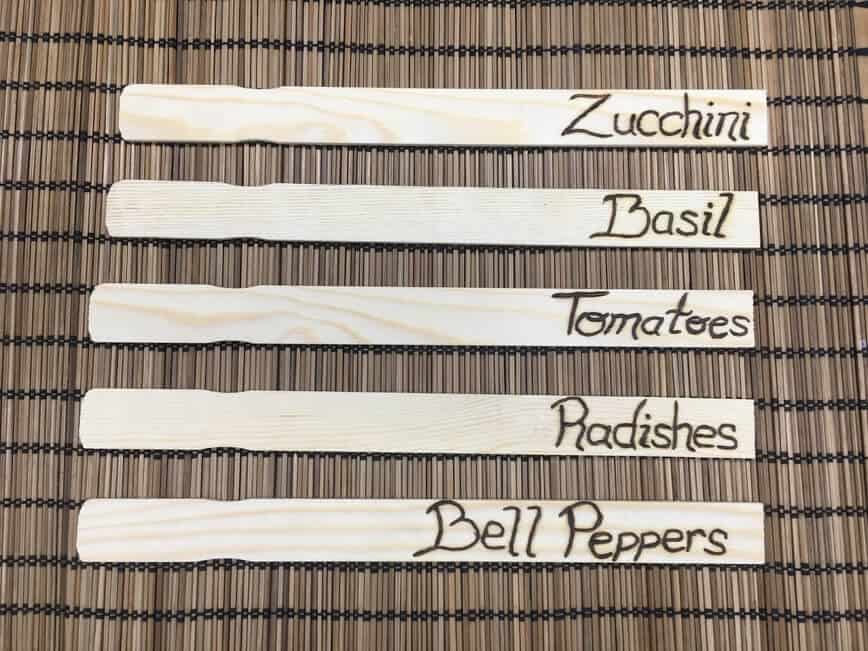
🖌️ Staining
The next & final step is to place all your wood burned markers onto a paper-covered surface and start staining. Simply brush the stain onto the front & sides of the wood, wiping off any excess with a lint-free rag.
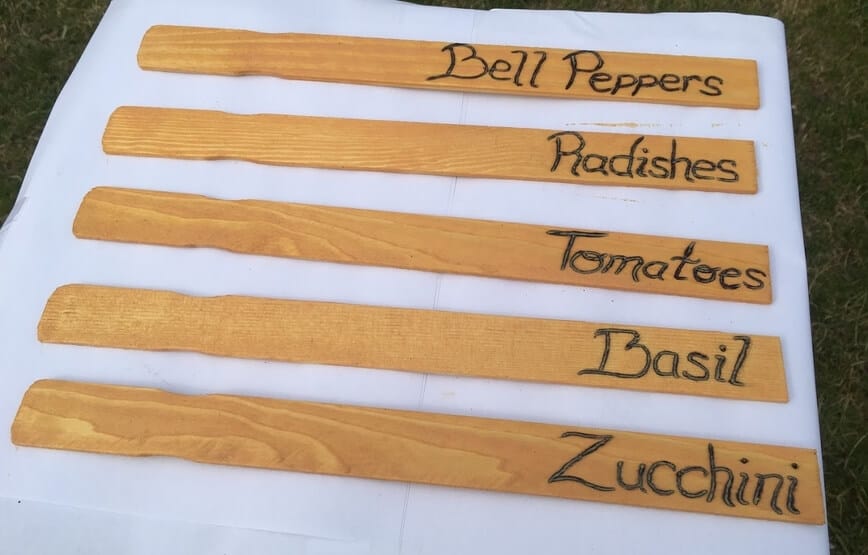
Once the front side has dried, flip them over and stain the backs. You may repeat this process several times, if you wish, until you achieve your desired color. Let the stakes dry completely and place in the garden. Gorgeous!
Please share photos of the markers you've made for your garden! We can't wait to see them!
Love yard and garden ideas? Check out a few more of our articles now!
- Beautiful Birdcage Planters
- How to Make a Gorgeous Faux Stone Path
- Rhubarb - Harvest Delicious Stalks for Decades
- Super Easy Guide to Growing Potatoes
- The Definitive Guide to Caring for Tomato Plants
- 12 Perennial Vegetables and Fruits for Your Home Garden
- Native Plants for the Small Yard
Have you made these Garden Plant Markers? Let us know in the comments below!


Leave a Reply