I stayed on my own path and did not follow the herd. I made a way for myself. ~Eartha Kitt
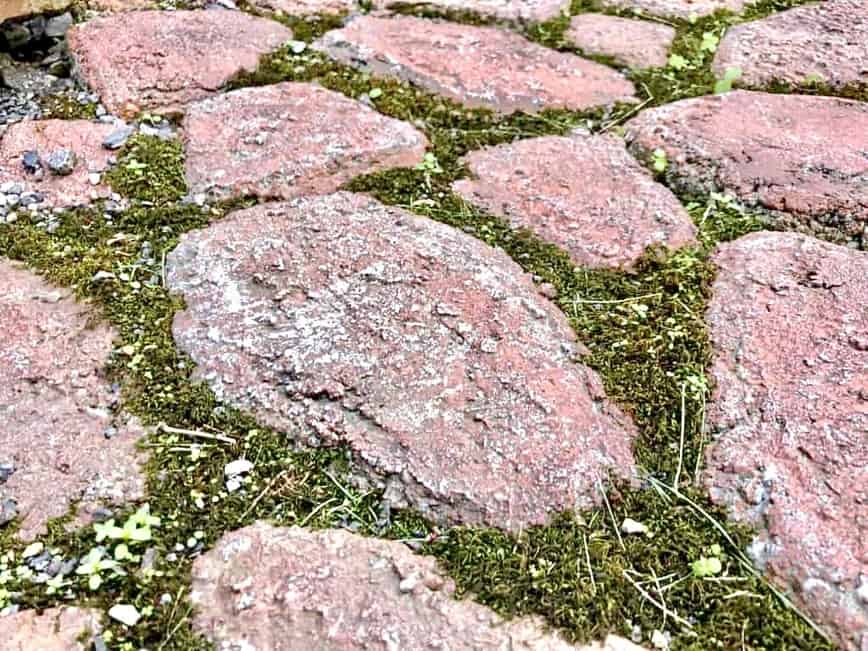
There was this spot in our yard that never wanted to do anything. It didn’t want to grow grass, but preferred instead to be a barren, muddy, slippery slope. And to top things off, it was right next to our wood shed, leading to our back gate, where we had to walk through frequently. Oh sure, we tried sprinkling grass seed and even installed sod one year...but nothing worked.
I’ve created stone paths in our backyard before, though, hauling quarry dust and shale and shovels (and scraped and busted knuckles)...I wonder if I should do that here? Then we stumbled upon the best idea ever...a faux stone path!
It’s called the Quikrete WalkMaker Country Stone Pattern Concrete Mold, which you can find at Lowe’s for about $17. We bought one of these molds, a few bags of Quickrete, a small concrete trowel, and some colored concrete stain...and drove back home, eager to get started!
It's quite a simple process really, and looks amazing in our yard.
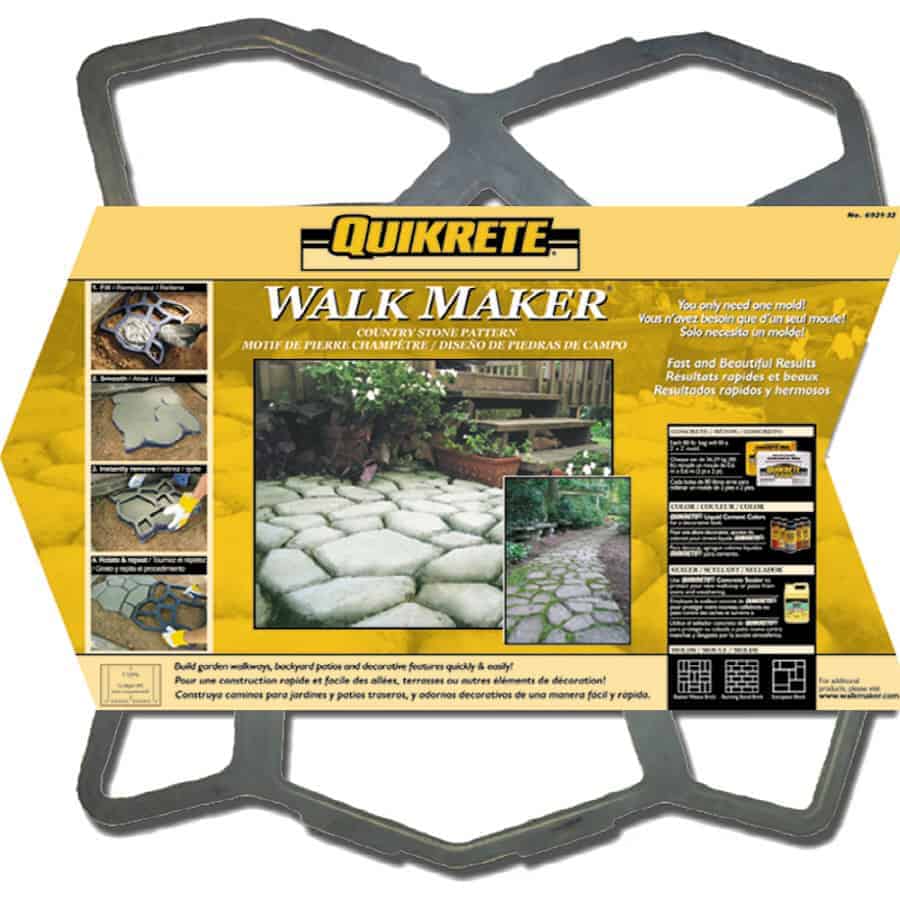
Materials
- Quikrete WalkMaker Country Stone Pattern Concrete Mold $24.98
- Quikrete 80-lb High Strength Concrete Mix $5.28/bag
- Brick & Block Trowel $7.18
- Concrete Stain OR Cement Color Mix $10.28
Preparation
Once you’ve decided where you’re going to place your faux stone path, it’s time to start digging...just a little. The mold measures 22” x 22” x 1.5”. If you’d prefer your path to be above ground, then no digging is required.
For our project, since we frequently need to pass the wheelbarrow over this area (to carry firewood), we wanted ours to gently slope from ground level up to the basement doors. So, we only dug into the soil about a 0.5” at first (by the basement doors), then gradually went deeper to 1.5”, so that it tapered down to level with the ground at the other end.
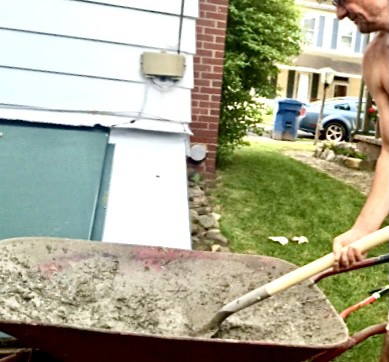
The next step is to mix your Quikrete. Just follow the directions on the package about how much water to add. If you’re adding a color mix to the concrete, now’s the time to add that too (follow the manufacturer’s instructions).
It’s a physical job, and a messy one too, but it’ll be worth it! Just make sure the mixture isn’t runny; otherwise, it won’t hold its shape when you lift the mold. Also, make sure you’re ready to start pouring the concrete right away...it’s called Quikrete for a reason.
Using the concrete mold
Once your concrete is mixed, lay the mold on the ground in the area where you want your path to start. Gradually pour the concrete into the mold, reaching under the edges with a small trowel to make sure you get in all the nooks & crannies, and smoothing the tops of each “stone.”
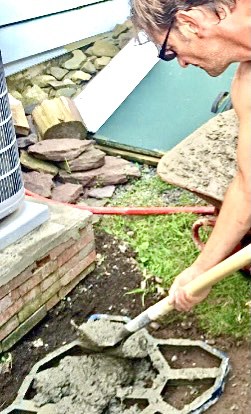
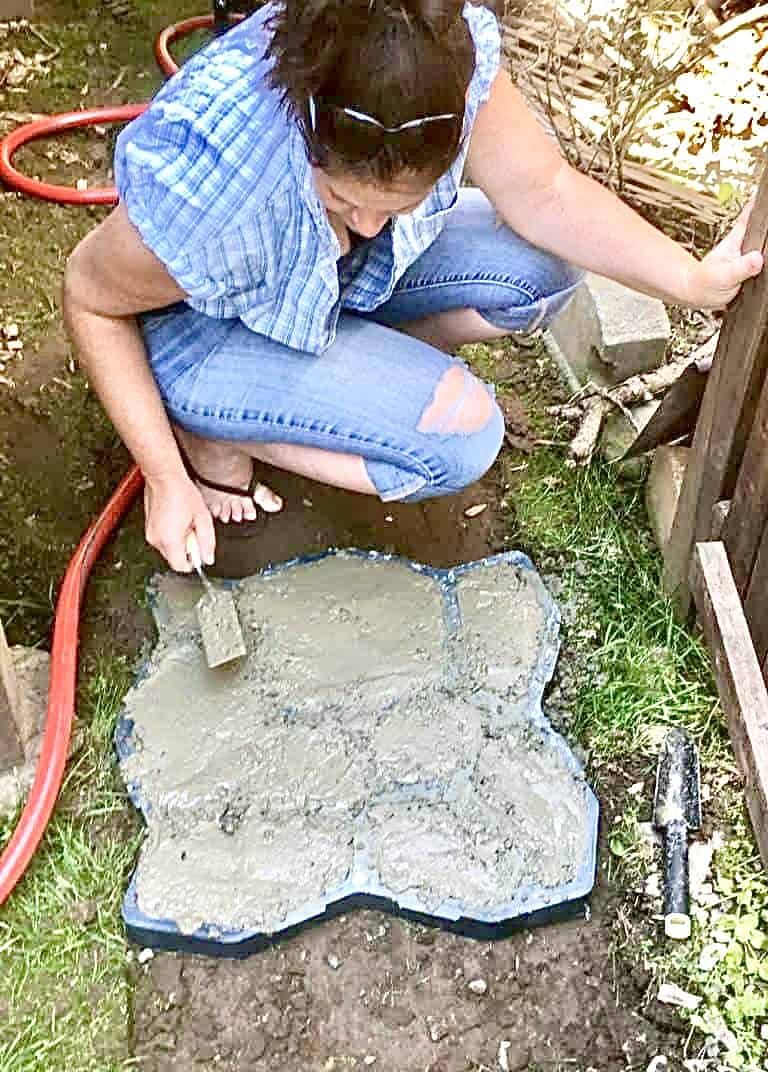
Then gently and slowly, lift the mold off the concrete. You can do a little extra smoothing with the trowel if you like, but not too much...you want to keep the shape of the individual “stones.”
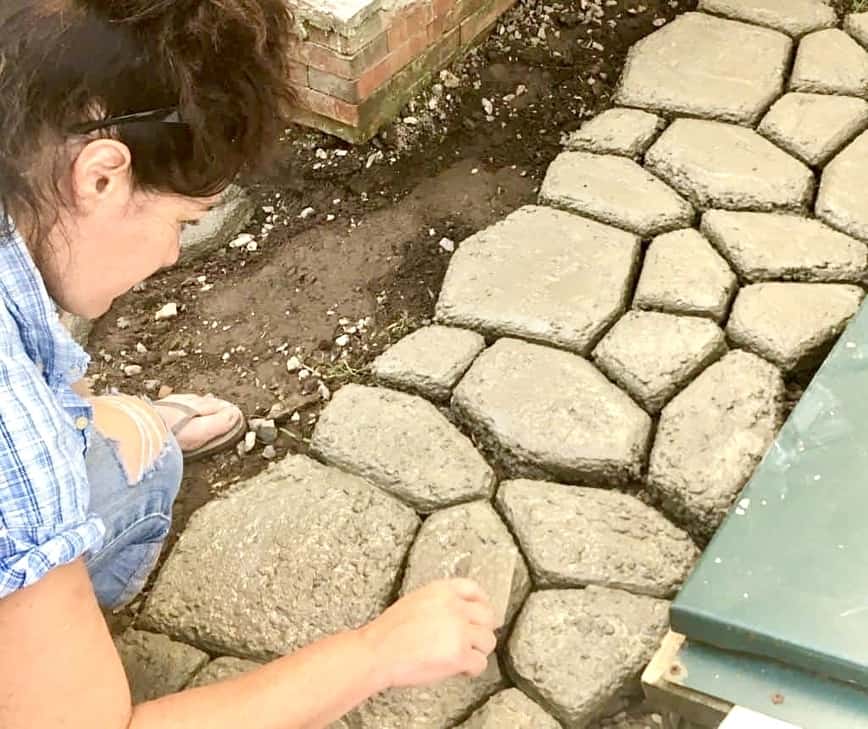
To make your next section, simply turn the mold so that it fits up against the first one like a puzzle piece. Continue the same process of pouring, smoothing, and lifting until you’ve reached the end of your path.
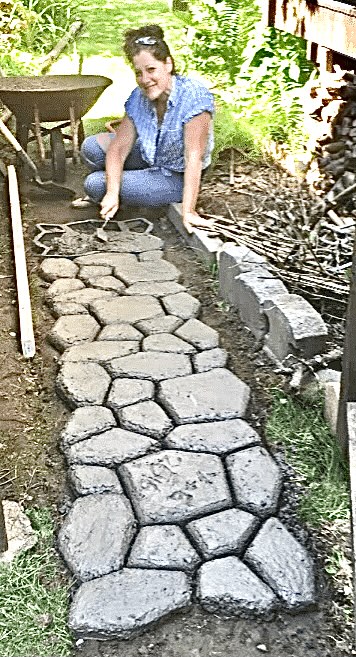
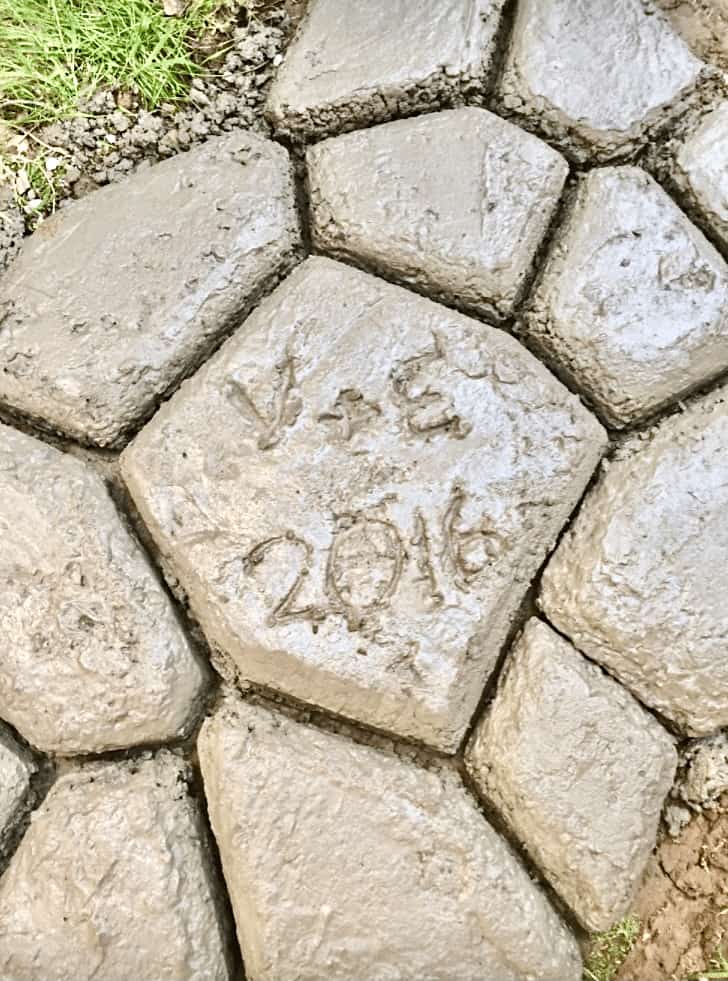
Let the concrete cure for the amount of time instructed on the Quikrete packaging. Once it has completely cured, if you didn’t color the concrete earlier, now’s the time to get staining!
Staining
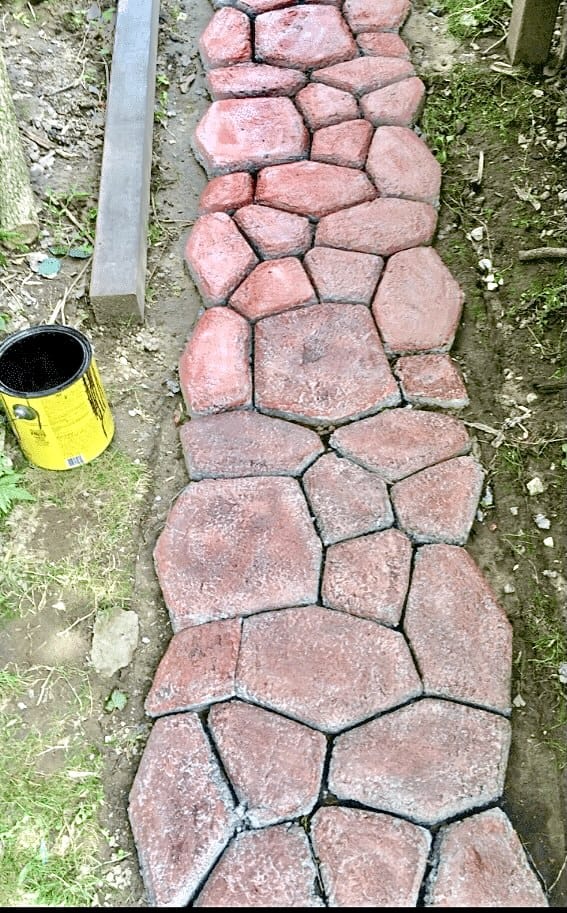
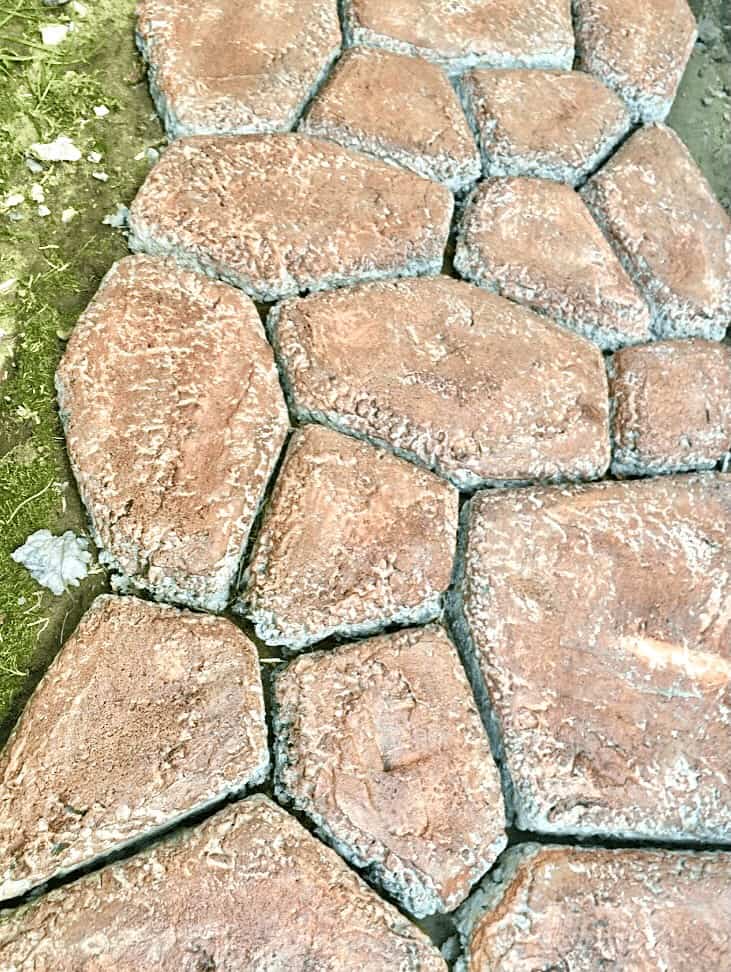
We chose a dark red concrete stain for our path. I applied the red stain onto the “stones," then lightly brushed it here & there with some dark brown stain I had left over from when we stained our deck, to give it a more worn appearance.
Nature will also do it’s thing and weather it a bit over time, but I wanted to give it a worn appearance from the get-go. Let the stain dry and admire your new path!
Finishing
Finish your faux stone path by sprinkling a little grass seed along the edges, where you may have dug up a little too much (I know I got a little shovel-happy) and fill in the cracks between the “stones” with moss.

Looking for more yard & garden projects?
- Make Your Garden Fly High with a Beautiful Birdcage Planter
- Build a Vegetable Trellis for Healthier Veggies & Extra Space
- Beautiful DIY Plant Markers
- Garden Decor Ideas with Repurposed Yard Sale Finds
- Put a Smile on Your Face with a Cheerful Painted Fence
- Build a Cold Frame for Your Garden
Have you made this stone path in your yard? Let us know in the comments below!




Leave a Reply