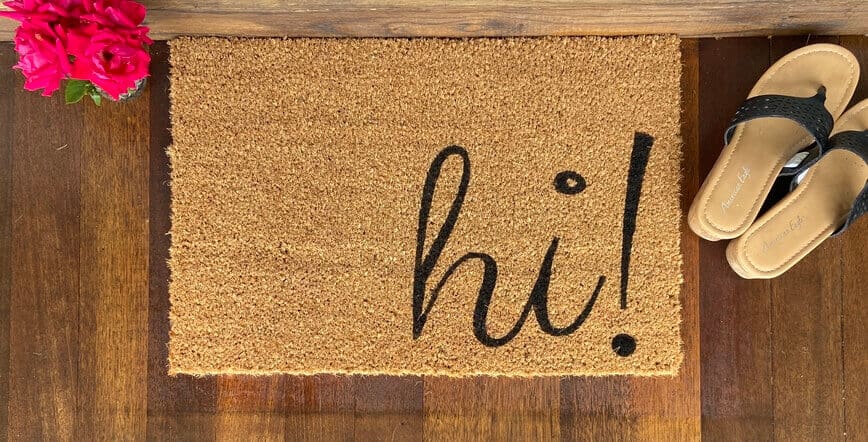
A front doormat welcomes guests to your home. It's a way to say we're glad you're here, come and visit for a while...
Jump to:
Sure, there are lots of options at the local store to buy pre-made doormats, whether they're plain and simple, covered in pretty painted flowers, or the standard "WELCOME!"
But wouldn't it be nice to make your own DIY doormat, just the way you want it? You can paint your family's name, or a silly catchphrase you've always used to make people laugh, or make colorful welcome mats, or anything at all you can imagine!
To make this personalized door mat, you won't need any fancy materials or expensive Cricut cutting machine. I didn't have any fancy vinyl stencil material handy, so I did a lot of thinking and a lot of research...and discovered how you can make your own welcome mat with regular printer paper and painter's tape. Sweet!
Admittedly, I was a little nervous trying this welcome mat craft for the first time, not knowing if it would work out nicely. But it was so ridiculously super simple, I'm so excited to share it with you! Please share your custom doormat creations with us...we can't wait to see them!
🖌️ Materials
- Plain coir doormat
- Acrylic paint
- Small stiff paintbrush
- Printer & paper
- Scotch tape
- X-Acto knife
- Painter's tape
- Clear spraypaint (optional)
🛒 Choosing a doormat
The first thing you're going to need is a plain coir doormat (obviously!), which you can find at any big box store, like Lowe's or Home Depot, for about $5 to $10.
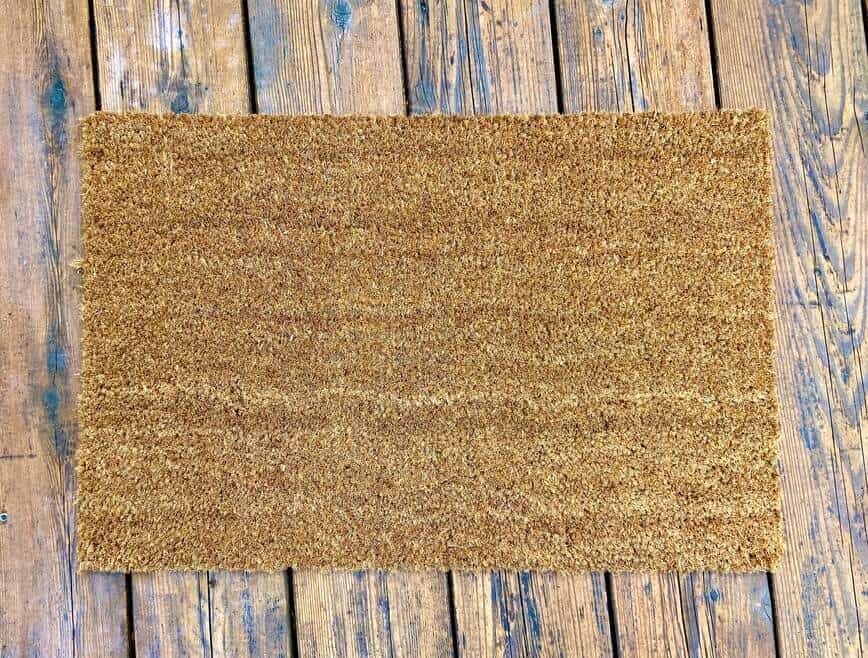
Nice...but boooooring.
👩🎨 Design it
Next, you're going to need your computer and printer. When I was designing my shabby chic sign for the holidays, I discovered some really cool websites that allow you to create your own template and blow it up to a large size, but that you can still print on regular-sized printer paper.
You can visit either Canva or PicFont, where you can upload your own image or even type anything you like, with lots and lots fonts to choose from. I know, right?! So, I created my image (hi!) and then went over to another cool website called BlockPosters, which will allow you to print your words over multiple pieces of paper, on your own home printer. No need to go to the big store that prints out posters…you can do this at home. A tip though...on BlockPosters, make sure you choose the option for "Have a border," otherwise it gets tricky with having your printer calibrated exactly so that everything lines up properly.
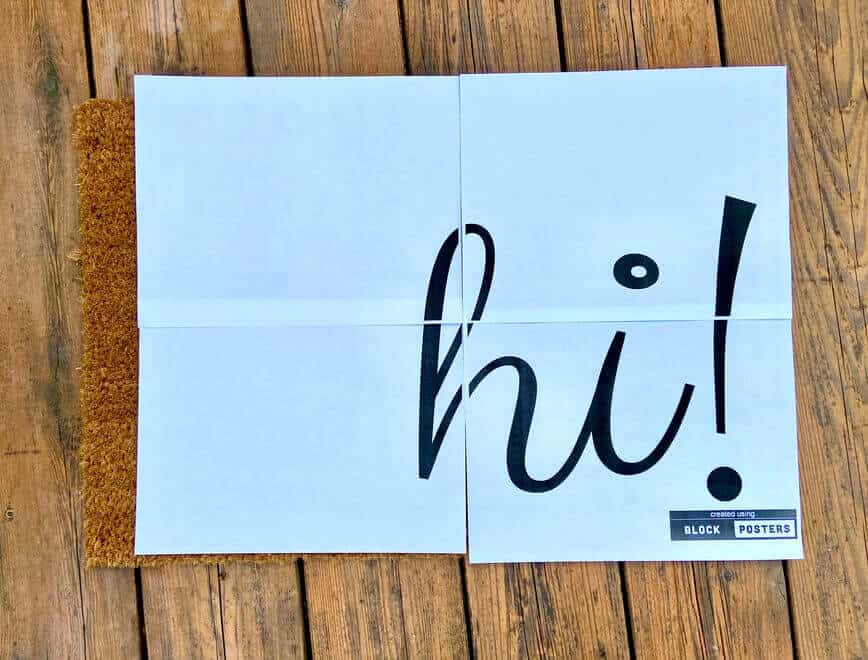
Now, using scissors, carefully cut off the "border" of some of the pages. Ummm, how do I explain this? Your design won't quite reach the edges of the page...so cut off the border on one page, but leave it on the one it's meeting up with, so you can overlap it and will have something to Scotch tape together. Hope that makes sense. Line up your letters perfectly and Scotch tape the pages together. Ok, we're halfway there already!
👉 Adding your design to the door mat
Cover the coir mat with painter's tape to cover everywhere that you will be painting. Nothing really sticks well to coir doormats, but press it down as best you can.
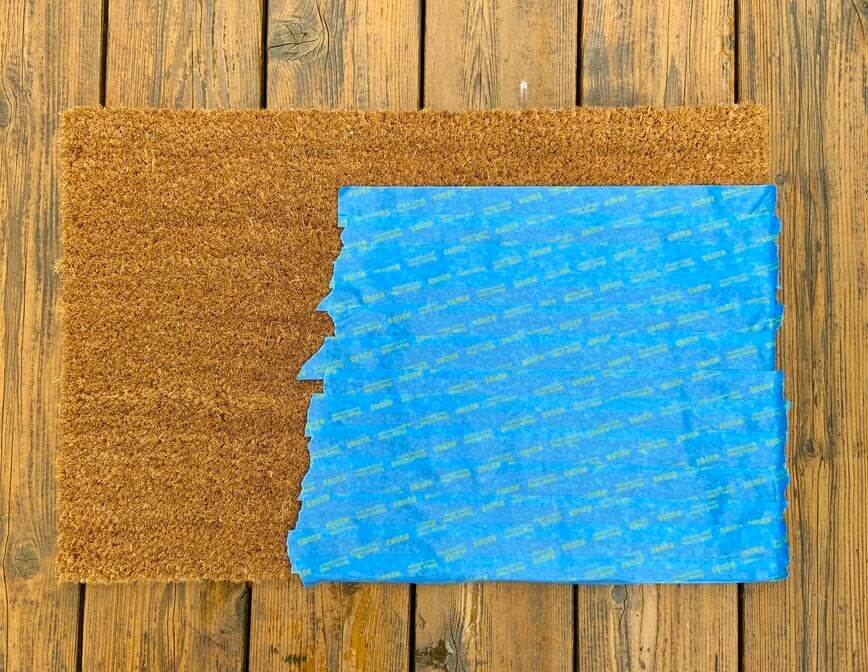
Place your taped-together stencil over top of the painter's tape and also tape that into place, using more painter's tape. You definitely don't want anything moving for the the next step!
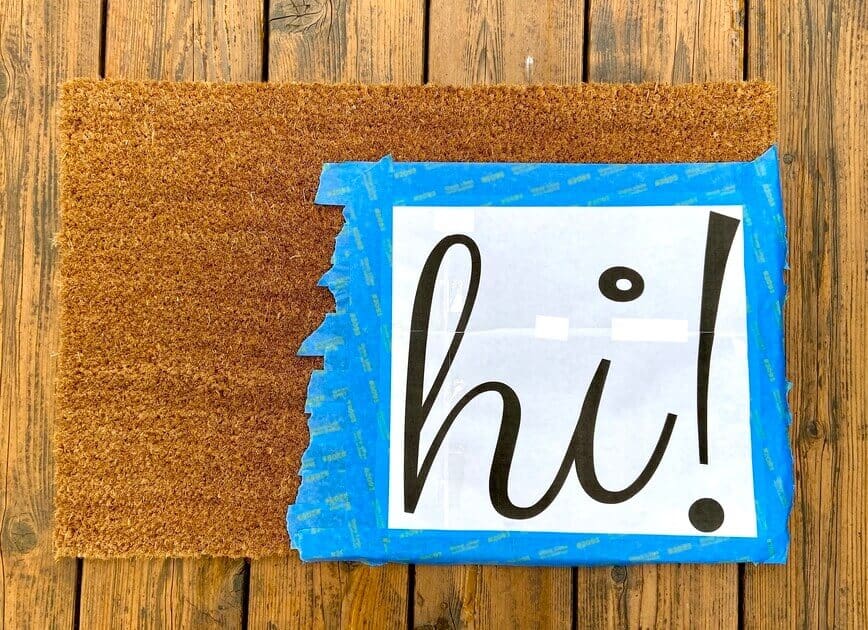
✂️ Cutting out the design
Using an X-Acto knife, very carefully and slowly cut out your design, cutting through both the paper and painter's tape. Remove the sections of paper and tape that have been cut out...being careful to remember to only remove the parts in black.
This part may take a little time because you want to go slowly and carefully, so as not to disrupt your "tape template" too much. I worked in small sections at a time (just the loop of the "h" for example, then the bottom left of the "h," etc). When you're finished, you can carefully remove the paper layer, as I did, but it's not really necessary.
Once you've finished cutting it out, it should look something like this:
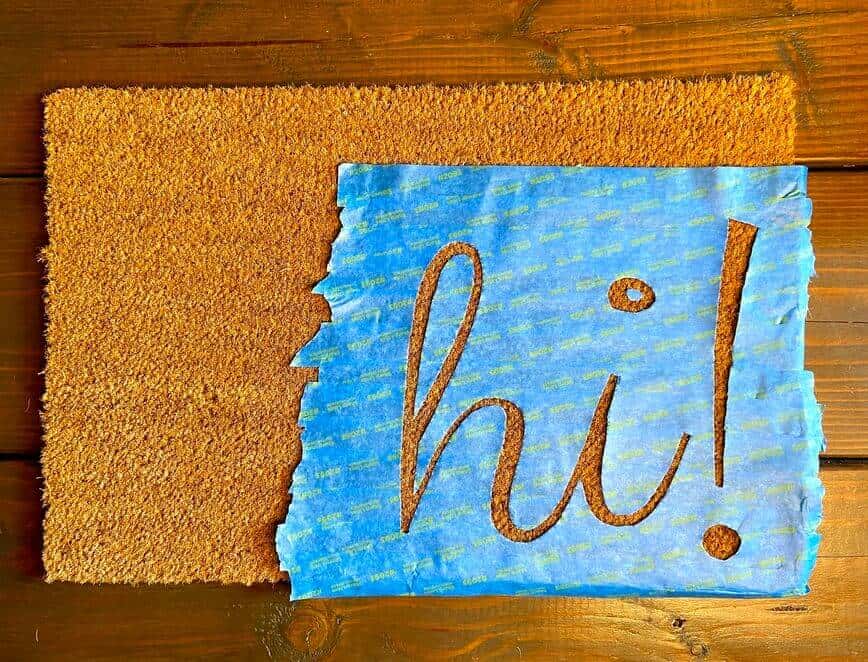
🎨 Painting
The final step in making your very own DIY personalized doormat is painting! Yippee! Have I mentioned how much I love painting?
But first, carefully press down on all the edges of tape around your design before you start. You may also need to occasionally press down the edges as you're moving along too.
I used a very high-tech paper plate for my paint palette. Ha! And why not? It allows the perfect space to have the paint ready, plus extra room to wipe excess off the paintbrush. Small bottles of craft acrylic paint work wonderfully, which is a good thing for me since I have about a million of them in every color under the rainbow! I do want to note though, that our front porch is covered by a roof. If your doormat will be more exposed to the elements, however, you may want to consider using an outdoor acrylic paint instead.
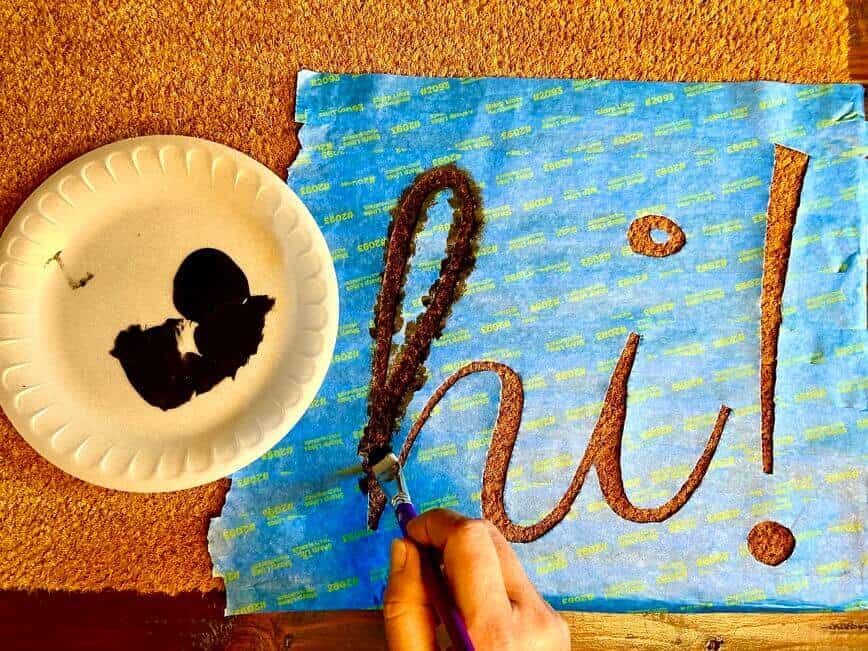
Apply some paint to your brush and wipe off any excess. This will take a little trial and error. You don't want too much paint on the brush that will seep under the edges of the tape, but too little and it won't apply to the coir.
Most importantly! And this is why you need a stiff brush. Apply the paint using an up-and-down motion, just dabbing and stippling the paint over the cut-out design. Absolutely no brushing motion here!
Apply two to three layers of paint until it has reached your desired color, letting it dry between each coat. Once everything has dried completely, remove the painter's tape and you're finished! If desired, you can also spray your doormat with a clear coat to protect it, so it lasts longer.
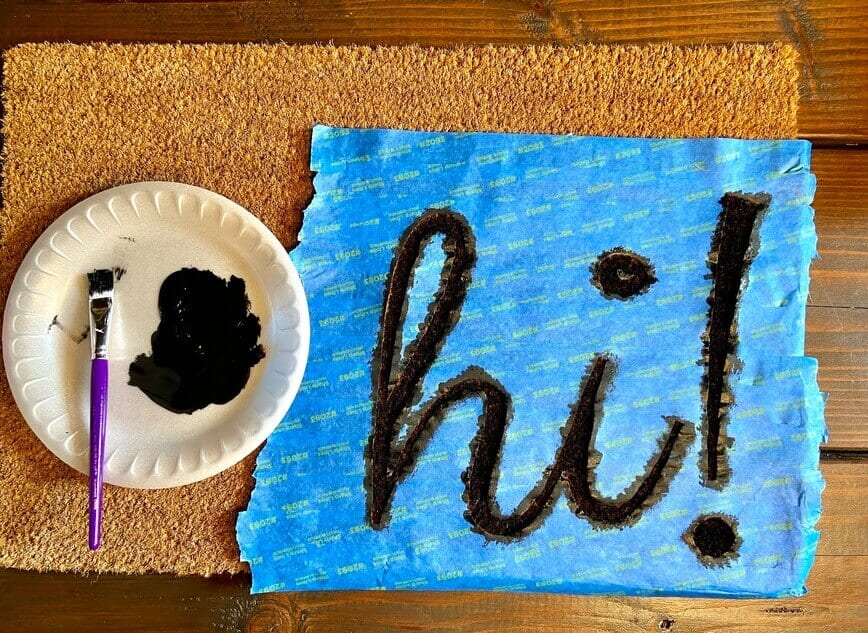
⭐ Finished!
Now proudly place your custom designed doormat at your front door and wait for all the compliments!
Welcome, hi!

Do you love fun crafts? Check out a few more of our DIY & craft projects now!
- DIY Etched Wine Glasses
- Create a Rustic Chalkboard in Just 1 Day!
- How to Build Cornhole Boards
- Learn to Crochet
- Crate & Barrel Knock-Off DIY Ladder
- Build a Bird Nesting Box for Your Backyard
- 3 Creative and Useful Wine Cork Crafts
- Tree Branch Art for Natural Home Decor
Did you make this Custom Painted DIY Doormat? Let us know in the comments below!




DreaD70
I love this idea! But where did you get your doormat? I can't seem to find blanks for under $20, and that is kinda pricey compared to being able to pick all kinds of already pretty mats from stores like Ross. Thanks for sharing the project, it's nice to see projects without the aid of a vinyl cutting machine; it seems these days everyone assumes everyone has a machine so project without is very helpful!
DreaD70
Oops, I meant to say for under $15 from stores like Ross. 🙂 Thanks again!
maplewoodroad
Thanks! And I completely agree...I don't have a vinyl cutting machine either! The mats are called "plain coir" and you can find them at Walmart for about $6 or Home Depot for $9. And while you're right that you can find pretty mats at the store pretty inexpensively, with this project you can completely personalize it to say anything you like. Thanks again and have fun! 🙂
Ildiko
Love it 😍. So crafty! Something fun to try, for sure!!!
maplewoodroad
Thanks so much! Enjoy! 🙂