Brighten up your front door this spring with an easy DIY Dollar Tree Easter wreath! With just a few inexpensive materials, your home will be ready to display this beautiful wreath as a spring-y welcome to your home.
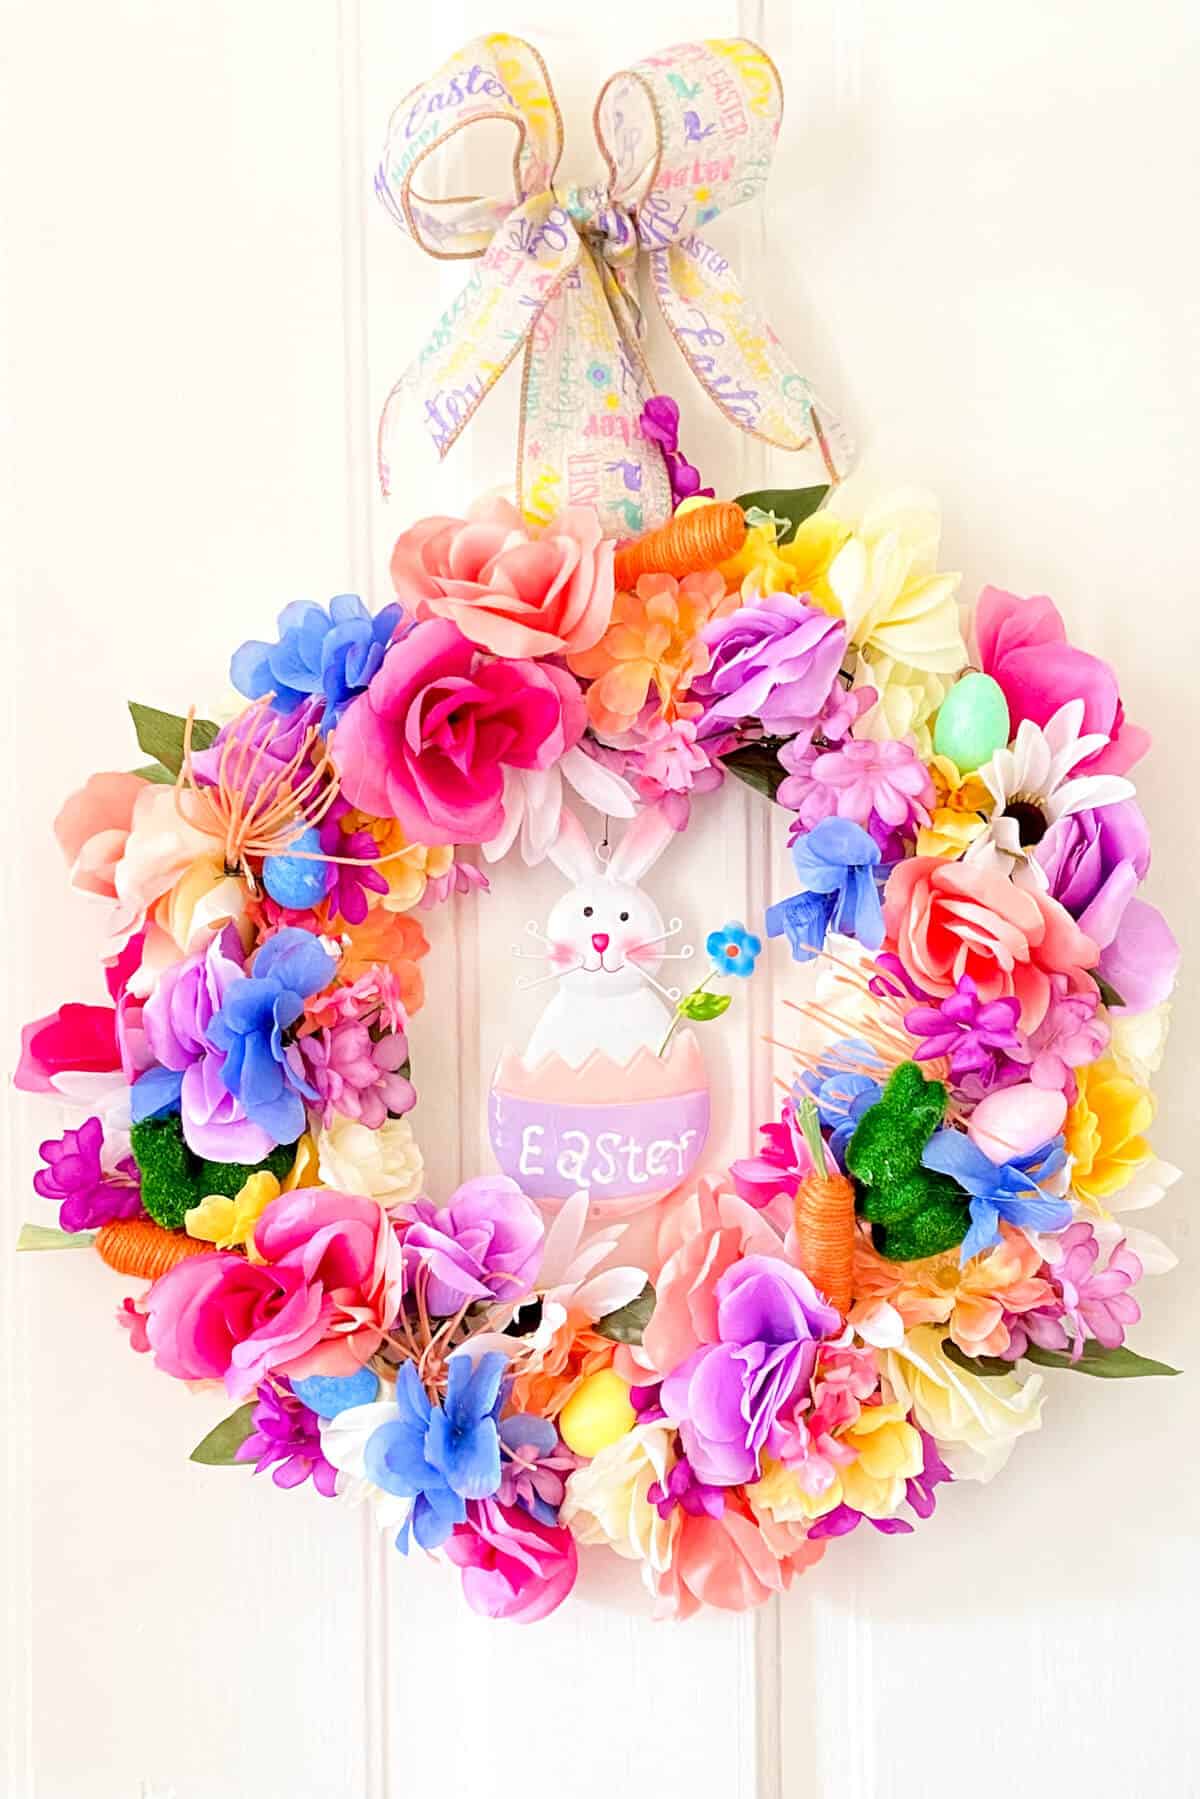
Spring is in the air, flowers are blooming, and the Easter bunny is on his way! What a wonderful time of year.
It's also the perfect season to start bringing some fun colors back into your life. Pinks and yellows and blues and purples and greens.
Almost all of the materials I used to make this fun Easter wreath were purchased at the Dollar Tree. The only exceptions were my hot glue gun, glue sticks, and floral wire...although your local store may have those too!
This fun project is only limited by your imagination. Choose any size and colors of flowers that you like best, and a fun sign or image for the center of the wreath.
And guess what? After Easter is over, just remove the sign from the center, and keep the wreath displayed on your front door throughout the spring months!

🌷 Materials
- Wreath form
- Lots of silk flowers and greenery (several dozen)
- Floral wire
- Scissors
- Hot glue gun and glue sticks
- Ribbon
- Extra decorations (paper eggs, carrots, bunnies, etc)
🌟 Note: Choose a large variety of sizes and colors of the flowers, and get a lot more than you think you'll need. It's amazing how many flowers can fit on a wreath form. Also, look for different types of greenery...different shapes and sizes of leaves, and maybe some ferns too!
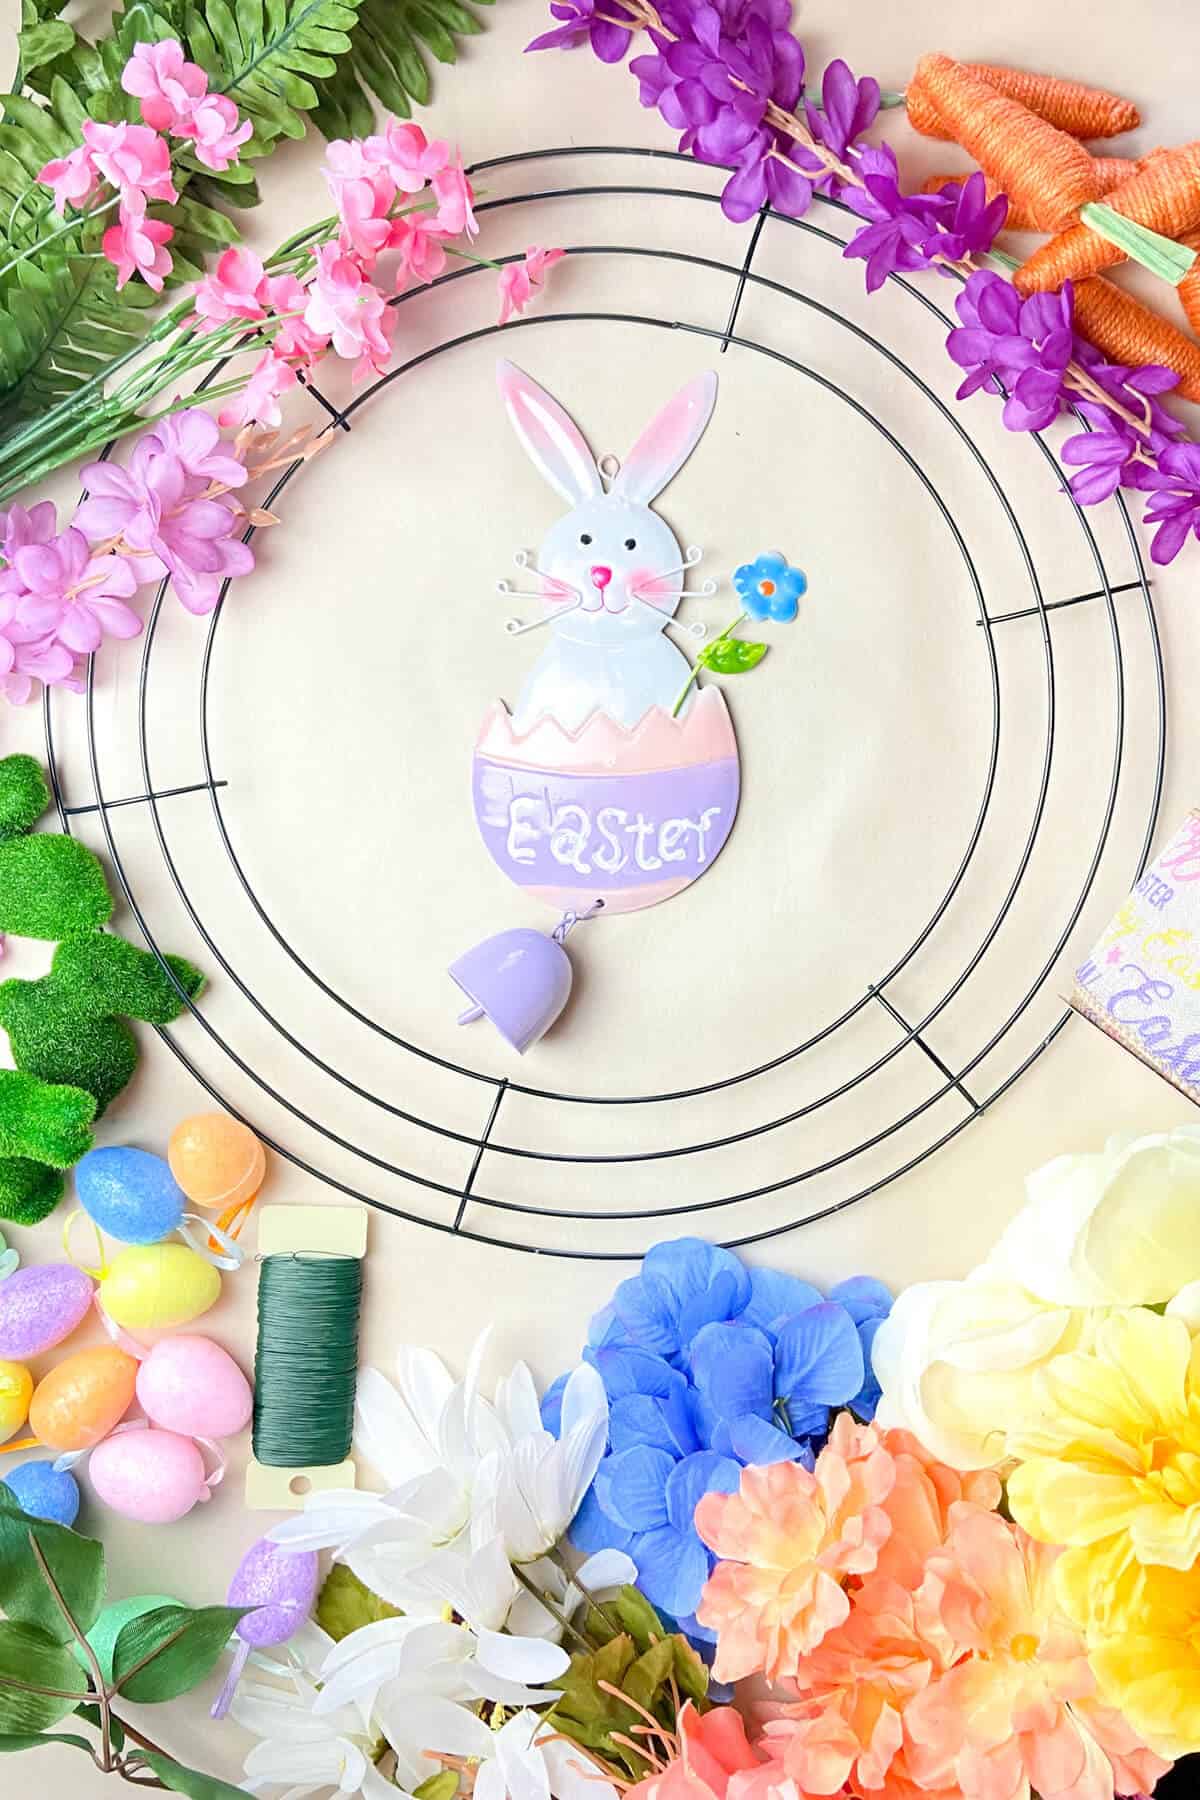
💐 Putting the wreath together
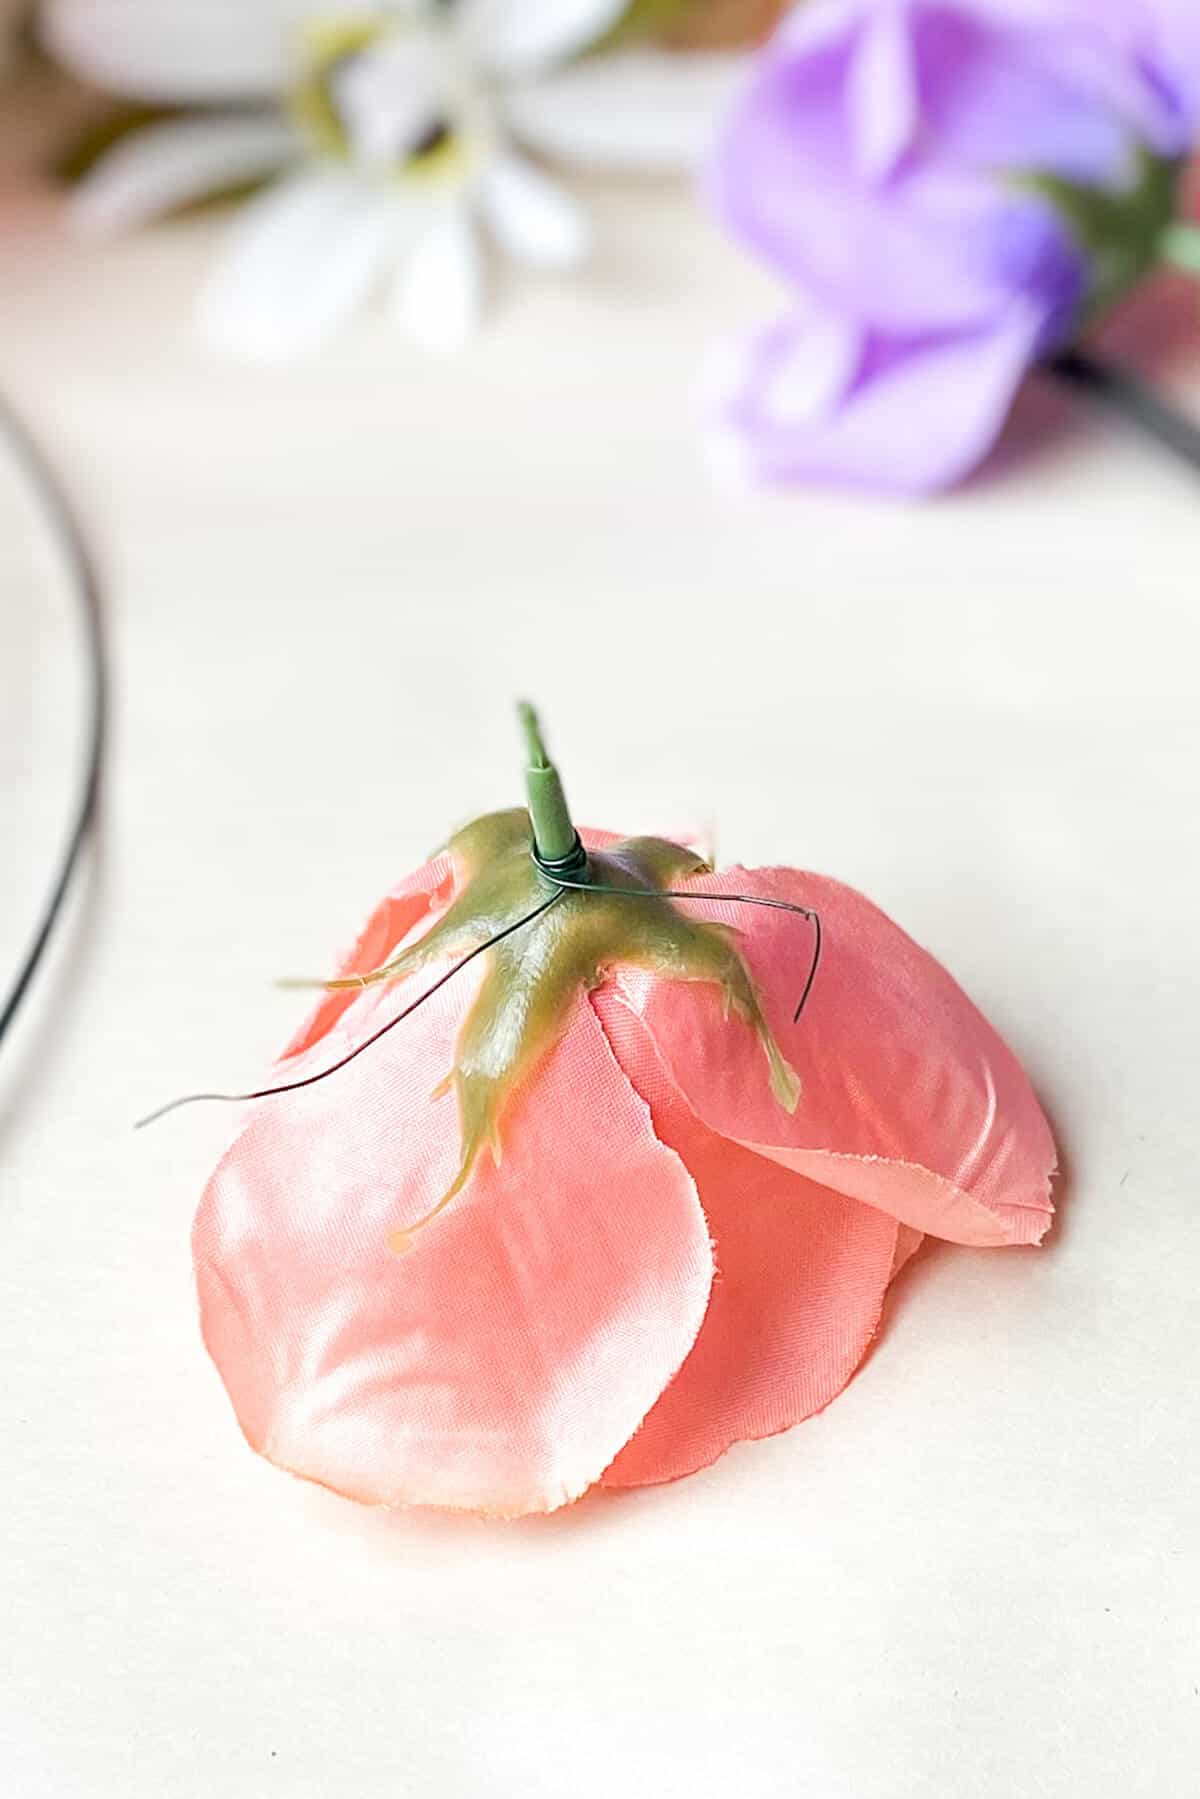
This Easter wreath is so easy to assemble. First, you're going to start by cutting off the stems of the flowers, almost to the base of the flower, leaving just a small bit of stem. If you leave the stem too long, it will get pushed around by whatever is behind it (the table while you're assembling it, and then later on, your front door).
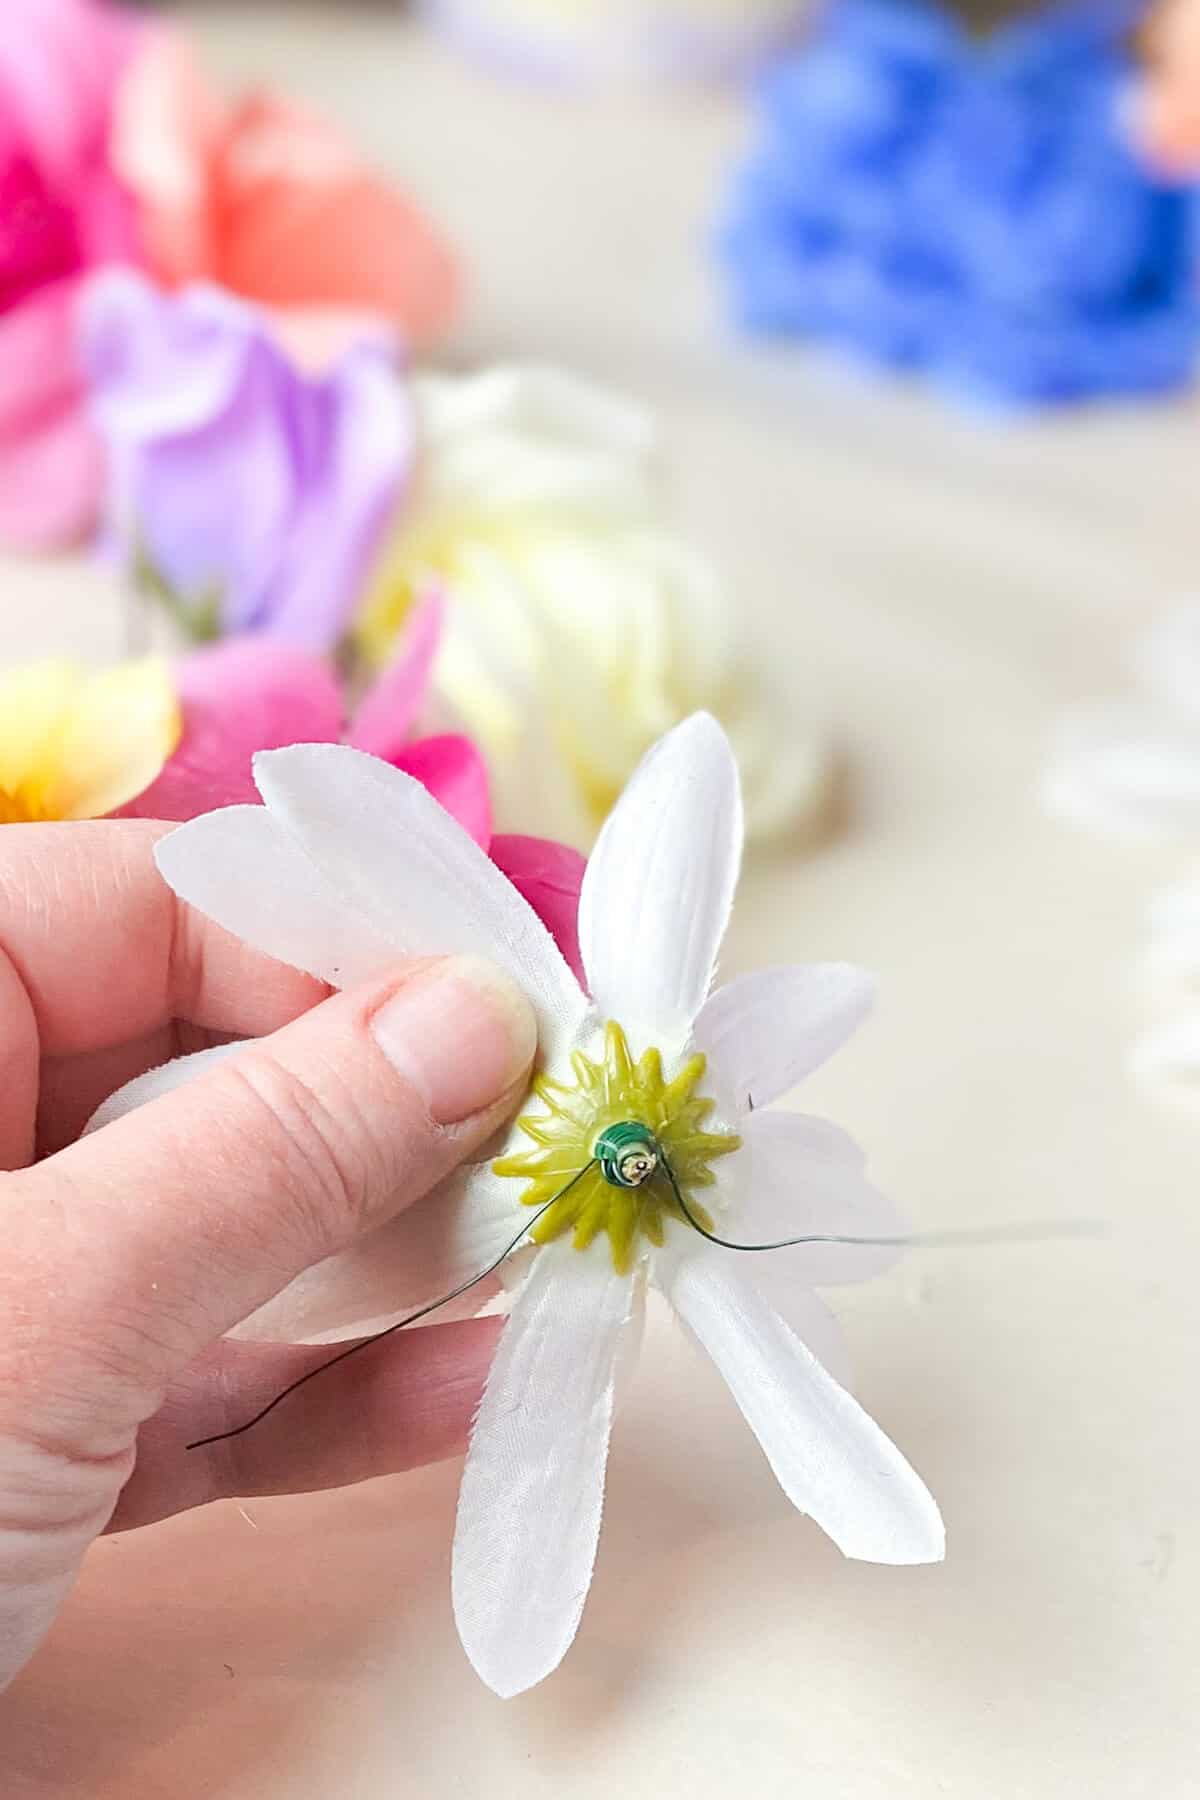
Then, cut a length of floral wire and wrap it around the base of the stem several times, leaving several inches of tail to wrap it around the wreath frame.
When you're first adding the flowers to the frame, they have a tendency to flop in all directions. Especially in the beginning, I found it helpful to add just a bit of hot glue around the base of the flower and wire to help hold it in position.
Choose somewhere on the frame to start and wrap the tails of wire around several times.
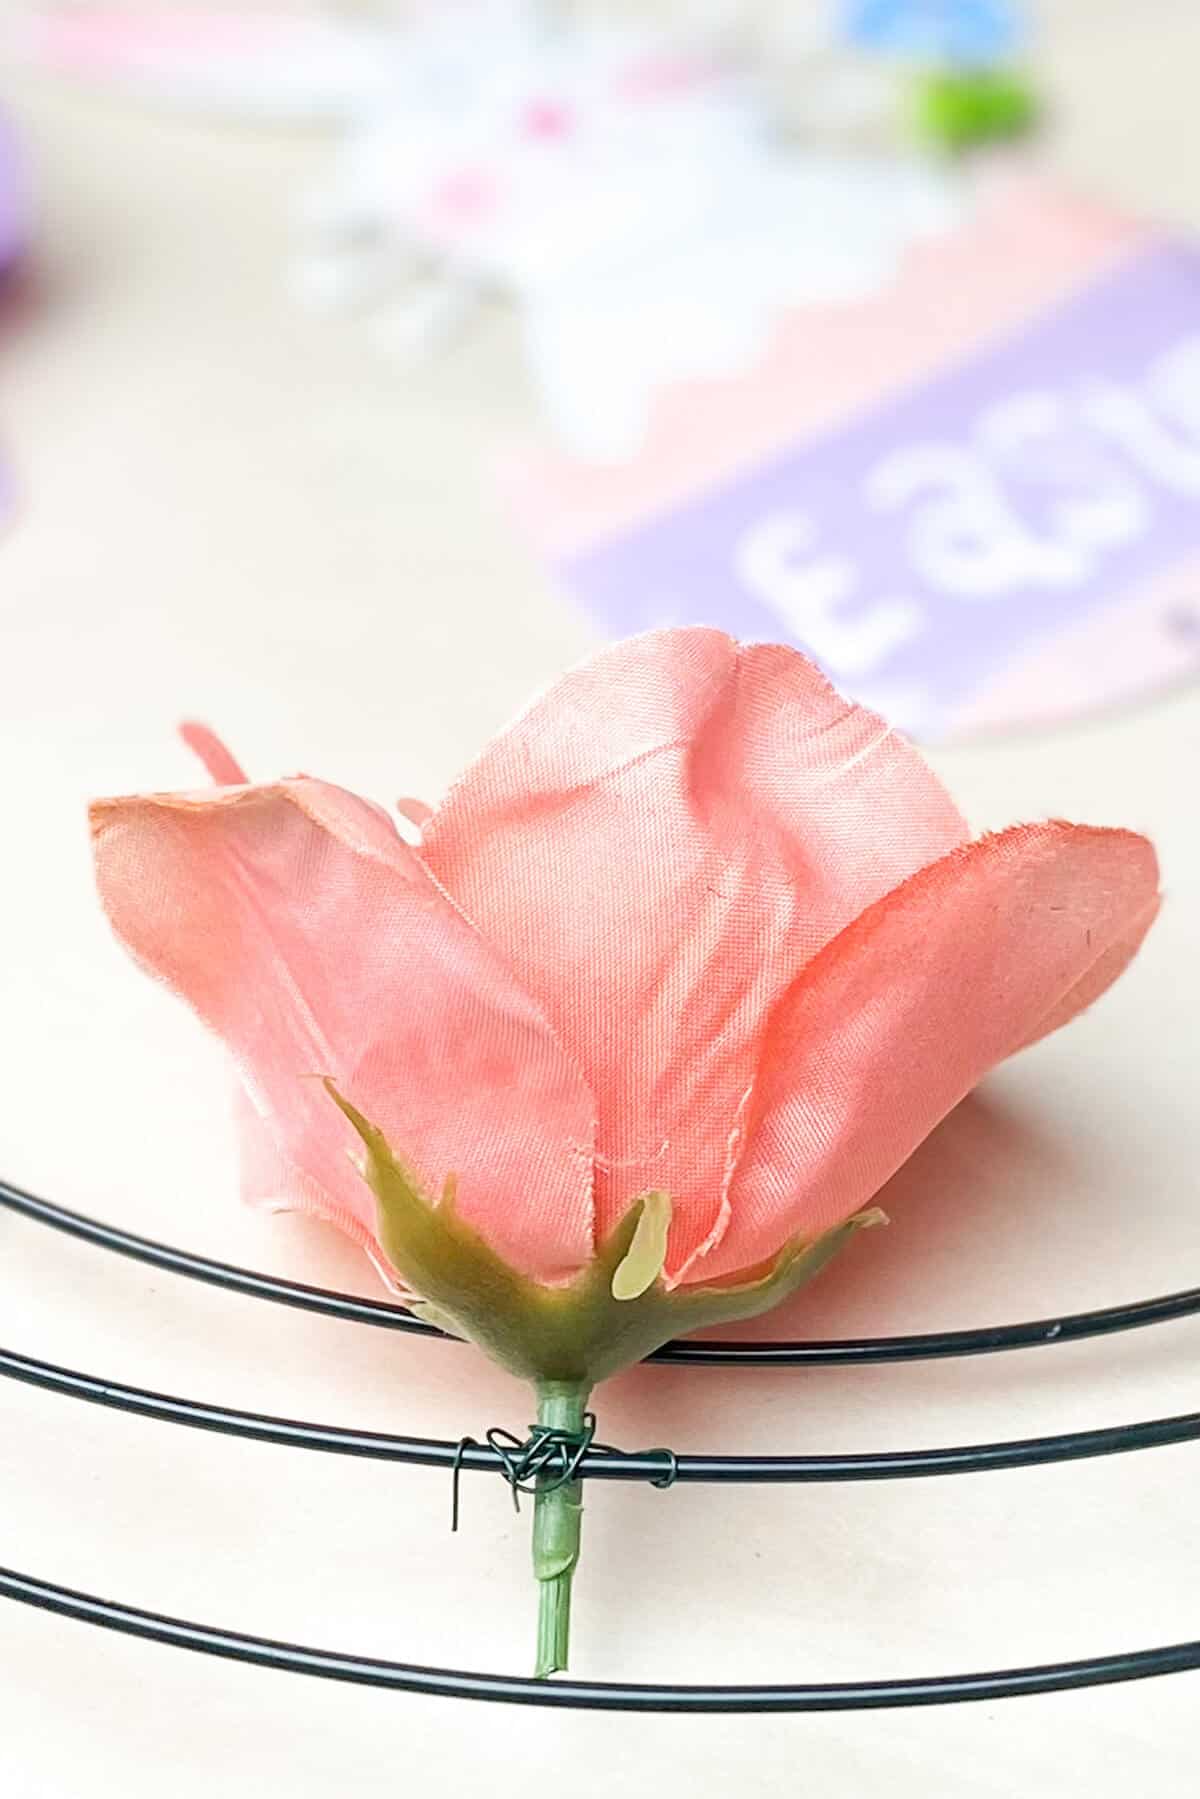
As you go along, space out your flowers all around the wire frame. Particularly if you're using a variety of colors like I did, you don't want to get clumps of all the same color in one space.
🌟 Tip: In the image below, I thought it was a good idea to attach the bunny sign in the beginning. Mistake. It kept getting in the way as I was attaching the flowers. My advice: Add the sign last.

While attaching the flowers, also make sure to point the flower heads in all different directions...facing outward, inward, and straight out. This will help fill in all the spaces around the wreath and make it look really full.
Continue working around and around and around. Take a step back now and then and look at it, to find spaces that need filling in or areas where you need to place a different color.

Once you're happy with the flowers, add your other decorative elements, like Easter eggs, carrots, and bunnies.
Finally, attach the sign with some of the floral wire and wrap a ribbon around one of the frame wires to make a hanger.
Display your beautiful Easter wreath anywhere in your home, hanging on the front door or propped on the mantel.
Happy Easter!

Do you love crafting as much as I do? Check out a few more fun projects now!
- Easter Bunny Amigurumi Doll
- Custom Painted DIY Doormat
- Mason Jar Soap Dispenser
- String Art Step-By-Step Tutorial
And some yummy Easter recipes too!
Did you make this Dollar Tree Easter Wreath? Let us know in the comments below!




Leave a Reply