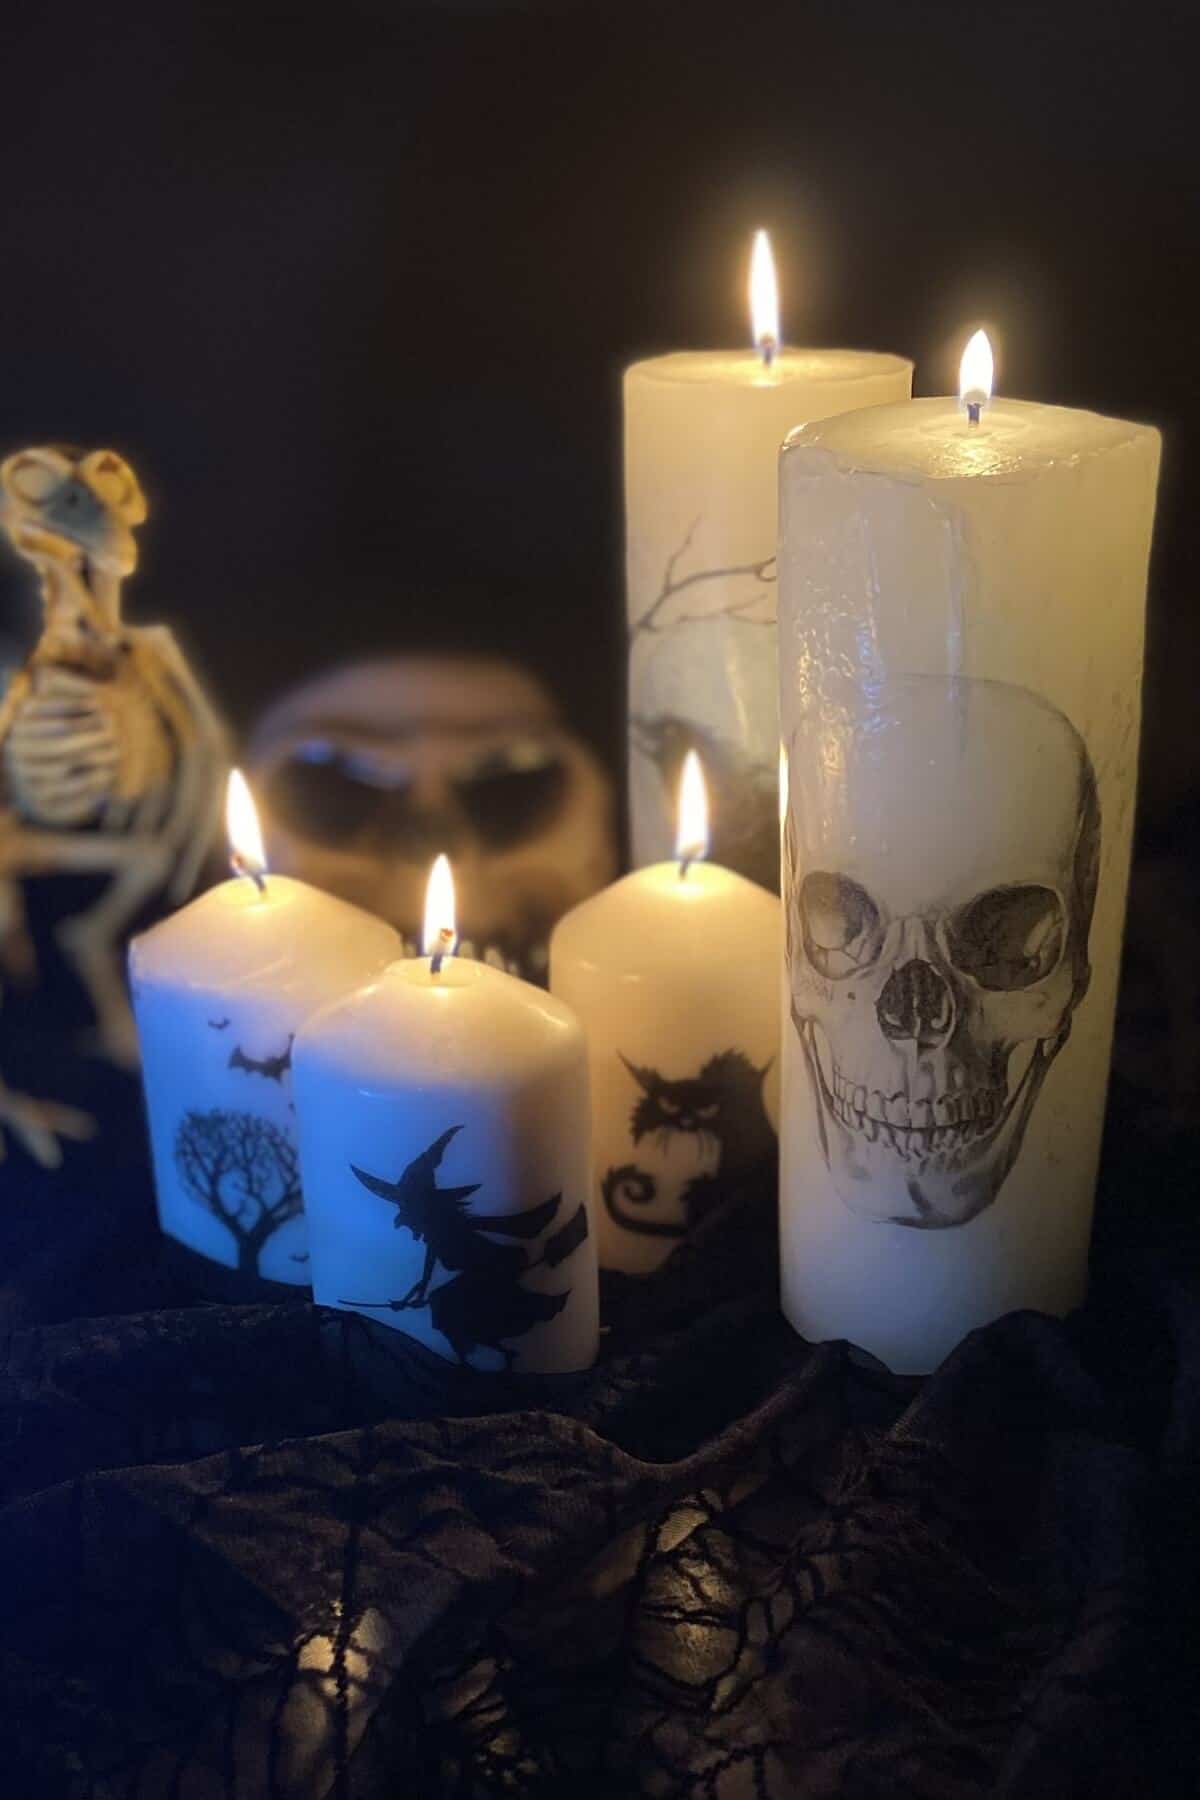
Make your own DIY image transfer candles and you'll be ready to display this delightfully spooky Halloween home decor in just a few minutes. All you'll need are a few supplies you already have around the house to make this fa-boo-lous centerpiece!
We always decorate the front yard and outside of our house for Halloween, with our famous big guy, homemade tombstones, and head in a jar, in anticipation of the hundreds of trick-or-treaters that visit each year. And the annual flash mob that we dance in brings a huge crowd too!
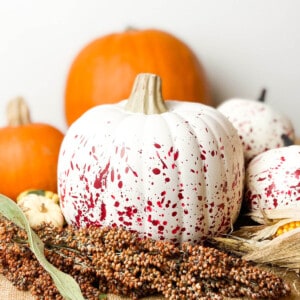
This year, though, I decided to decorate inside too. The first project was making lots and lots of origami bats flying across the walls and ceiling of our living room. Then, I moved on to a crochet trick-or-treat bag, cheesecloth ghosts, white pumpkins splattered with red paint, and these image transfer Halloween candles. It's been a fun few weeks of Halloween crafting for sure!
I've always wanted to try these image transfer candles, but always suspected that it would be difficult. Boy was I wrong! It's one of the easiest projects I've ever done. In about 5 minutes, using some common and inexpensive materials, you can have your own custom candles to display your holiday spirit.
And not just for Halloween...they're great year round. Just imagine making these candles with images of Santa Claus, a pretty spring or autumn scene, or anything at all. The only limit is your imagination.
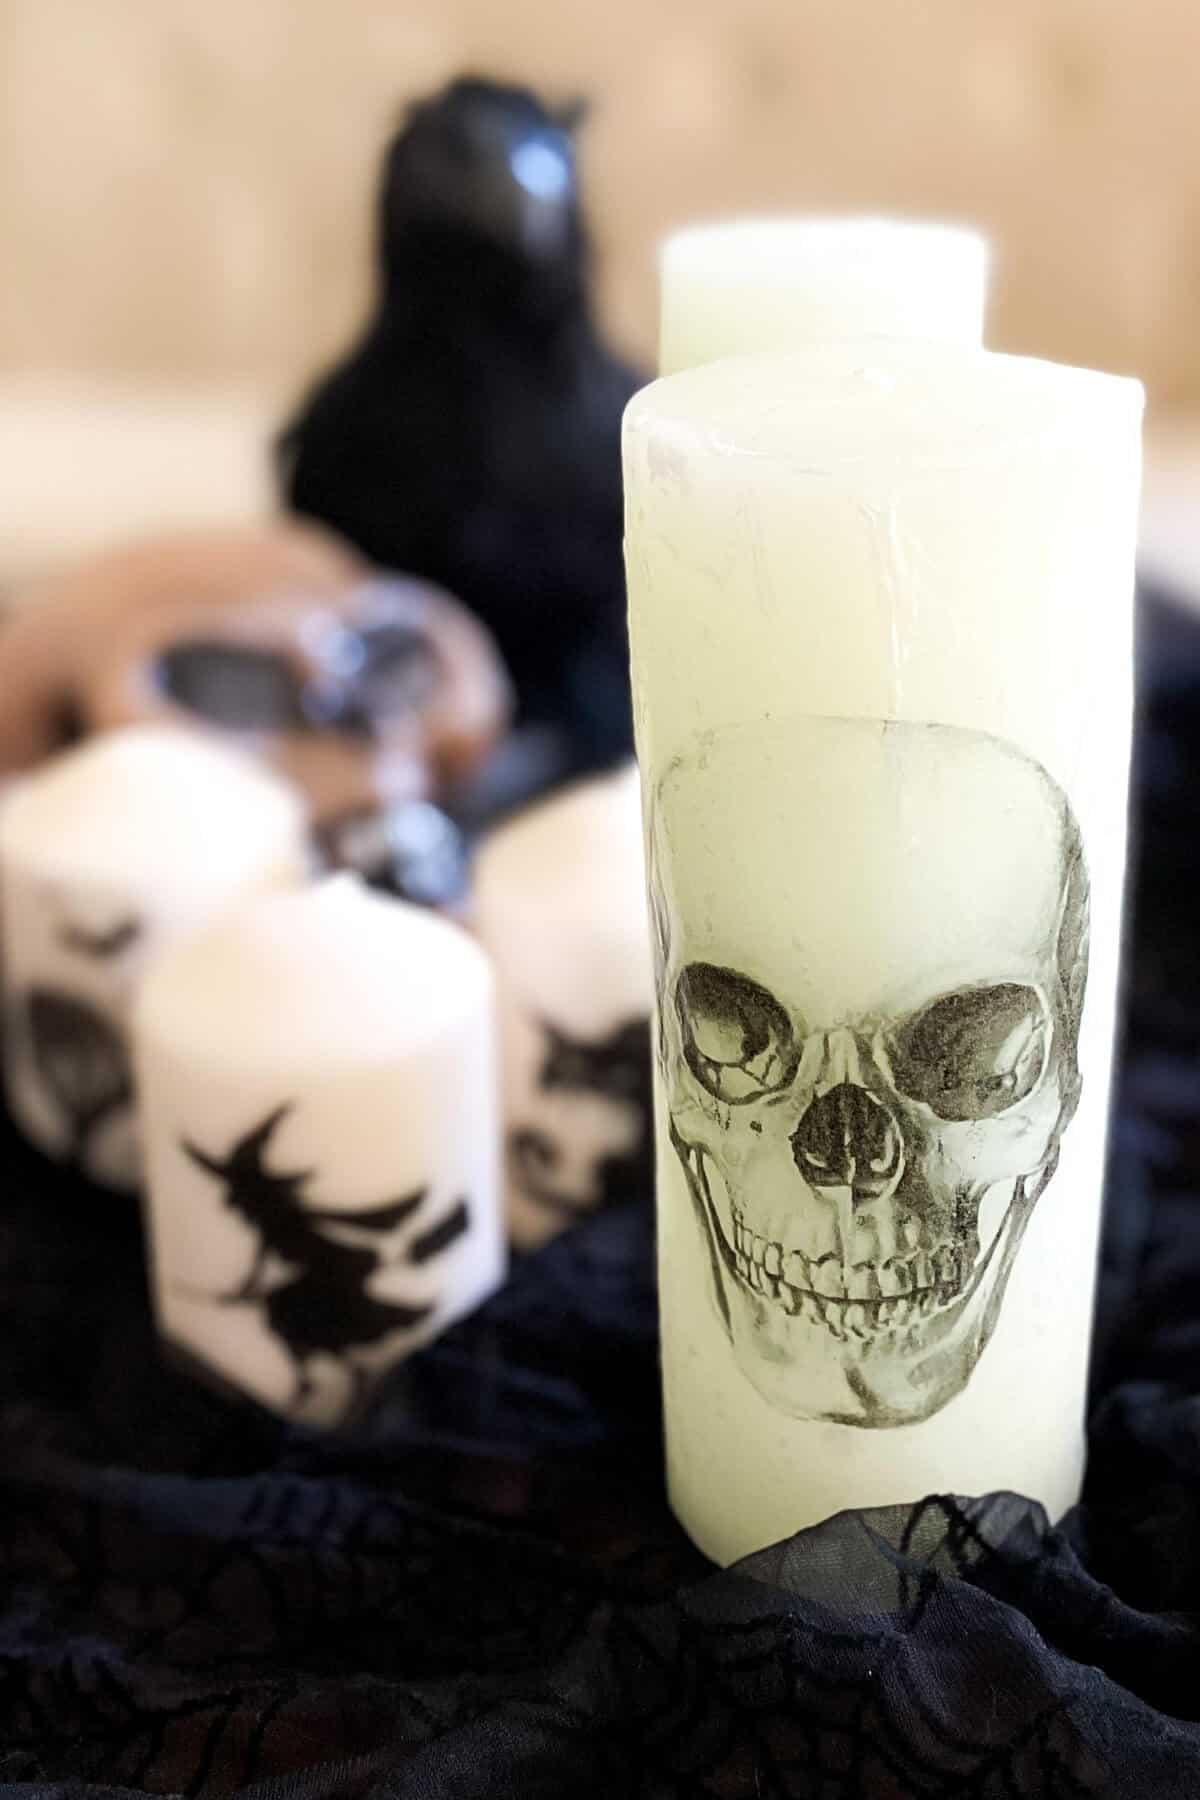
🫙 Materials
- Pillar candles
- Regular home printer
- Printer paper
- Tissue paper
- Scotch tape
- Scissors
- Wax paper
- Hair dryer
- Oven mitts or kitchen towel
🖨️ Print the images
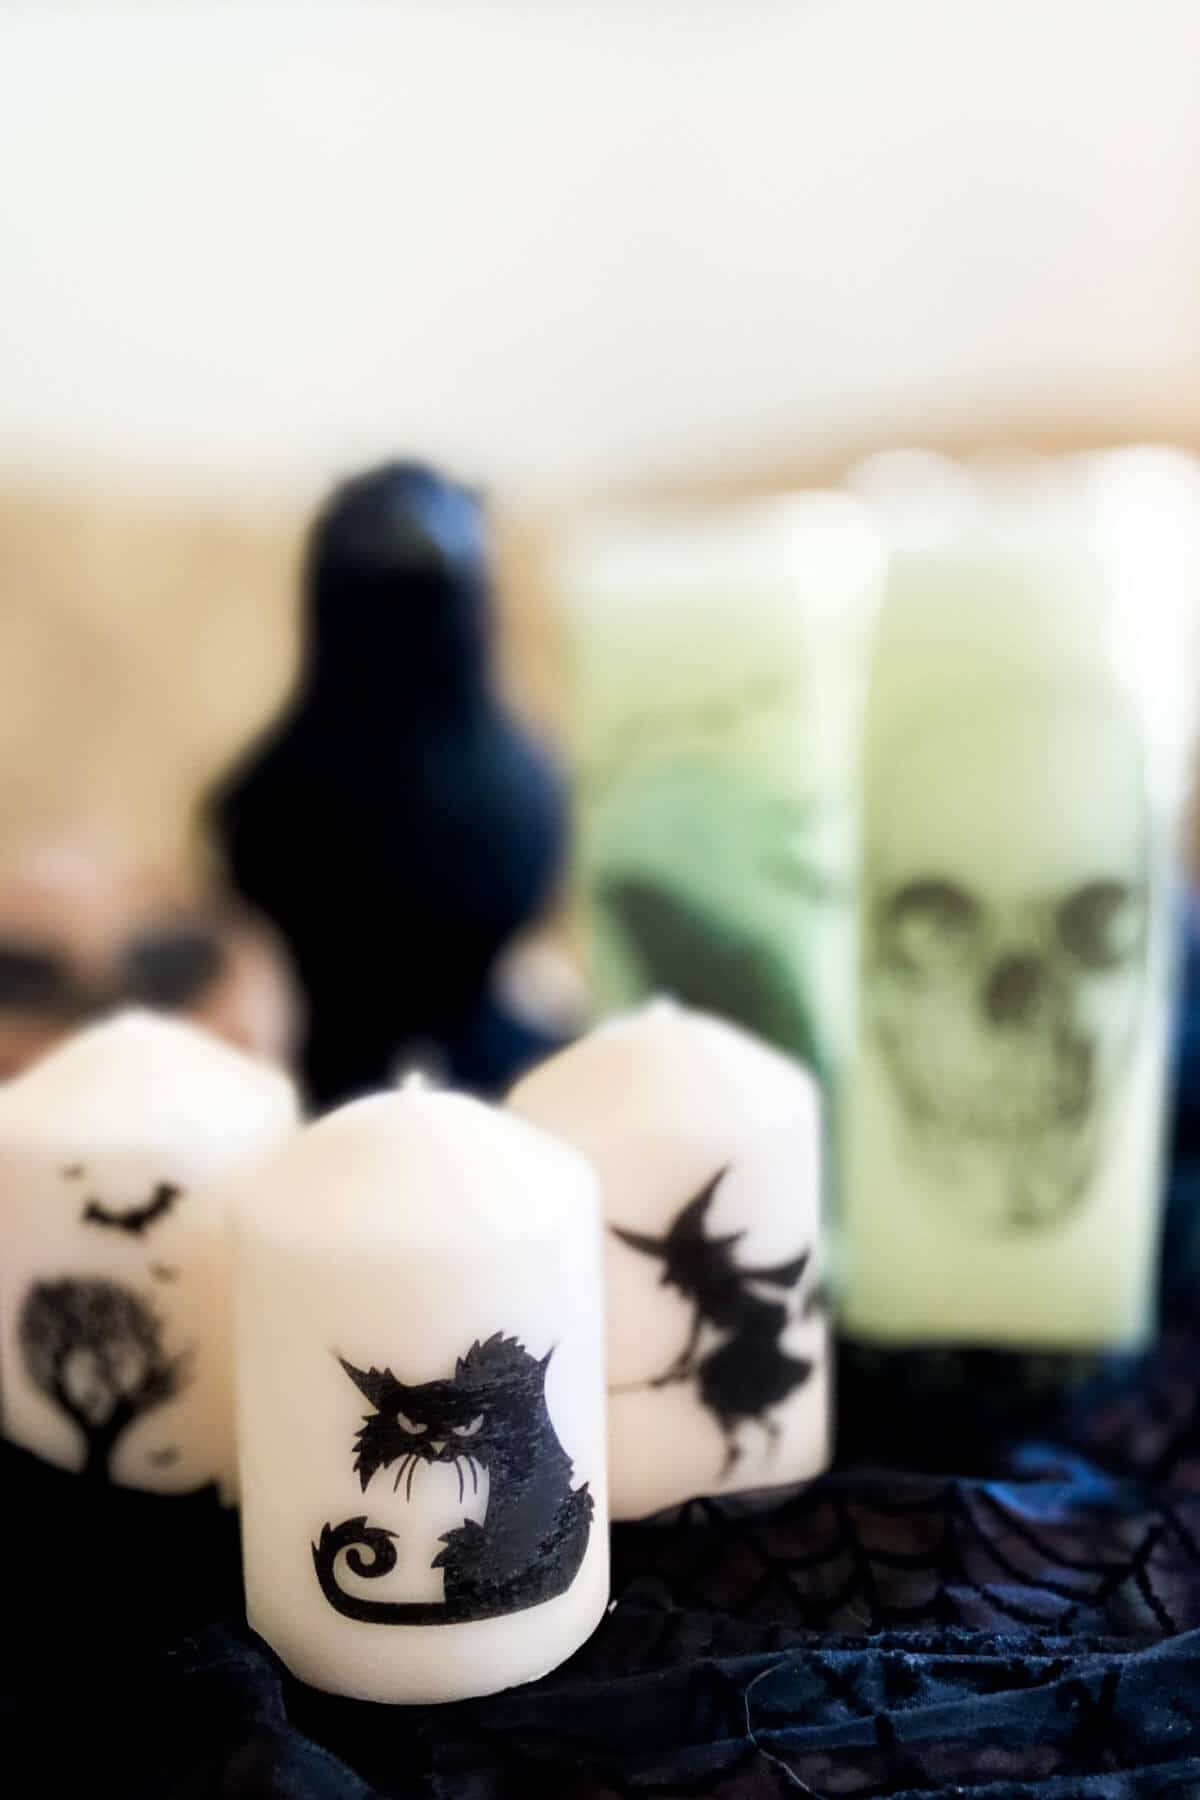
The first thing you need to do is find an image online that you'd like on the candle. For Halloween, search for images like skeletons, skulls, ravens, witches, or bats.
Once you've decided on an image, it's time to prepare the paper. You'll be printing the image onto tissue paper, but of course you can't put tissue paper by itself through the printer. So there's the trick...
Lay a piece of tissue paper flat on a table. Then, place a piece of regular printer paper on top of that. Fold all the edges of the tissue paper around the printer paper and tape down all the edges, so there's nothing to get caught inside the printer.
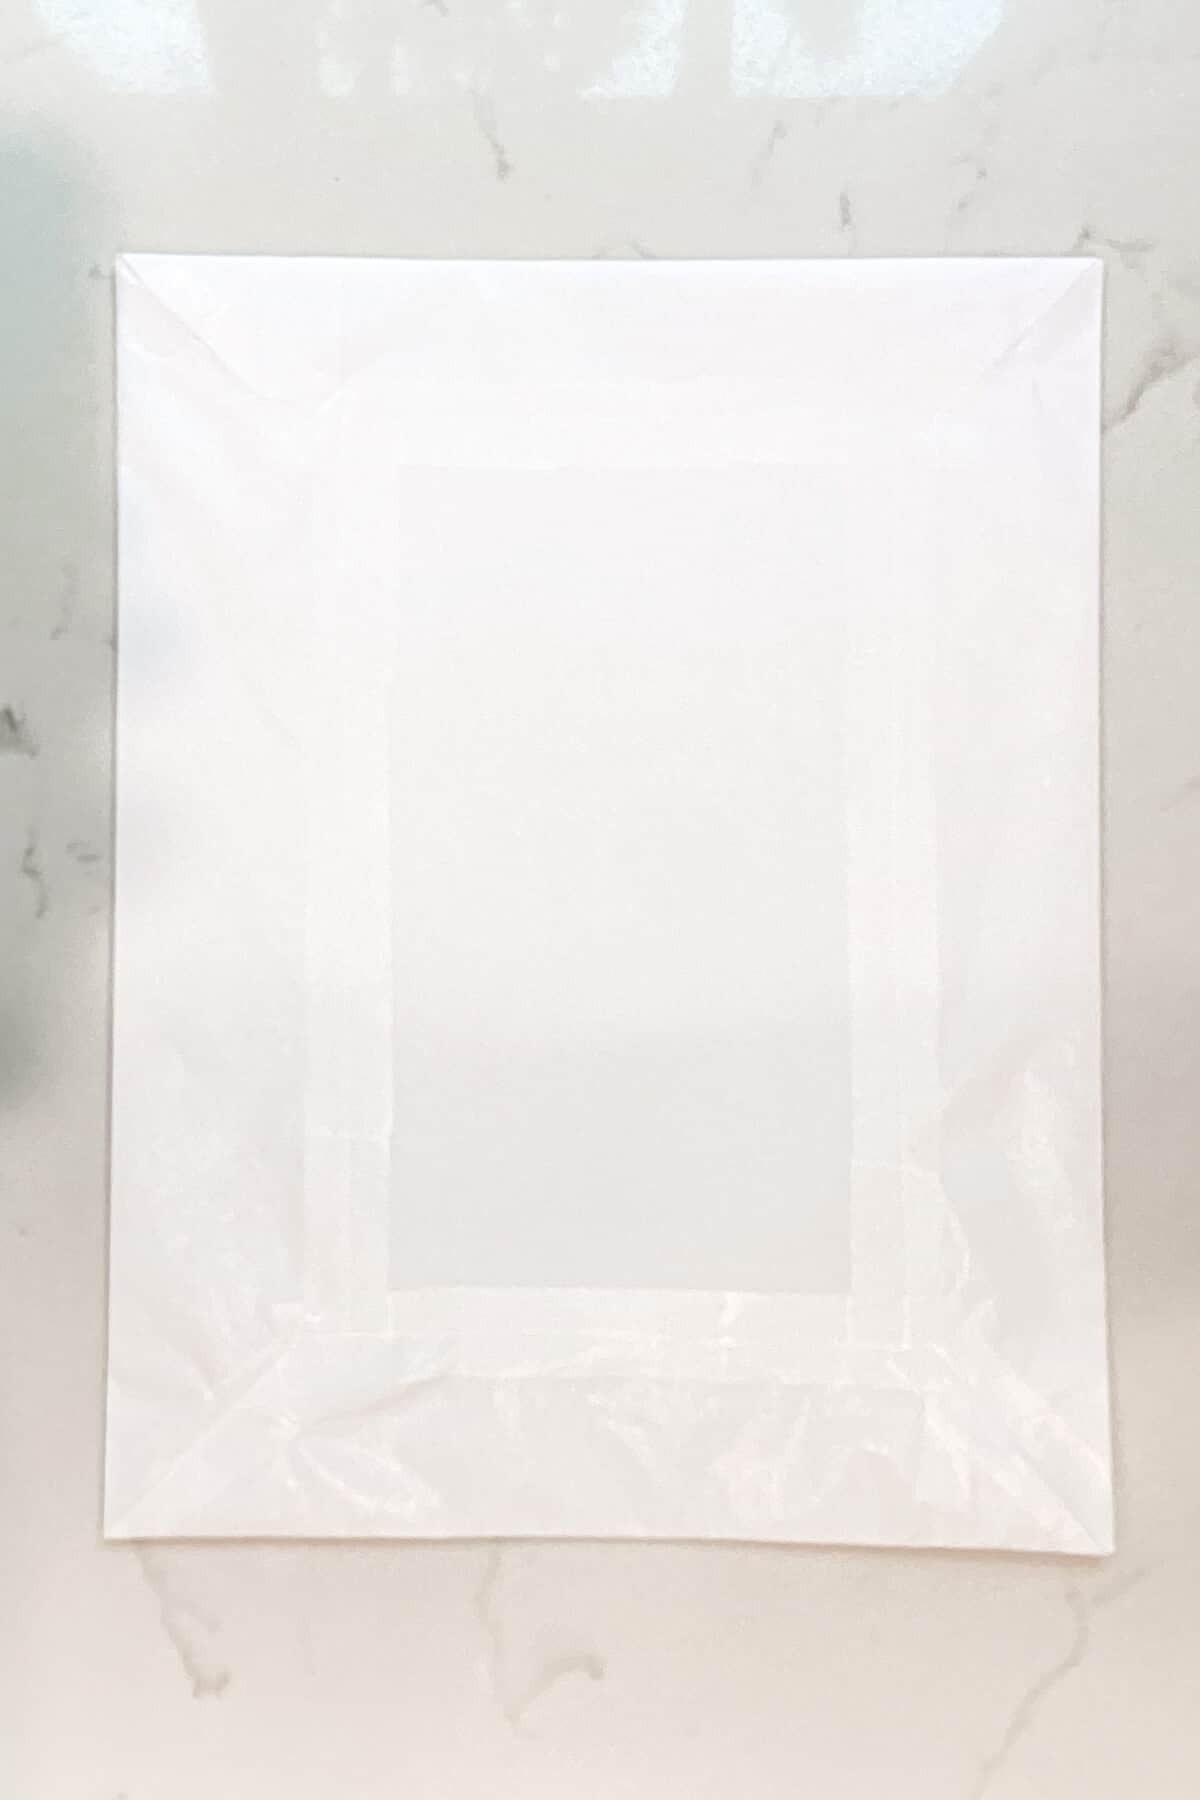
We're almost ready to print your image. If you're not sure if your printer prints on the top or bottom side of the page, test it first by making a small pencil mark on a regular blank page and then printing something. That will tell you which way to face your tissue paper in the feed drawer.
Also, try to resize your image to the size of your candle (particularly the height). First print it on a regular piece of printer paper to make sure it's the correct dimensions. Once it's the right size, place your tissue paper covered paper into the feed drawer and press Print.
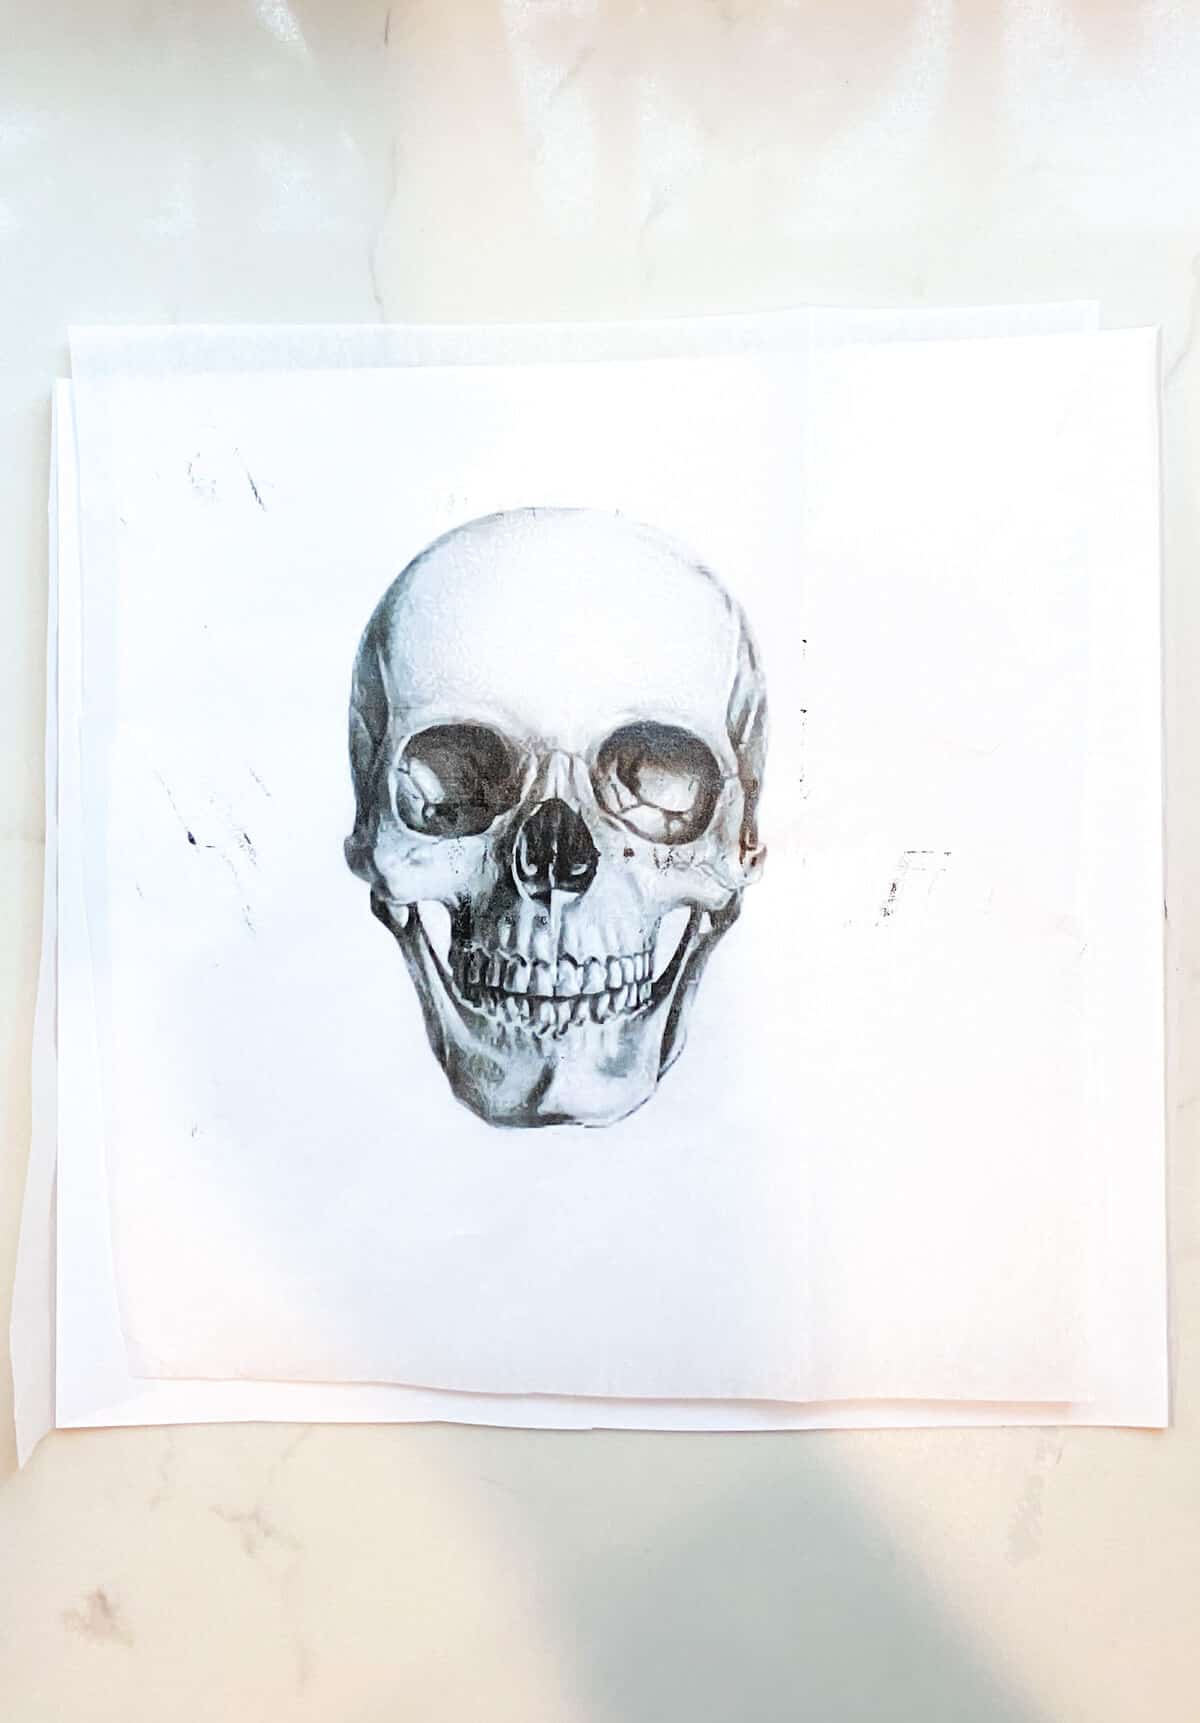
♨️ Apply image to the candle
Now that you have your image printed, using a pair of scissors, cut out the image and just keep the tissue paper portion of it (the regular paper can be thrown away).
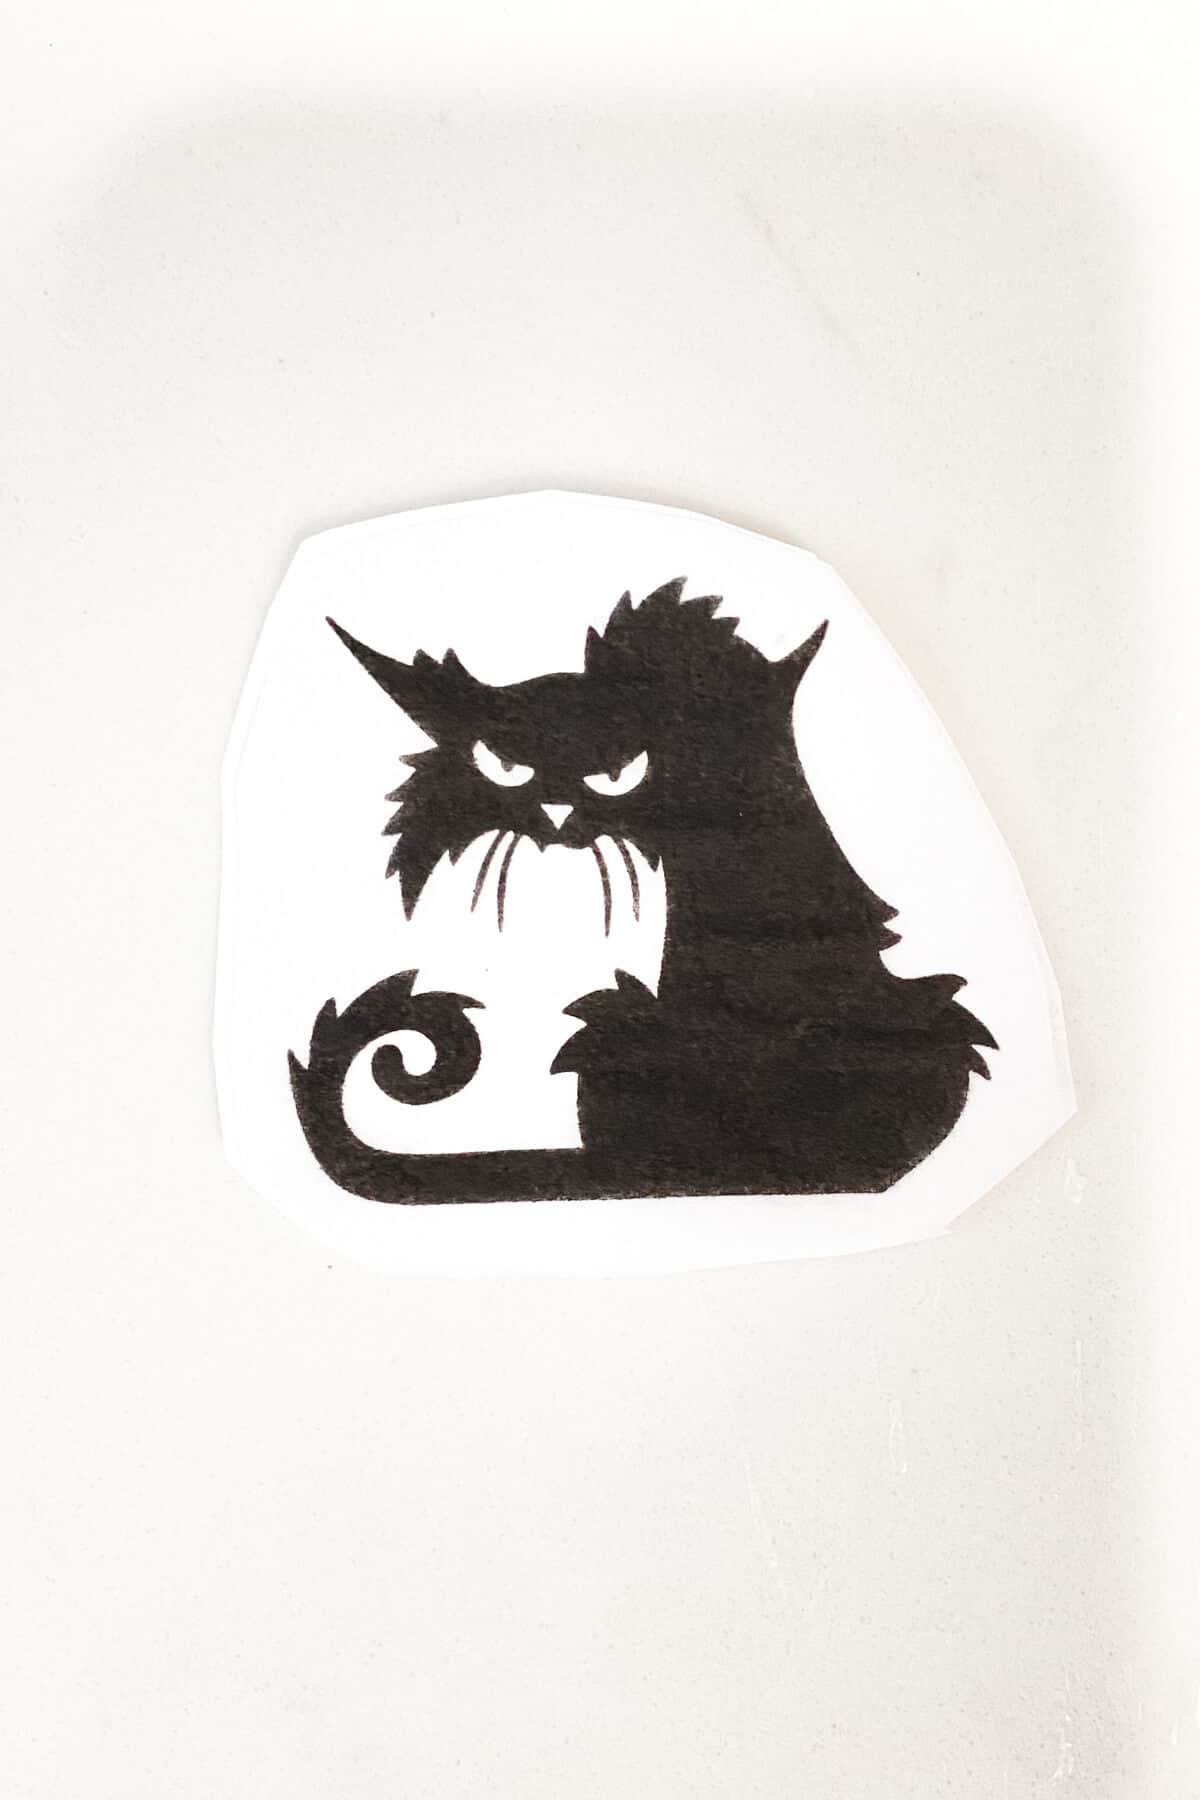
Carefully place the image on the candle where you'd like it to be attached. Then, place a long piece of wax paper over the image, making sure that both the tissue paper and wax paper are smooth.
The reason you want a long piece of wax paper is so that you can wrap it all the way around the candle and still have some extra to hold on to (you'll be holding the paper around the back side of the candle).
⭐ Tip: Use oven mitts or a kitchen towel to hold the wax paper, as this next part will get hot if you use your bare hands instead (trust me, I learned from experience).
Holding the wax paper tightly around the candle, turn your hair dryer on low, on the hot setting, and direct the hot air at the image, slowing moving it around so that the hot air melts wax over the entire image.
Essentially what's happening here is that the wax is melting off of the wax paper onto your tissue paper image, sealing the image below a layer of extra wax.
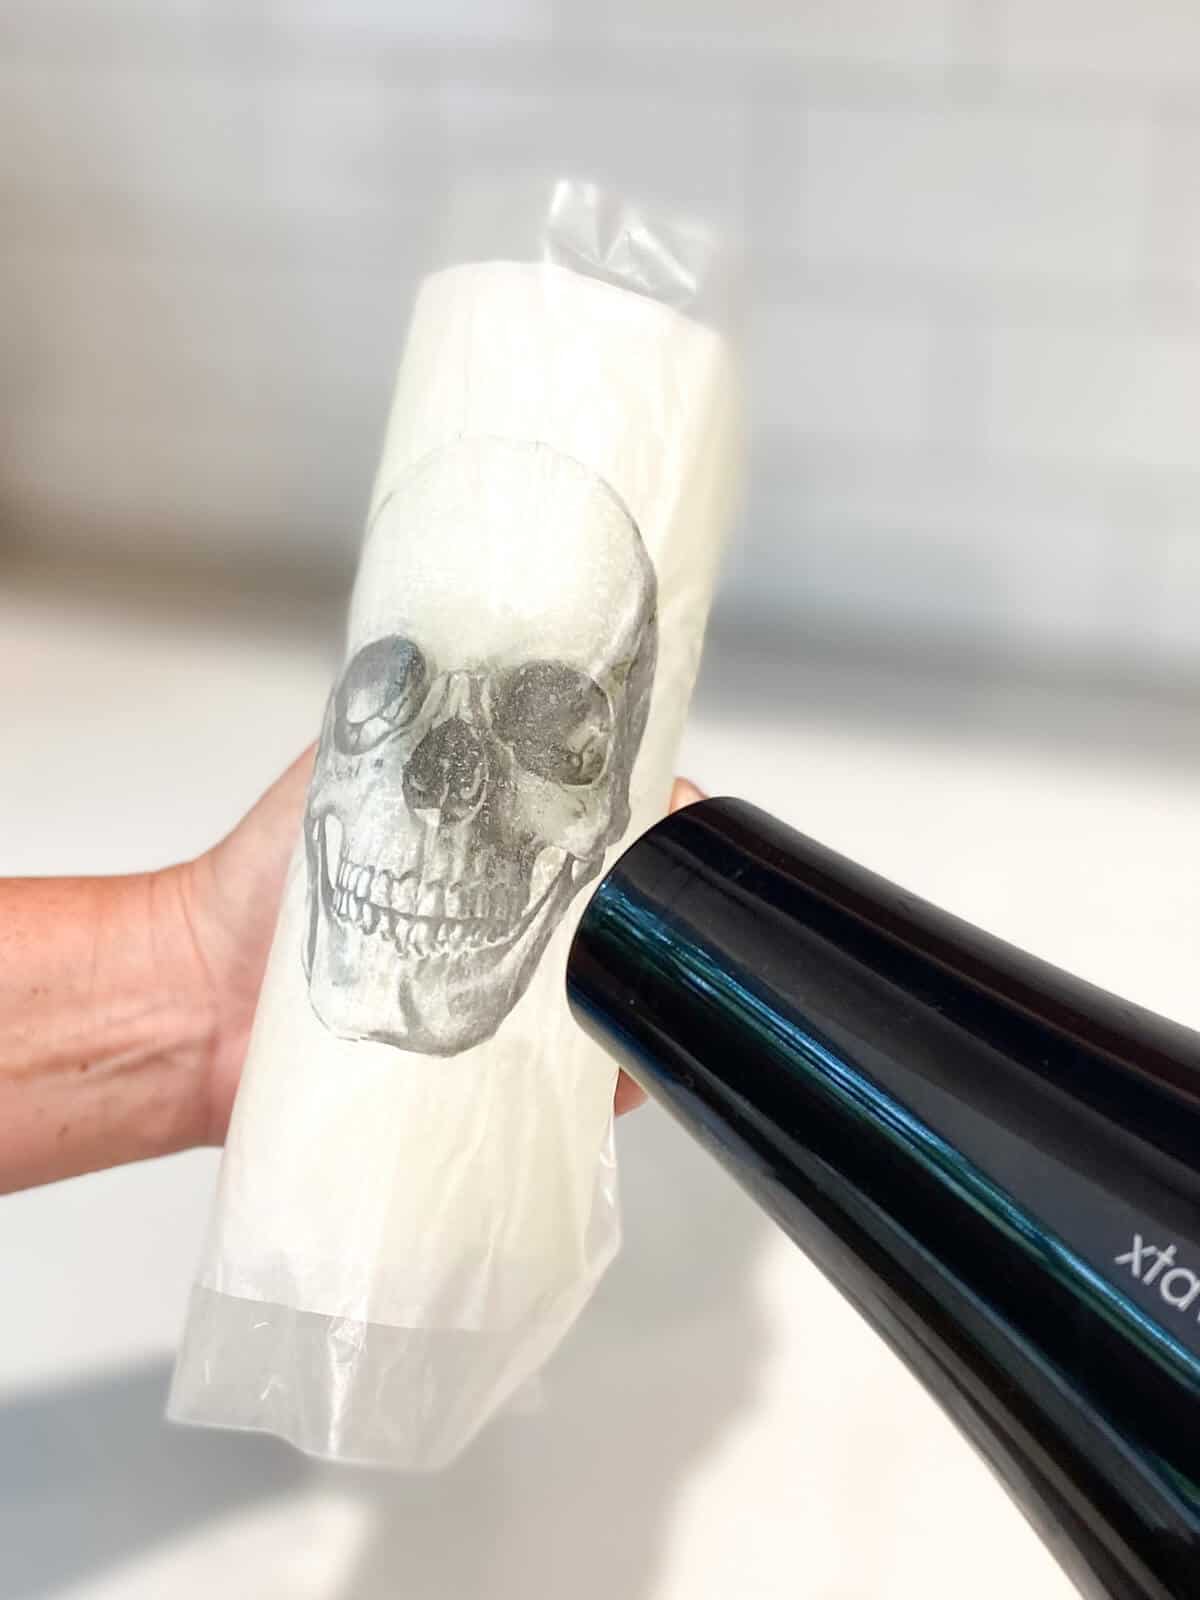
As you're doing this, you'll notice that the image becomes darker and you may even see the wax from the wax paper melting onto the image. The whole process should only take about 30 seconds or so.
Just before finishing, I like to pass the hair dryer back and forth a few times, just to make sure there are no wax drips over the image.
Now that you're finished with the hair dryer, let the image cool for a few seconds and then slowly and gently peel off the wax paper to reveal your image transfer candle!
⭐ Tip: If you see any small bubbles in the image, just smooth them out with your hands prior to removing the wax paper.
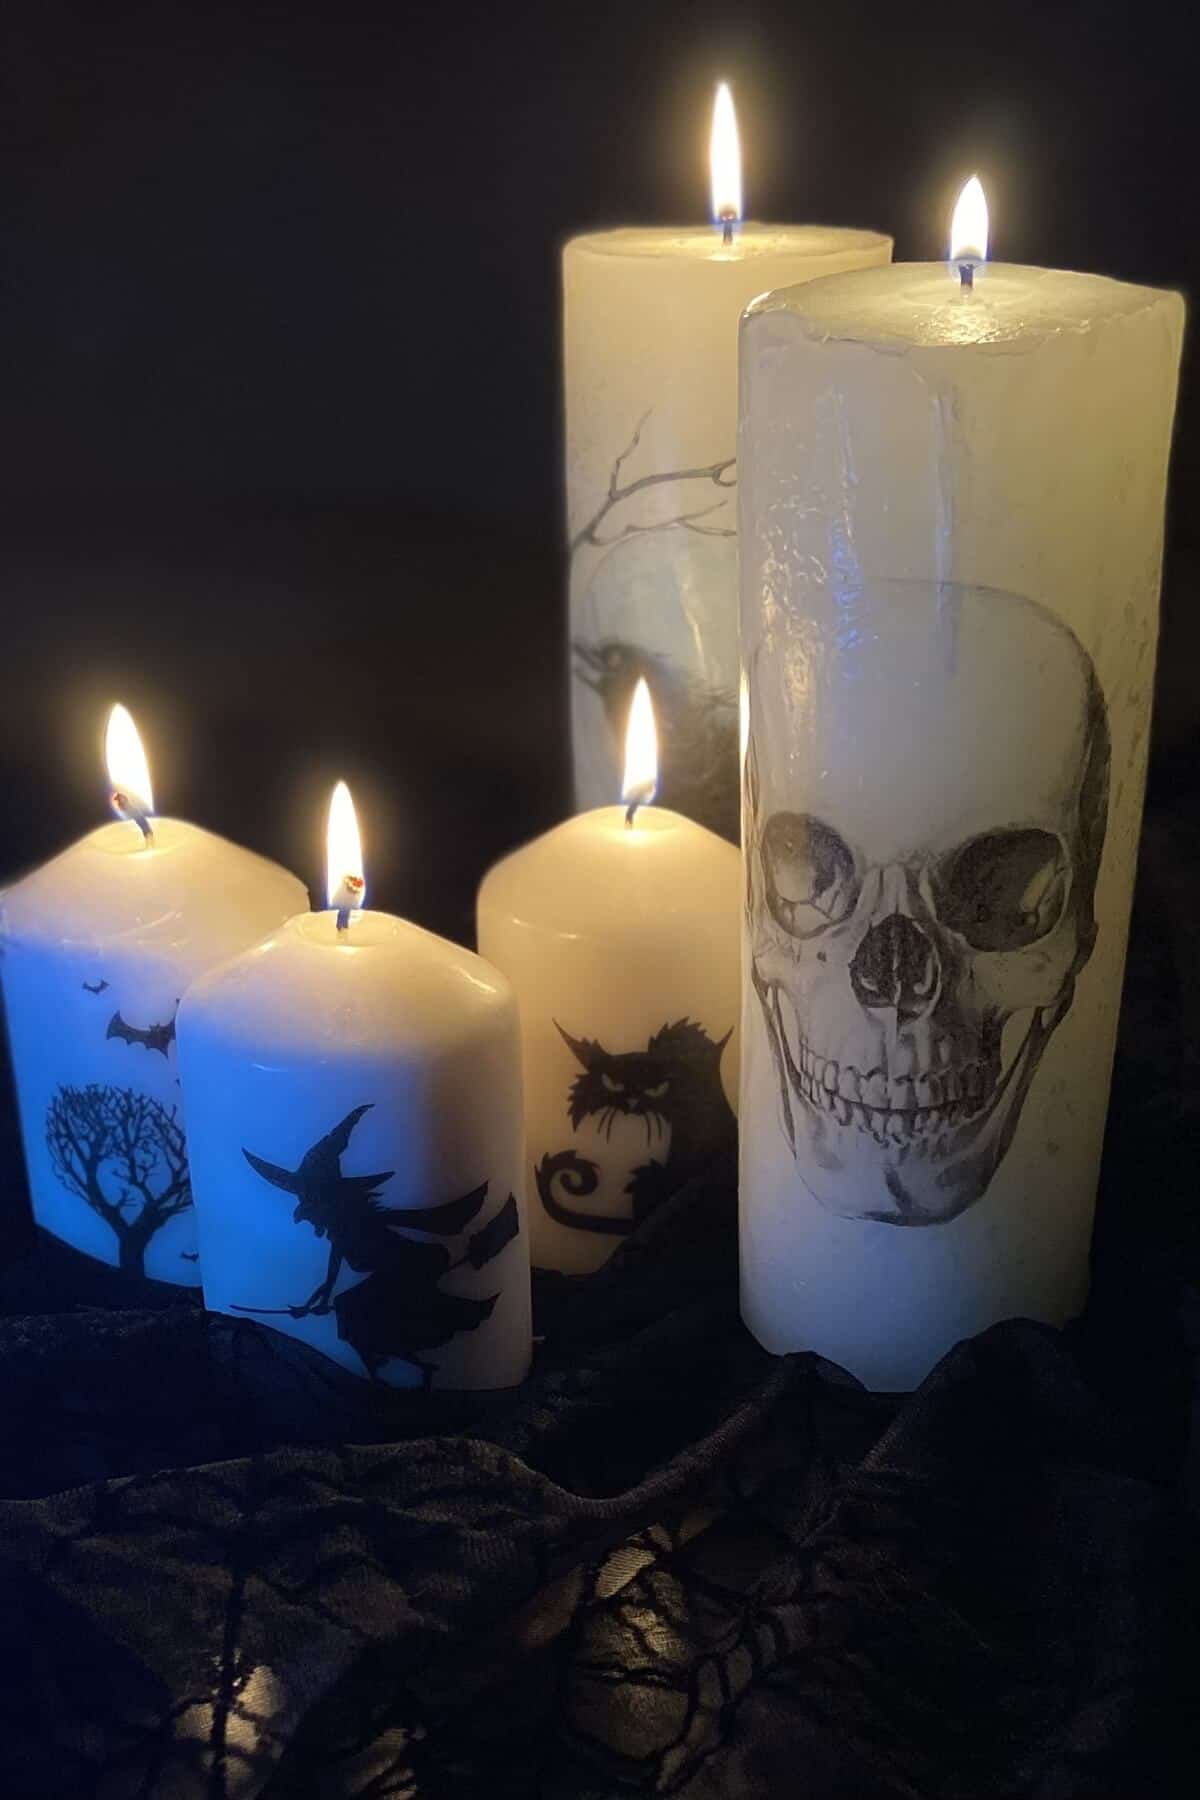
✨ Expert Tips
- Use oven mitts or a kitchen towel to hold the wax paper around the candle, so your hands don't get too hot from the hair dryer blowing on them.
- Large pillar candles (at least 3 inches in diameter) are much easier to handle than slimmer candles.
- If there are any small bits of wax on the image after removing the wax paper, you can easily (but gently!) scrape them off with a fingernail.
- After removing the wax paper at the end, if you see any areas that were missed, you can easily hold a small piece of fresh wax paper over that portion of the image and apply hot air from the hair dryer again, then remove as usual.

Happy Halloween!
Love Halloween? Check out our other fun projects and delicious recipes:
- Paint Splatter Pumpkins
- Crochet Trick-or-Treat Bag
- Easy DIY Tombstones
- Big Guy Halloween Decoration
- Head in a Jar
- Paper Mache Mask
- Spooky Face Meat Pie
- Black Squid Ink Pasta
- 3-Ingredient Homemade Peanut Butter Cups
- Triple Chocolate Cupcakes
- What Does The Fox Say?
Did you make these DIY Image Transfer Candles? Let us know in the comments below!





Leave a Reply