Halloween at Maplewood Road is a very big deal, which of course calls for a very Big Guy, with hands reaching up 14 feet high! This scary Halloween decoration DIY will make a BIG impression!
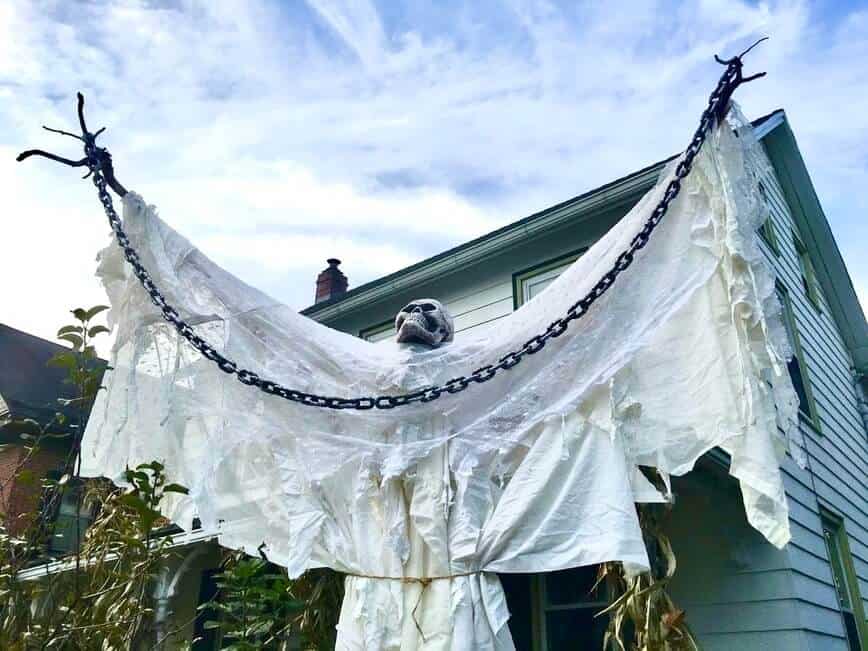
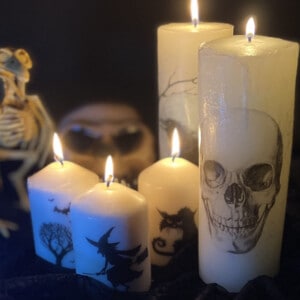
We make nearly all of our own Halloween decorations, whether it's spooky image transfer candles, blood splattered pumpkins, a head in a jar, tombstones, and even a crochet trick-or-treat bag.
Then, a few years ago, we decided that we wanted to build a new homemade Halloween decoration for our yard and one that makes a really big statement! I was initially inspired by something I saw online and thought, “How can we do something similar?” So, we thought and talked and went to the hardware store, and the Big Guy was born!
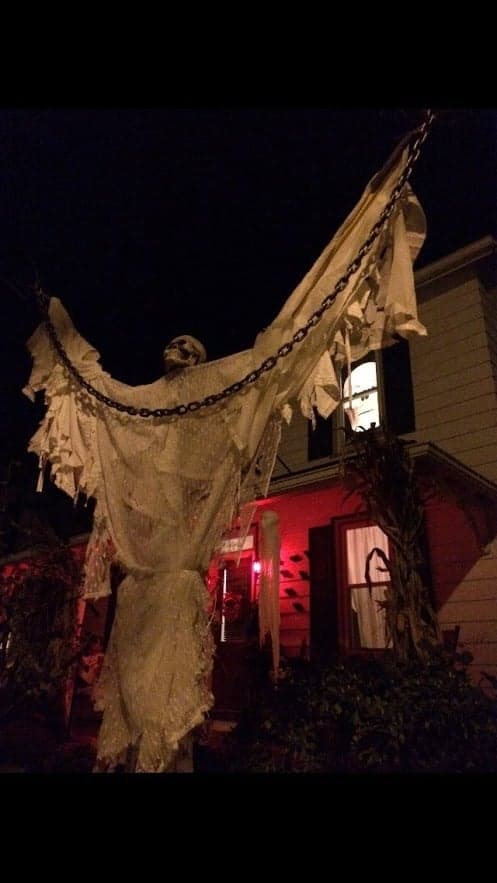
The tools needed for this project are common ones, like a drill and mallet. However, a few of the other materials will require some creativity.
Tree roots for hands, for example. We walked around in the woods and searched for small, gnarly tree roots that had been uprooted. Luckily, we found some rather quickly and they’ve lasted for years! If you’re unable to find roots, though, then use something else, like small branches.

Likewise with the head and chain. We purchased a large styrofoam skull for the head, but we’ve also used other things over the years...like a clown mask one year when we were dressed as clowns. The lightweight plastic chains were also purchased at a Halloween store. And the fabrics were found very inexpensively at a thrift store, then rips and tears were torn into them when I brought them home. Oh, and the 8’ tall sign post...don’t ask. 🙂
🧰 Materials
- Two 1” x 2” x 6’ boards
- One 1” x 2” x 3’ boards
- 2’ x 2’ x ⅛” hardwood panel
- Seven 2” bolts & seven nuts
- One 3” bolt & one nut
- Four 2” wood screws
- 4’ rebar
- PVC or metal pipe, approx 4 ft in length
- Square sign post, 2” x approx 8’ tall
- Mallet
- Drill
- Staple gun & staples
- Black spraypaint
- Skull head
- Tree roots for hands
- Large plastic chains
- Torn fabric
- Twine
- Strobe light or other bright light
🔨 Building
The first step in this project is to build the frame for the body and arms.
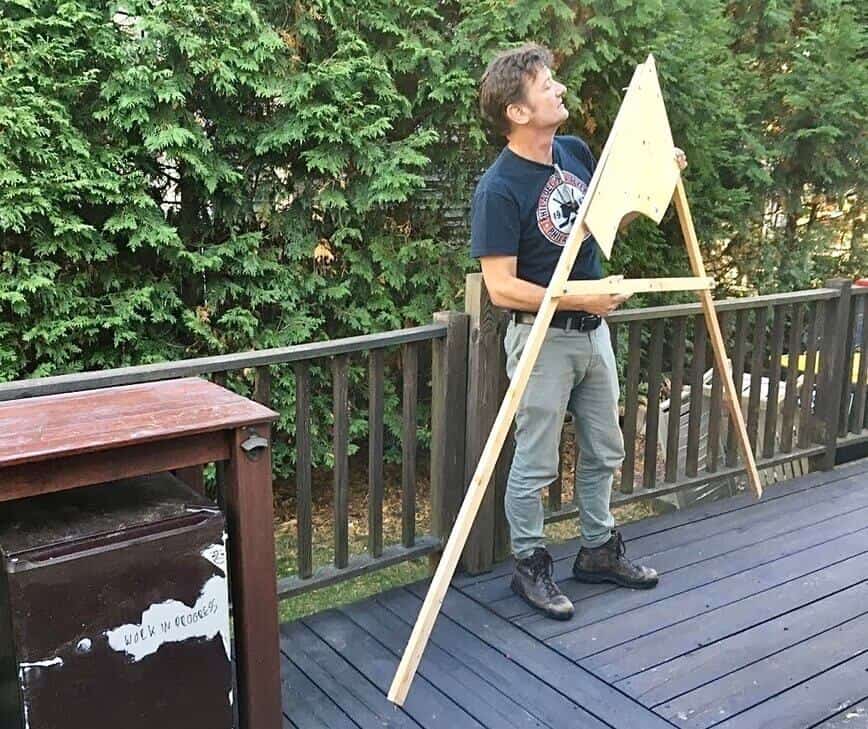
You’ll notice in the image above that our piece of 2” x 2” hardwood panel isn’t exactly a square shape. That’s because it was a spare piece we had in our basement. Which is okay, because you may need to cut off one corner anyway, to get it out of the way of the crossbar.
To that 2” x 2” piece of hardwood, you’re going to attach the 1” x 2” x 6’ “arms,” using four 2” bolts and nuts. Make sure the ends of the “arms” are NOT touching, to leave room for the sign post, as seen in the image below.
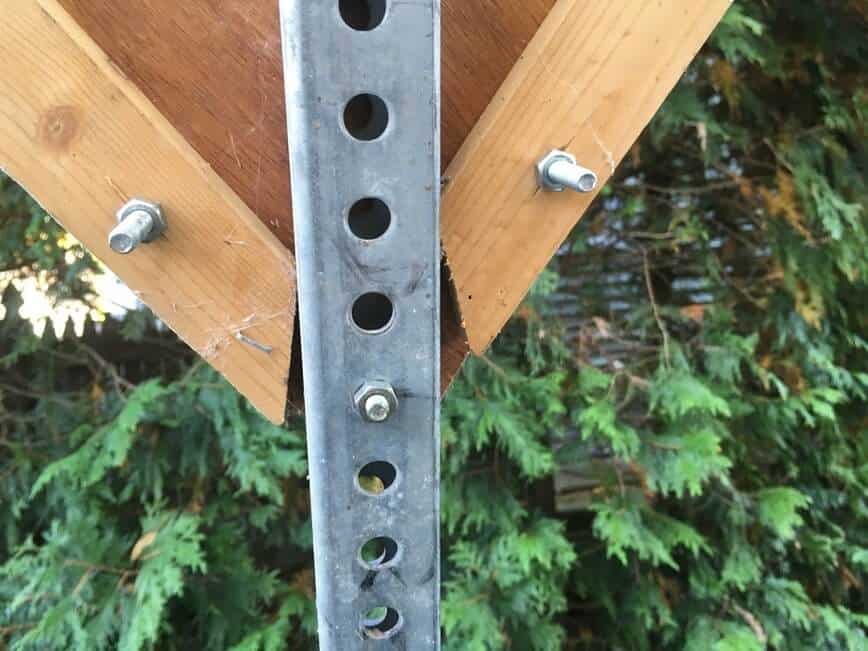
Finally, attach the 1” x 2” x 3’ crossbar using 2 bolts and nuts, as seen in the image above. You’ll also need to pre-drill holes at the bottom corner of the hardwood, between the two “arms,” and another hole in the center of the crossbar, as the body will be bolted to the sign post at these two locations.
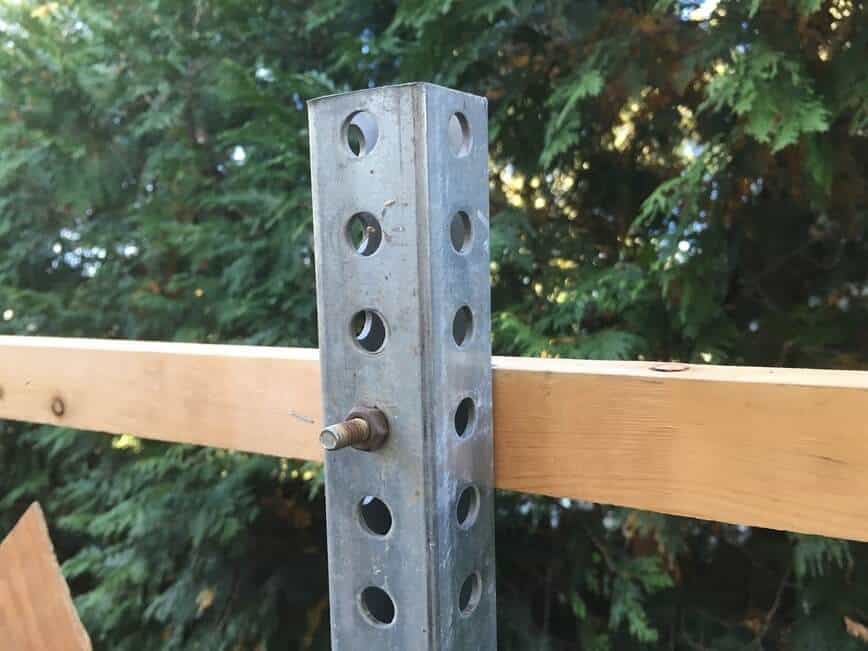
Spray paint the bottom half of the sign post black; this will help the pole appear more invisible in the dark of night.
Attach the body to the sign post, using the 2” bolt and nut at the bottom of the body and the 3” bolt and nut through the crossbar, being sure to leave several inches of the post sticking up above the crossbar. This is where you’ll attach your head (leave more or less height above the crossbar, depending on the size of the head you’re using).
Next, attach the “hands” to the ends of the arms. If you’re using tree roots or branches, as we did, you should be able to attach them to the ends of the arms by using two wood screws in each.
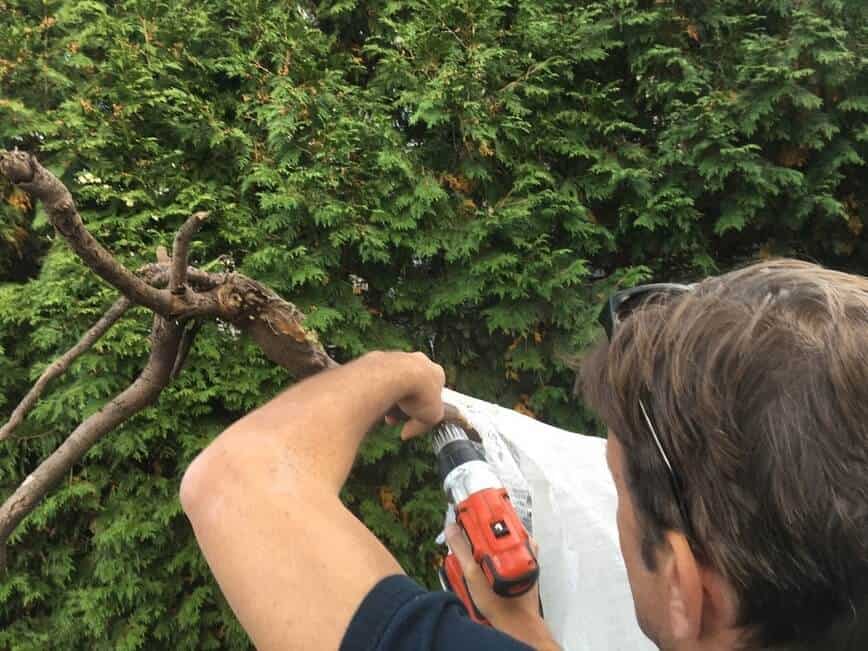
Now you’re ready to dress your ghostly Big Guy! He is very, very tall at this point, so I found it helpful to set the bottom of the pole on the ground and lean it against the deck railing. That way, I was able to stand on the deck, so I was able to reach the body without standing on a ladder.
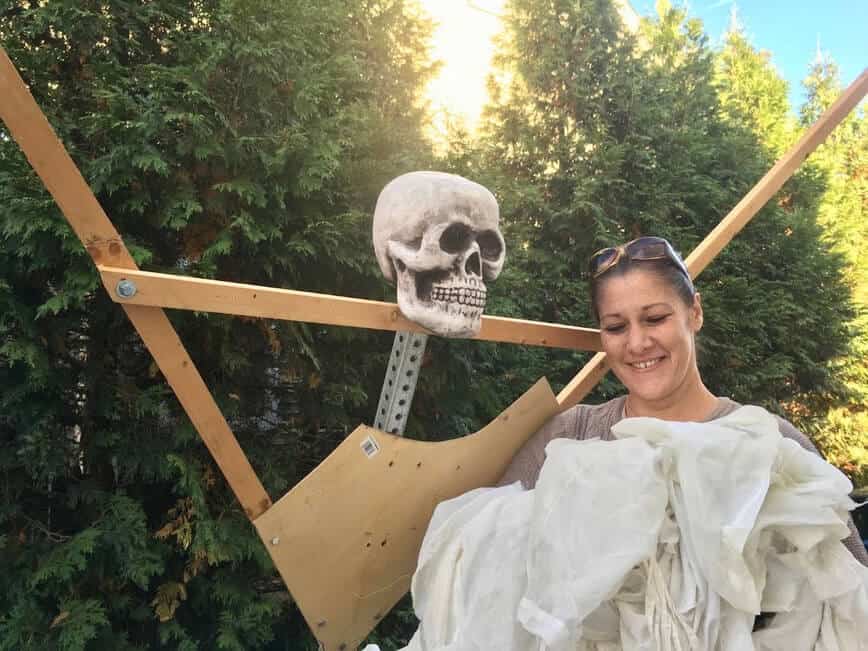
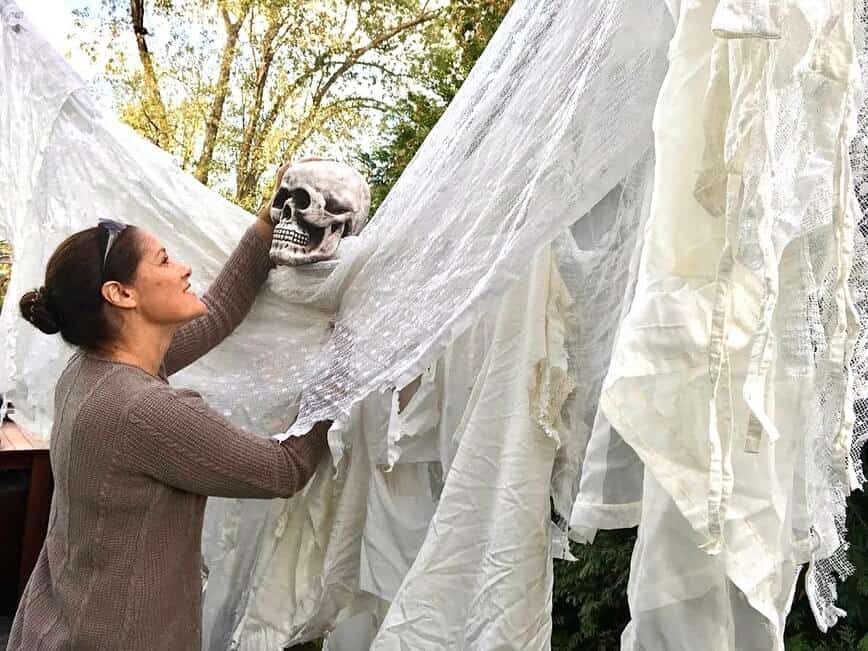
Drape the torn fabrics over the body and the length of the arms, using a staple gun to secure them into place. Make sure to cover the base of the “hands” with some of the fabric.
To complete the Big Guy’s look, attach his head to the top of the pole, drape the chains between his hands, and tie a piece of twine loosely around his middle for a belt.
⭐ Placing securely in the ground
Over the years, we’ve tried several different ways to secure a character this big to the ground. As he’s very tall and quite heavy, if it’s not securely in the ground, a windy day will blow him right over!
The best solution that we’ve come up with is a multi-step approach.
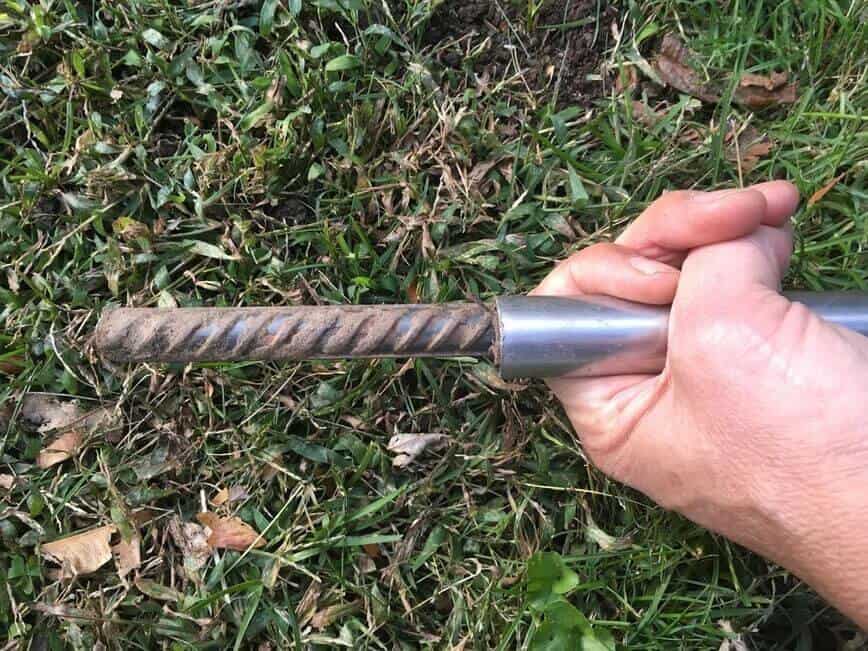
First, hammer the rebar into the ground, about 2 feet deep. Then, place your metal pipe or PVC over the rebar and hammer that deep into the ground as well.
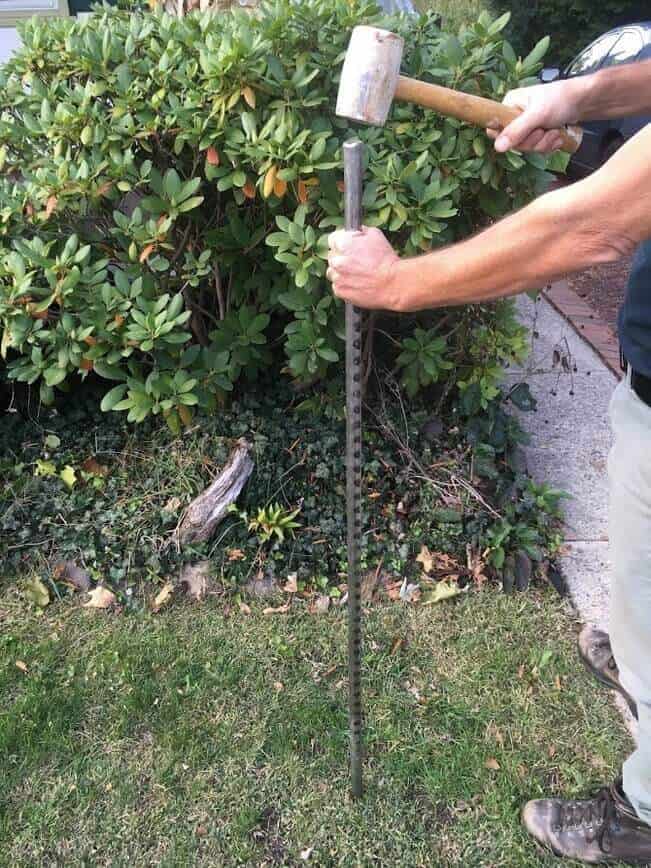
Alternatively, you can hammer the rebar and pole into the ground together; after several years, our rebar is stuck inside the pole with a lot of dirt and soil, so we hammer both into the ground together.
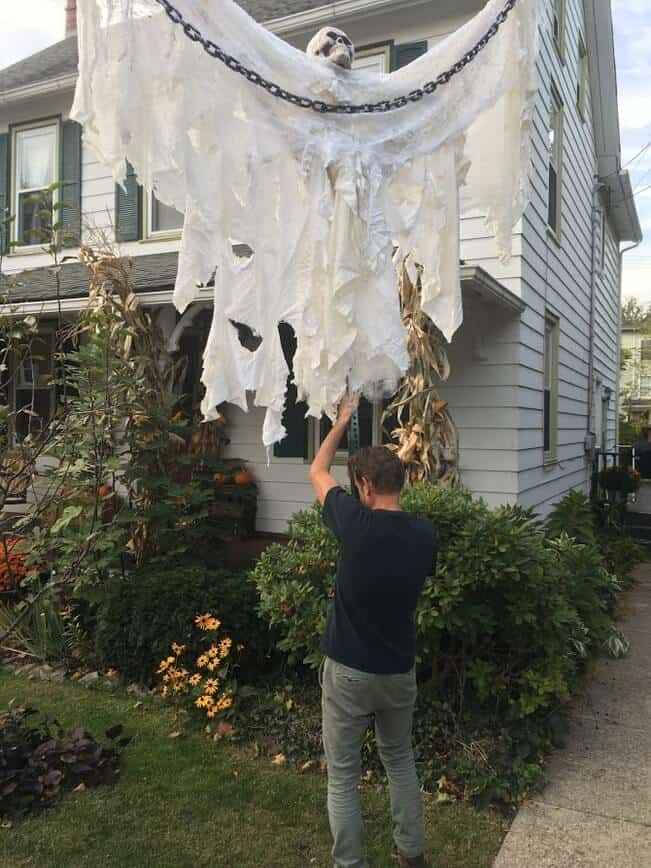
Finally, find a strong person. Seriously. The last step is to pick up the entire Big Guy several feet in the air and slide him and his sign post over top of the rebar/pole that’s already in the ground.
❗ Please be EXTREMELY CAREFUL...Look for any electric wires above your head! If there are any wires, place your Big Guy somewhere else!
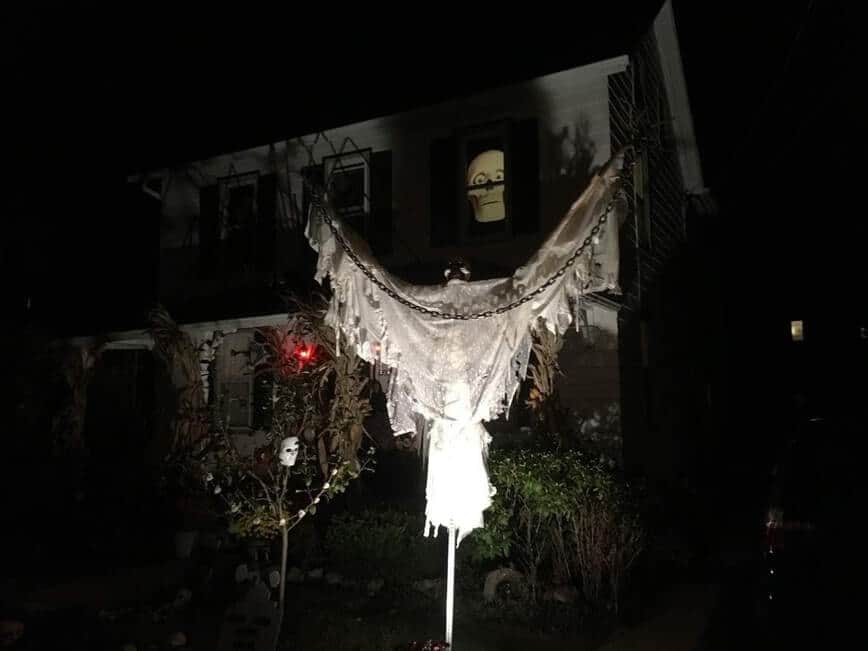
To add one final finishing touch, place a strobe light or other bright light on the ground a few feet in front of your Big Guy and shine it up at him. It will add an otherworldly glow to make him even spookier!
Happy Halloween!
Love Halloween? Check out our other fun projects and delicious recipes:
Recipes
Crafts
- DIY Halloween Image Transfer Candles
- Blood Splattered Pumpkins
- Crochet Trick-or-Treat Bag
- Easy DIY Tombstones
- Adorable Crochet Pumpkin
- Paper Mache Face
- Head in a Jar
Nature
Did you build this scary Halloween decoration? Let us know in the comments below!


Bobbie
Great Halloween ideas! Looks like a fun project for the whole family!
maplewoodroad
Thanks so much! It really could be a fun family activity for Halloween...enjoy! 🙂