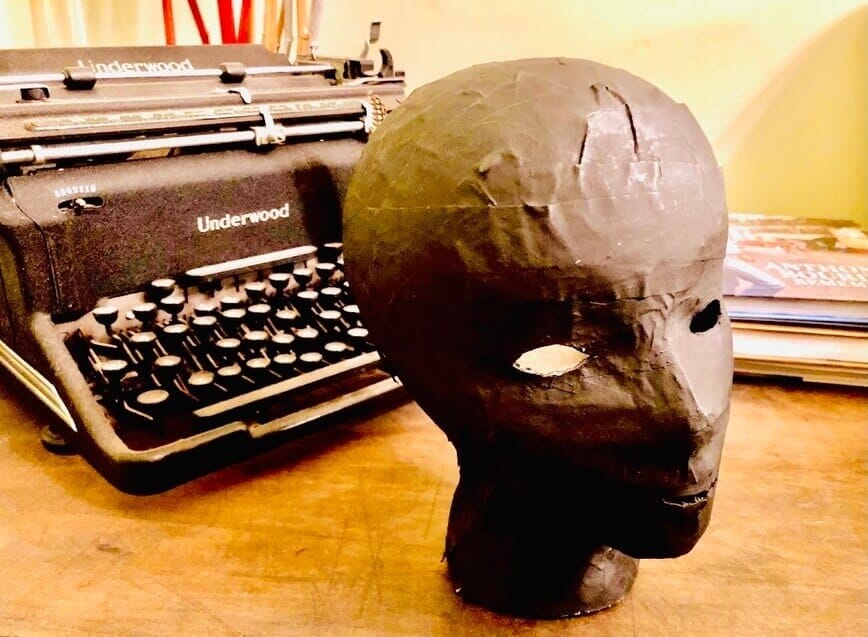
This how to make a paper mache mask project is an example of a Plan A turning into a Plan B. As happens many times in life, Plan A didn’t exactly go as planned. Luckily, I didn’t need to trash the whole thing, but slightly reworked it into something else really cool.
Jump to:
It all began with Erich’s love of paper mache. Over several Halloweens, he has made some masks for his costume that were so good, he was asked if he did private parties! So this year, my inspiration was not to make a costume mask, but rather a paper mache item for spooky home decor.
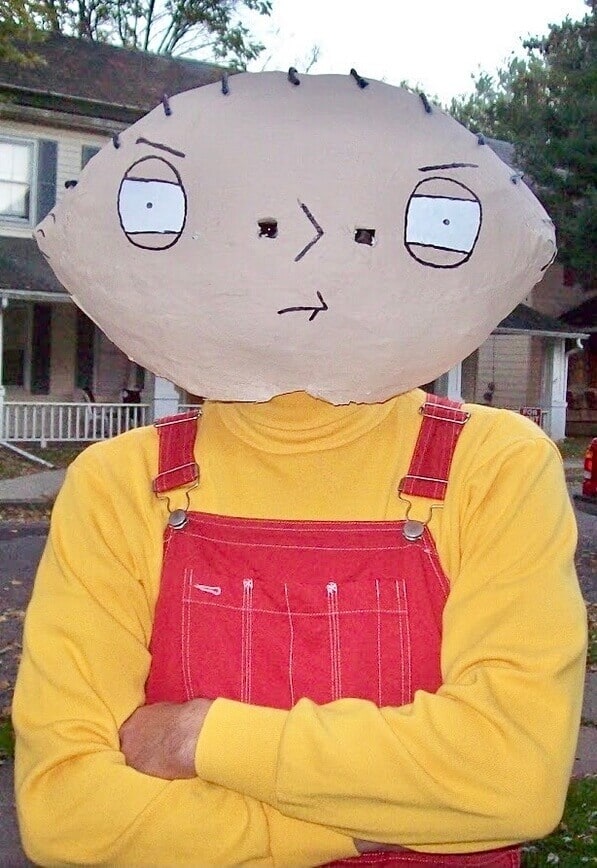
Paper mache is often made with balloons, which are easy to inflate, then apply the gooey paper strips, then pop when everything has dried.

But I wanted to try something different, more detailed, with more curves. So one day, while looking through my craft room, I came across a styrofoam head form that I’ve often used to display my crocheted hats and scarves for photo shoots.
The gentle curves of the nose and cheekbones, and the subtle hint of closed eyes was just what I was looking for to make a paper mache face for Halloween!
Taking the head form into the kitchen, I began cutting up strips of newspaper and mixing up a witches’ brew of paste, ready to dip my fingers into this messy yet fun project!
The plan was to apply the paper mache all over the head, then cut a seam up the back and gently peel it off the head form. Yeah, no. That didn’t work. After making the cut up the center of the back of the head, I gently tried to coerce the dried paper off the head, but it began ripping here and ripping there. Nooooooo! But my brain turned to recovery mode...How can I salvage what I have left and still make it into something really cool and spooky for Halloween???? Keep reading to find out…
🧰 Materials
- Styrofoam head form (about $5)
- Plastic cling wrap
- Parchment or wax paper
- Newspaper, cut into 1-2” strips
- 1 c flour
- 1-½ c water
- ½ teaspoon salt
- Scissors
- Spray paint
- X-Acto knife
🎭 Form the mask
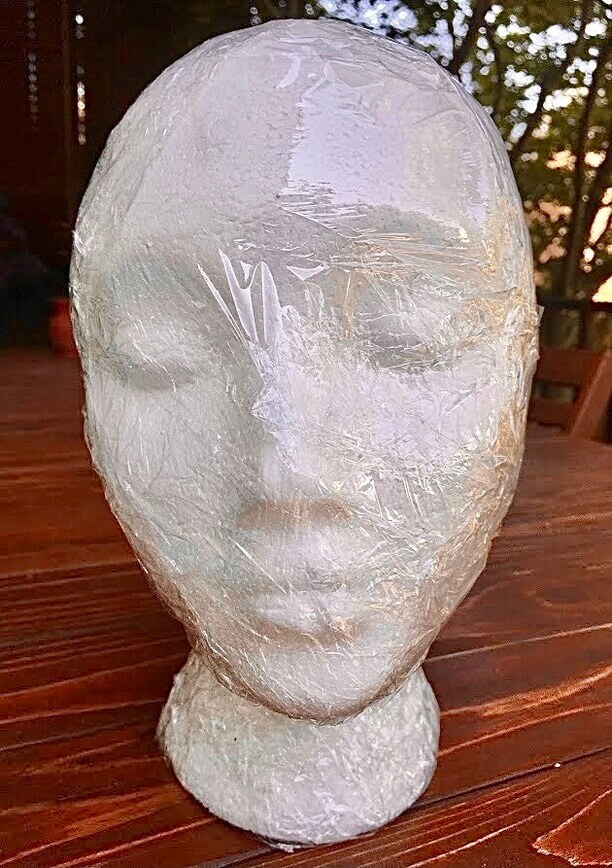
In order to avoid the paper mache sticking to the styrofoam head, cover the entire head with a layer of plastic cling wrap. Gently press the cling along the curves of the face as much as possible. It’s okay that it won’t completely conform to all the curves...just make sure it’s not pulled tight over areas of the face that are depressed or sunken, or you won’t be able to press the paper along these forms.
🥣 Make the paste
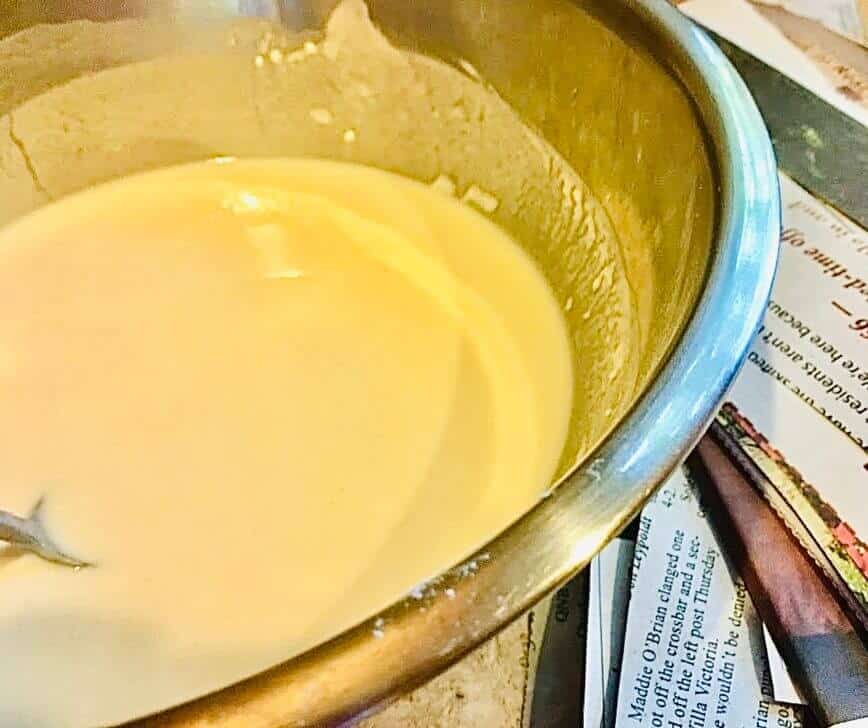
In a large bowl, mix together flour, water, and salt until smooth.
📰 Apply the paper mache
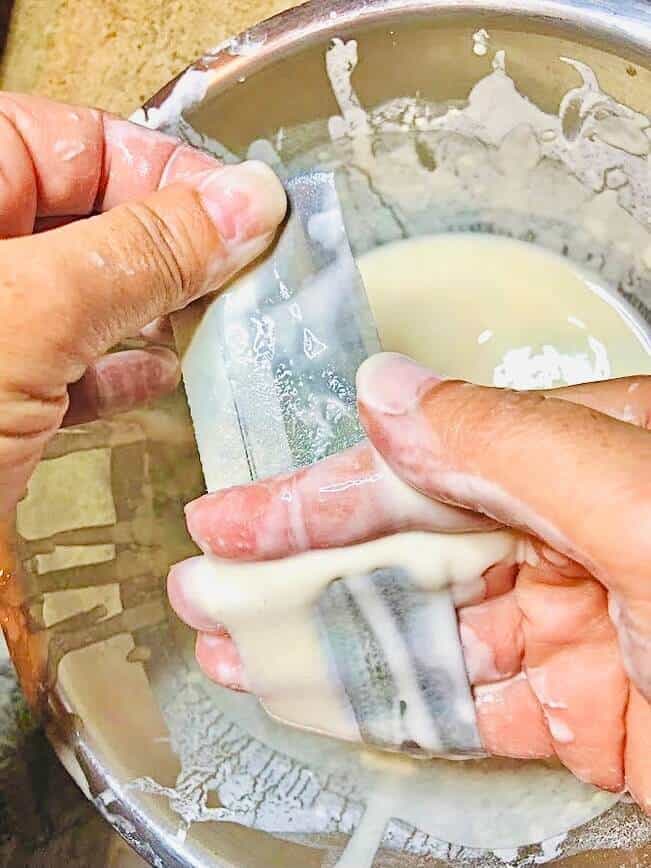
Working over parchment or wax paper (so as not to make a mess on your countertop), place a strip of newspaper onto the surface of the paste, then flip it over, so that both sides are lightly coated.
Next, press off any excess paste by squeezing the newspaper between two fingers, as in the photo below (if you have too much paste on the paper, it will take forever to dry).
Apply the wet strip to the head form (but not the back of the head) and gently press down along all curves, making sure to pay extra attention to the details of the face.
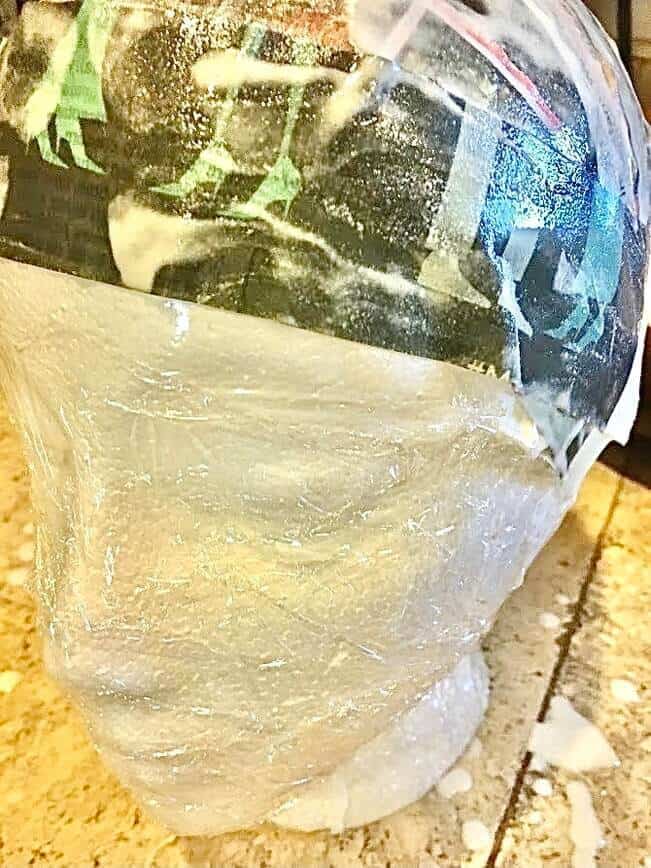
Continue this process, just slightly overlapping the edges of each strip of newspaper, until about two-thirds of the head is covered (avoiding the back of the head). The reason to avoid the back of the head is because of the above-mentioned problem that I ran into with removing the dried paper mache from the head form. I’ll explain more later.
Once the front two-thirds of the head is covered, go over it one more time with your fingers, gently pressing into all the grooves and curves of the eyes, nose, cheeks, and mouth. Then, let it dry completely. Place your bowl of paste in the fridge.
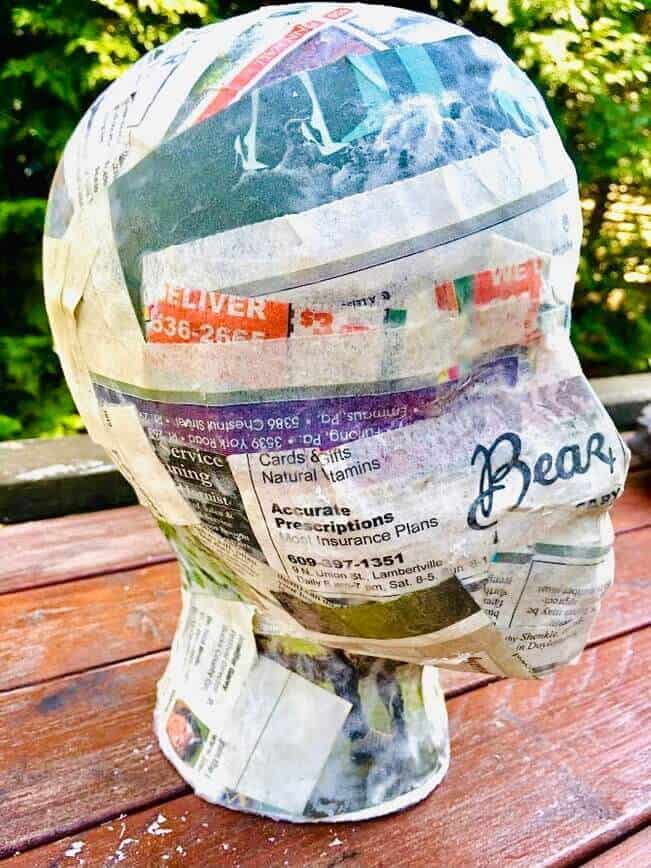
Dry time will depend on a lot of factors, but particularly warmth and humidity. My first layer dried in just a couple hours because I placed it outside, in the sun, on a hot day. The next day, however, it was rainy and cool and damp, so I had to work indoors...and it took the next layer all day to dry.
🗞️ Second layer
Once the first layer has completely dried, remove the bowl of paste from the fridge and mix it with a spoon until it’s smooth again. Following the same steps as earlier, apply a second layer and let it dry completely. You may apply more than two layers if you wish, but the fine features of the face may become more obscured with each layer, so keep that in mind.
✨ Removing the mask from the head form
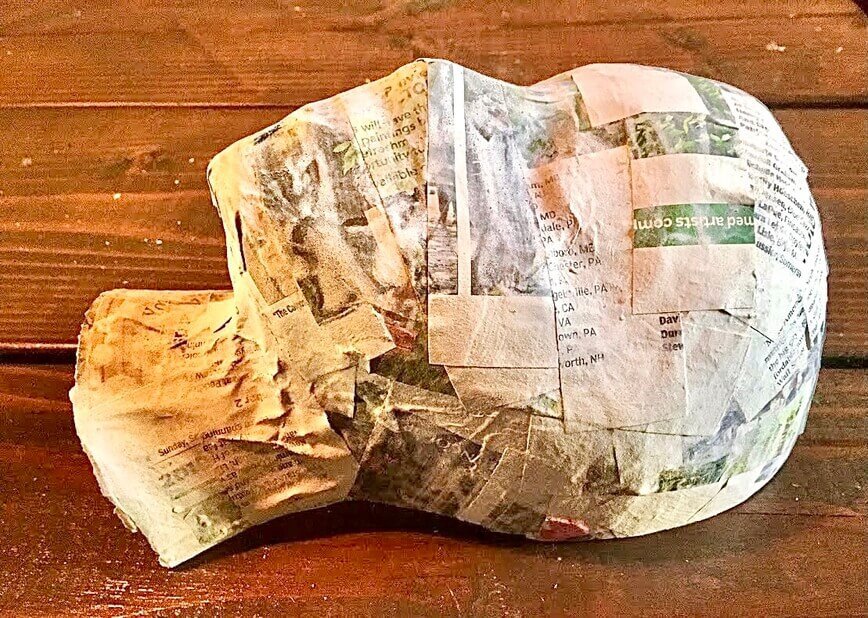
After your mask is totally dry, very very slowly and gently start pulling back the plastic cling. Place a finger underneath the neck and along the back edge of the paper mache to make sure it’s separating from the head form. Keep pulling away the plastic cling and gently nudging it away from the head form until it fully separates. Remove all plastic cling and throw away.
Next, get your scissors and cut away a straight line just behind where the ears would be, going over the top of the head. Does that make sense? You want to have a straight line along the back that will sit flat against a wall.
✂️ Final steps
I was excited to get this mask painted, so I did that right away. However, I’m going to now instruct you to cut out the eyes and mouth first.
The reason is that after applying the first coat of spray paint, then cutting out the eyes, I realized that you could see the white newspaper in the cuts and just had to spray it again.
Very carefully, cut out the eyes with an X-Acto knife. You may also cut out a sliver for the mouth opening, and nostrils too, if you wish. While cutting, however, remember to move very slowly and gently.First of all, the X-Acto blade is VERY sharp! Secondly, you don’t want to push on the mask or the whole thing could crumble...but make slow, tiny sawing motions with the knife instead.
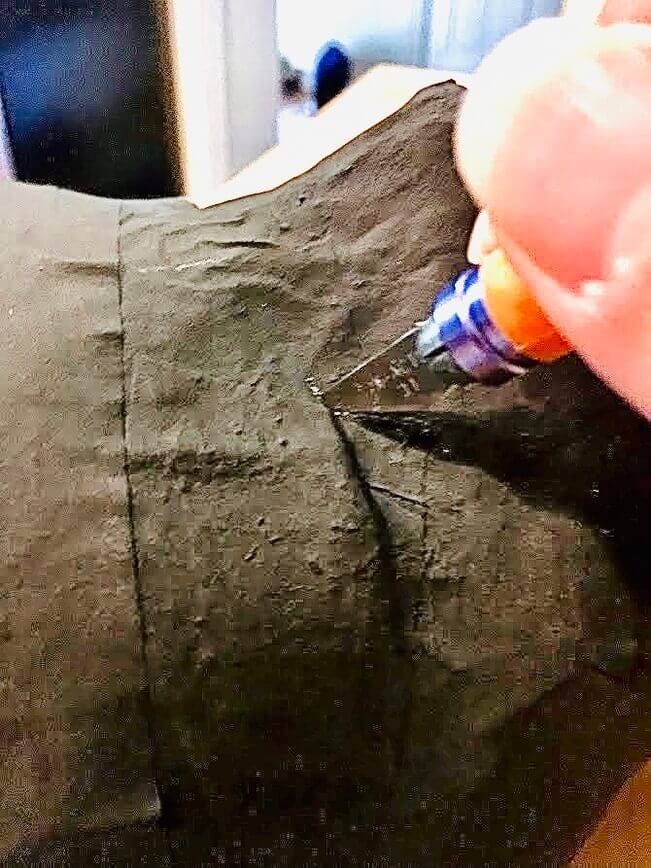
Finally, take your mask outside and paint it any way you wish! I decided to just go with a simple black inside and out, to give it a dark and spooky feel.
⭐ Display it
Now, what to do with your mask? Anything!
Make a spooky sconce light: Hang it on a wall and place a small electric candle inside, so the eyes will flicker with a scary light.
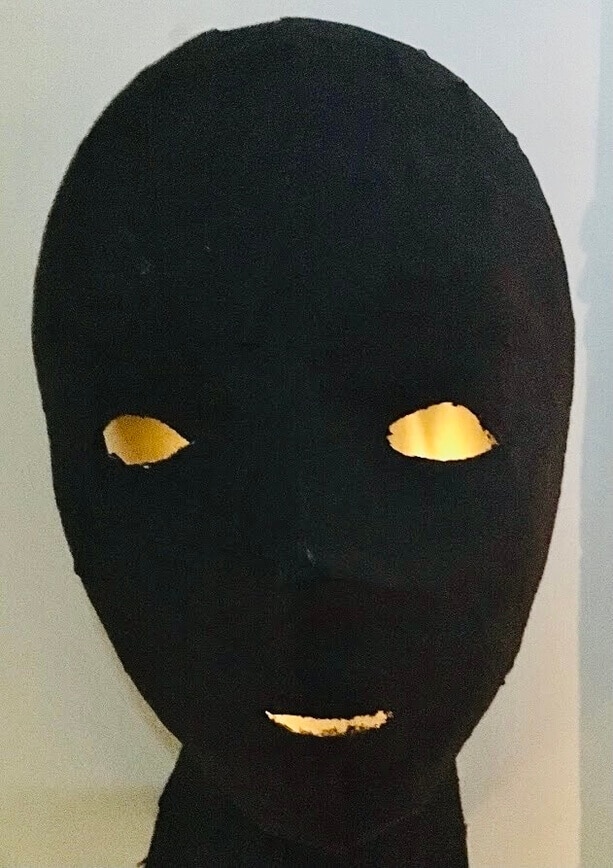
Prop it on a shelf or mantle: Intermingled with other Halloween decorations, this will surely cause anyone to jump back with a fright.
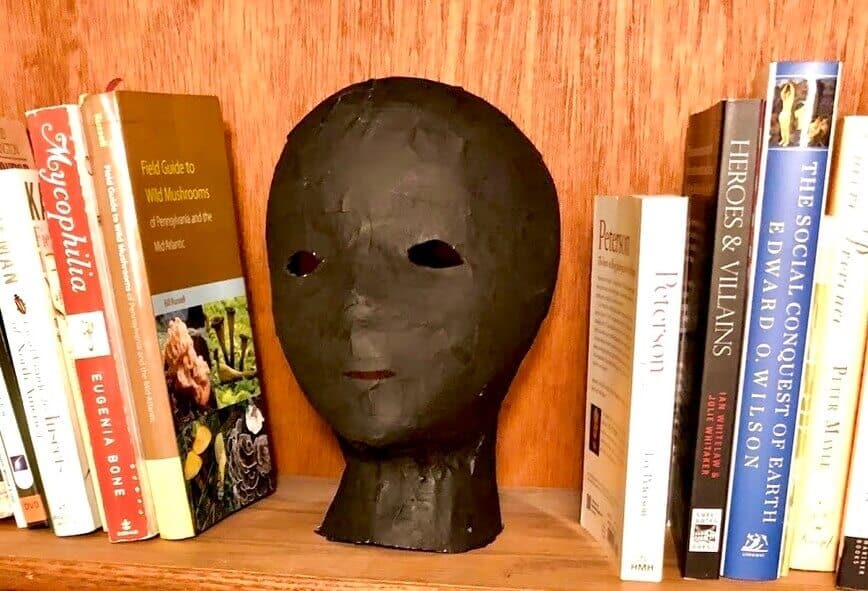
Or just place it on a windowsill. After I finished making my mask, I placed it on a front windowsill while deciding where to take my photos.
In the meantime, a few kids knocked on the front door and asked where I bought that really cool motion-sensor mask. They were talking about my paper mache face!
I explained that it was a paper mache mask that I’d made and that it wasn’t motion-sensing at all. The boy said “I could have sworn its eyes were following us as we walked by!” I laughed and said that the light from inside the house shining through the mask’s eyes and their walking by outside must have just made it look that way. He then said, “Oh, okay...well, it’s really cool!” I said “thank you” and had a smile on my face for quite a while after that.
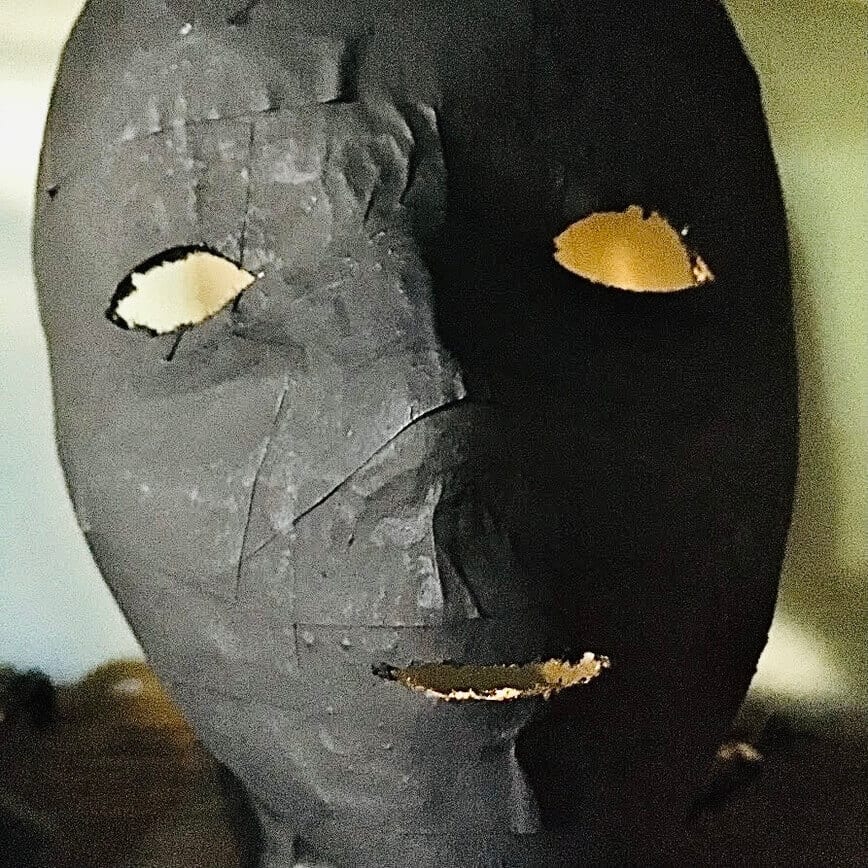
Happy Halloween! 


Love Halloween? Check out our other fun projects and delicious recipes:
Recipes
Crafts
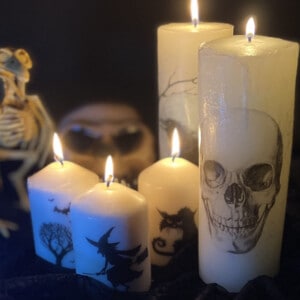
- Halloween Image Transfer Candles
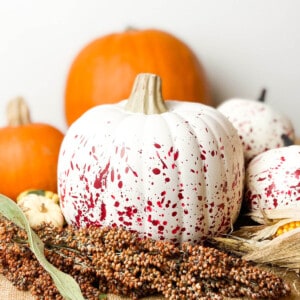
- Paint Splattered Pumpkins
- Crochet Trick-or-Treat Bag
- Easy DIY Tombstones
- Adorable Crochet Pumpkin
- Big Guy Spooky Decoration
Nature
Did you make this Paper Mache Mask? Let us know in the comments below!



Leave a Reply