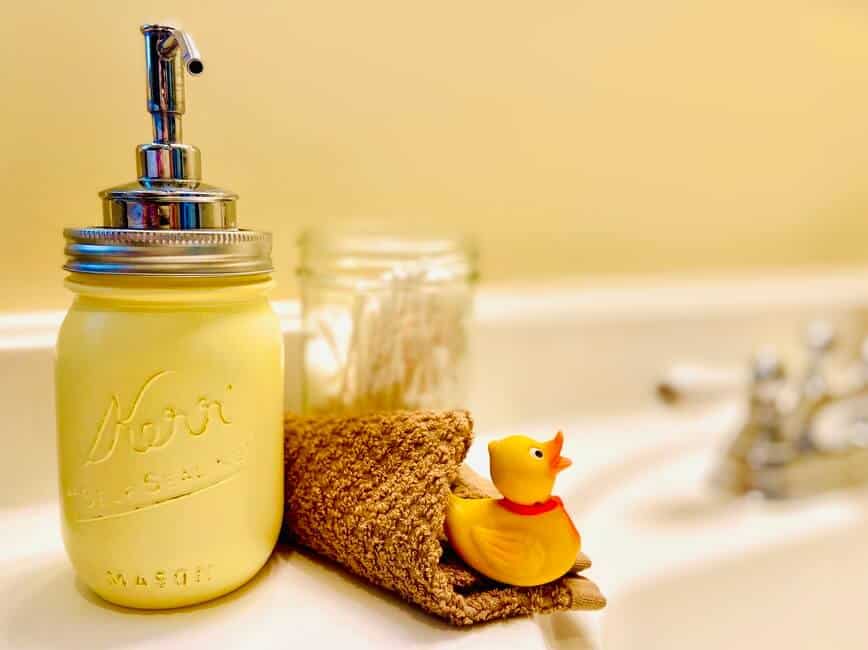
This mason jar soap dispenser is not only attractive, but it couldn't be simpler to make! If you're looking to spruce up your bathroom or kitchen with a bit of color and some old-fashioned whimsy, then you'll absolutely love this quick project.
😃 Why you'll love this craft
I've recently noticed images of pretty mason jar soap dispensers while browsing through Pinterest, but never got around to making one myself...until now. It's so hard to find a nice soap dispenser and I'm never really thrilled with the way they look with the rest of my decor.
But these cute dispensers can be totally personalized, so they'll match any color scheme. And you can use it for hand soap, dish soap, foaming soap, or even lotion. As a nurse myself, anything to encourage others to wash their hands more, I'm there...
Whether you have old mason jars collecting dust in the basement, you got a little too ambitious with your canning project and have a lot left over, or you just picked one up for about $1 at the grocery store...any of the above will work.
The only exception is the vintage glass-top jars with a metal bail...they're so cool and I have several of them. It wasn't until after I had painted it that I realized there was no way to close it, and certainly couldn't drill through the glass top. Oooh, I know, I'll glue the lid down on the top, the lid fits but there are no screw threads...no wait, no way to refill it then. Darn! Okay, back to the regular mason jars.
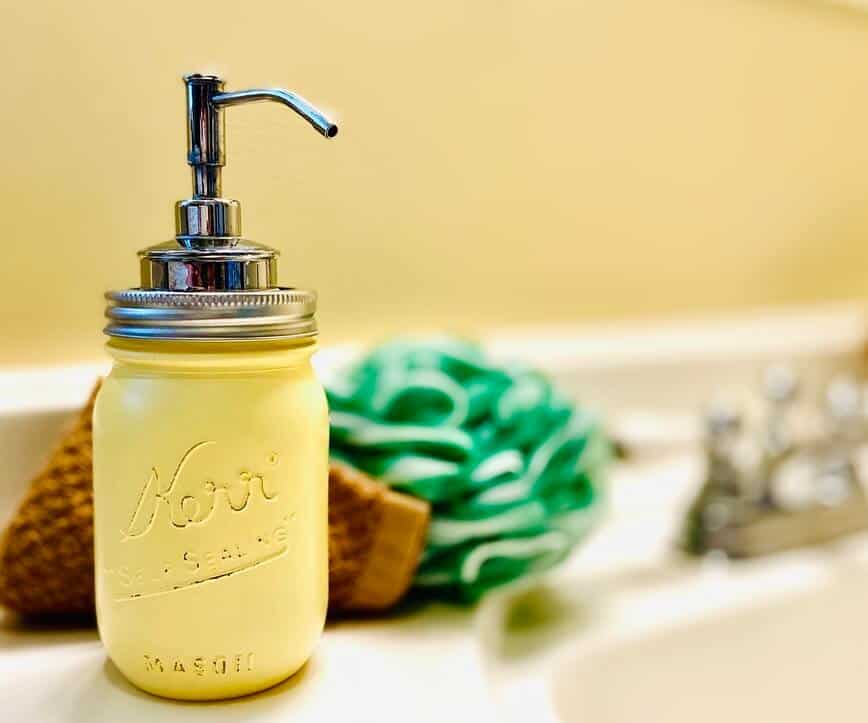
Speaking of paint, while you don't have to paint them at all if you prefer to have a clear jar for your pretty-colored soap, I chose to paint mine. Spray paint provides a thin smooth finish while still allowing the lettering on the jar to stand out.
🫙 Materials
- Mason jar
- Matte or satin spray paint
- Sandpaper
- Hammer and nail, or awl
- Drill
- Several drill bits, increasing in size, or spade drill bit
- Tin snips
- Strong craft glue
- Pump dispenser
🖌️ Painting
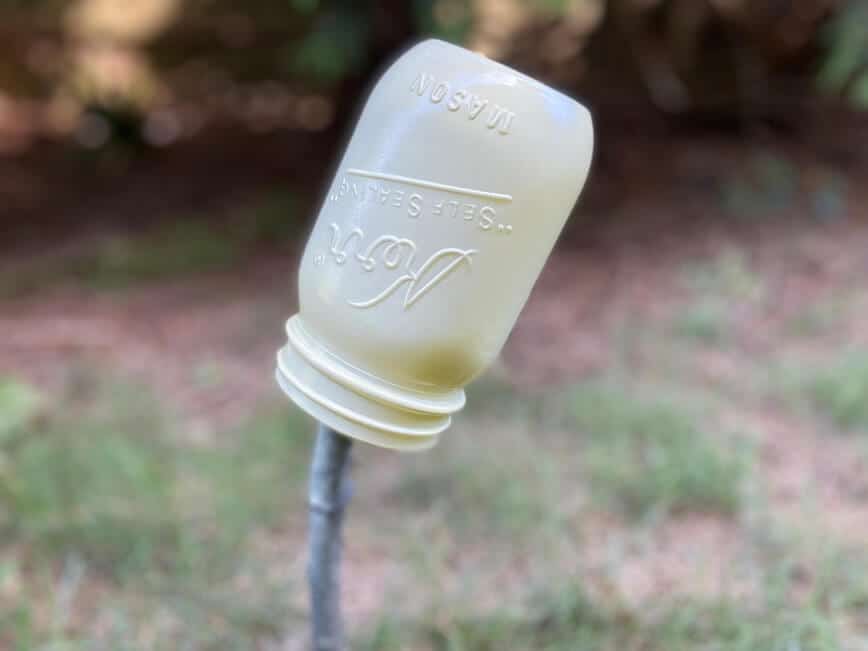
After removing the lid of the mason jar, simply spray paint your mason jar. I found it helpful to prop it upside-down on a stick outside. This way, you can paint all the sides at once, without getting any on your fingers. It may need two coats, but that's okay because it dries pretty quickly.
✨ Sanding
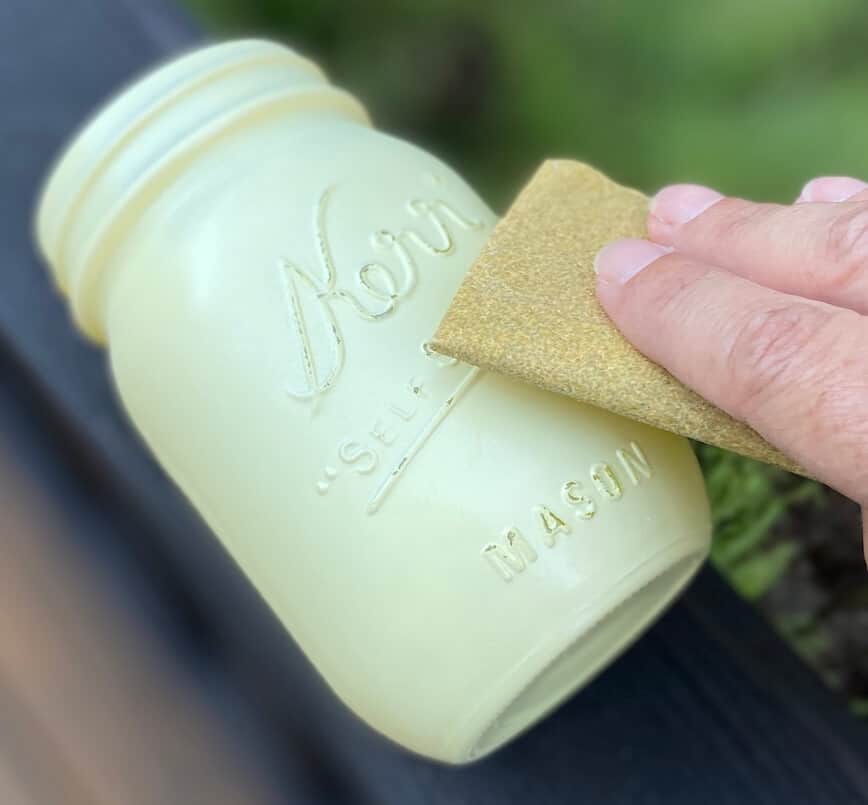
Once the paint is completely dry, very lightly sand the raised letters in several spots.
🧰 Fitting the pump
Place the flat metal piece on top of the jar and screw it into place using the metal ring (otherwise, the flat piece will just spin when you try to drill a hole in it). On the underside of the metal lid, draw a circle approximately the size of the hole you will need to fit the pump.
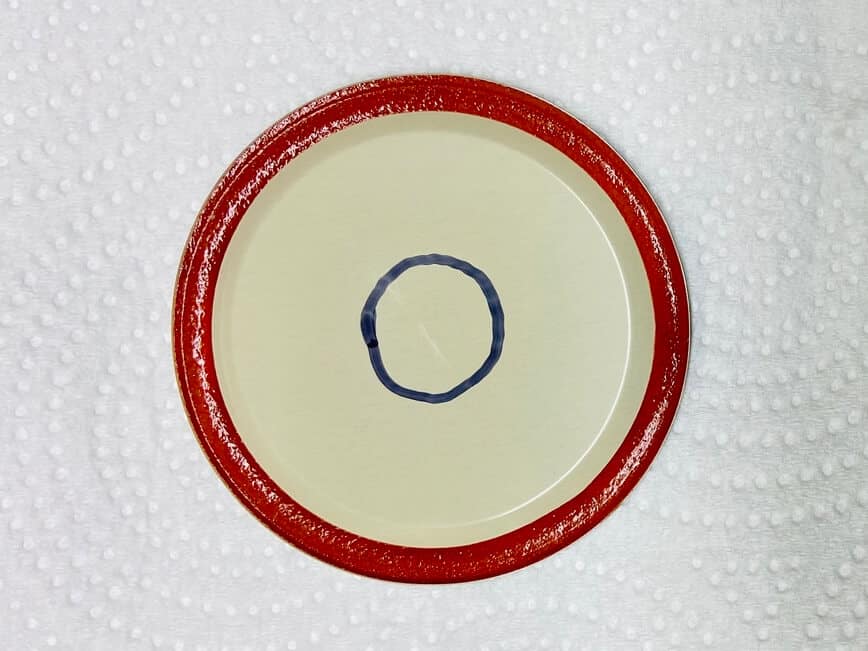
Using a hammer and nail, or an awl type tool, create a pilot hole in the center.
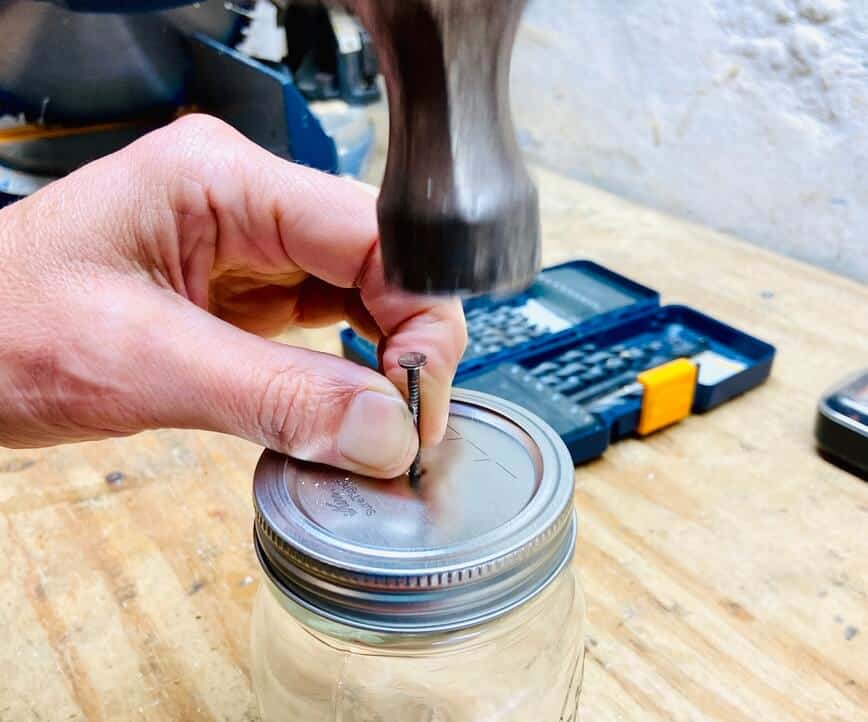
Next, you have a few options:
- Drill holes through the pilot hole, gradually increasing in size until you've reached the required size for your pump.
- Start drilling holes, gradually increasing in size. If you don't have a drill bit that's large enough for the opening you need, you can also use tin snips to enlarge the opening.
- Use a spade drill bit, measuring the correct size of your finished opening (which is what we did), and drill the large hole all at once.
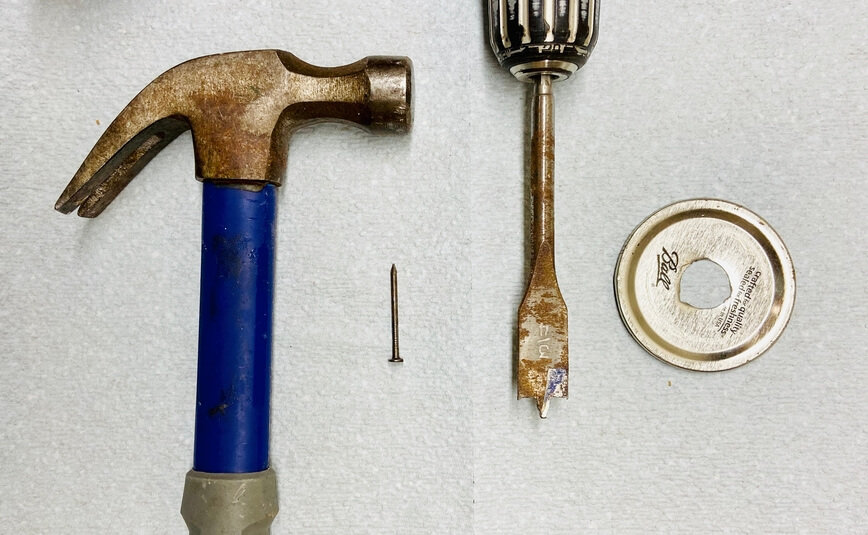
Once the hole is created in the lid, there will most likely be several sharp jagged bits sticking up. Using tin snips, cut them off as close to the surface as possible, then hammer down the remaining tiny pieces. These will also be covered by glue soon anyway, but better to be safe.
Finally, using a strong craft glue (I used E-6000), apply glue to the bottom of your pump and attach to the lid. Once that has dried, add a bit more glue to the underside, as well, just to be sure it stays in place with all the soap pumping motion in its near future.
⭐ Helpful tip: If you'd like the lettering on your mason jar soap dispenser facing forward when it's finished, make sure you attach your soap pump facing the right direction. To easily figure this out, just screw on the lid until it's tight. Using a Sharpie marker, make a small mark indicating which direction faces front (but make this mark underneath where the soap pump will be, so you won't see it later). Then, when gluing on the pump, just make sure it's facing forward!
Screw the lid onto your mason jar soap dispenser and you're done! Happy hand washing!

Do you love crafting as much as I do? Check out a few more fun projects now!
- String Art - Easy step-by-step tutorial (with video!)
- DIY Custom Painted Doormat
- Tree Branch Art for Your Natural Home Decor
- 3 Creative and Useful Wine Cork Crafts
- Easy 2-Hour Slouch Hat Crochet Pattern
- How to Transfer Photos to Wood (the easy way!)
- DIY Etched Wine Glasses
- Shabby Chic Sign for the Holidays
- Elevated Cat Feeding Station
- How to C2C Crochet
Did you make this Mason Jar Soap Dispenser? Let us know in the comments below!


Ellen
Even better, you can buy the mason jar pumps for Mason jars in regular or foaming online. Simplifies the process.
maplewoodroad
Great tip, thanks! 🙂