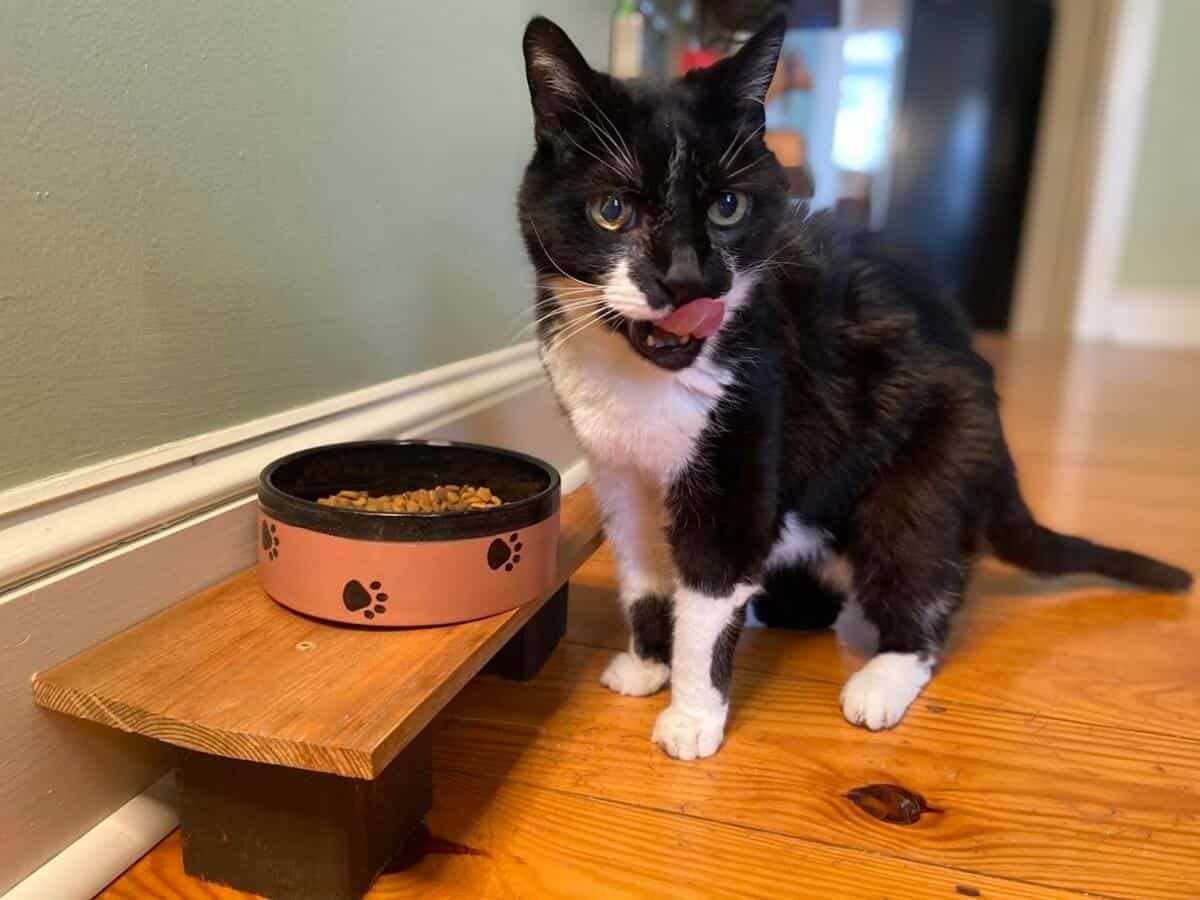
As you may already know, we have two cats, Monkey and Pearly, who have been our furry companions since kittenhood. Monkey is now 18 years old and Pearly is 16. We’ve built our kitties this easy DIY Elevated Cat Feeding Station, to help make dinnertime more comfortable.
Jump to:
If you have a senior pet, you know that as they get older, their joints start to get arthritic and simple things like jumping, climbing stairs, and even eating become more difficult. This elevated cat feeding station makes it much easier for them to reach their food bowl, while sitting or standing in a natural position.
If you have a large dog, this would be even more beneficial, as they won’t have to reach their heads so far down to get a bite to eat.
Our cat feeding station was initially built to hold both our cats’ food and water bowls, but there was a problem with that. You see, Pearly is a very messy drinker. She somehow manages to spray her drinking water about 12 inches in every direction...on the floor, the walls, everywhere! The water droplets were landing in the dry food bowl and making it wet. Not good. So now it only holds the dry food bowl, and the water bowl is several feet away. If you have a pet that drinks normally, however, you won’t have any worries.
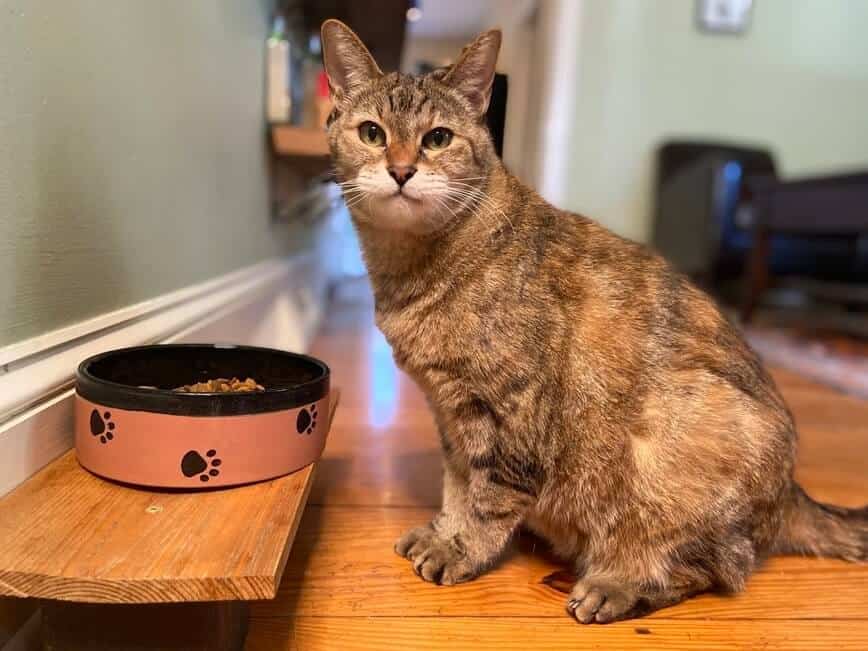
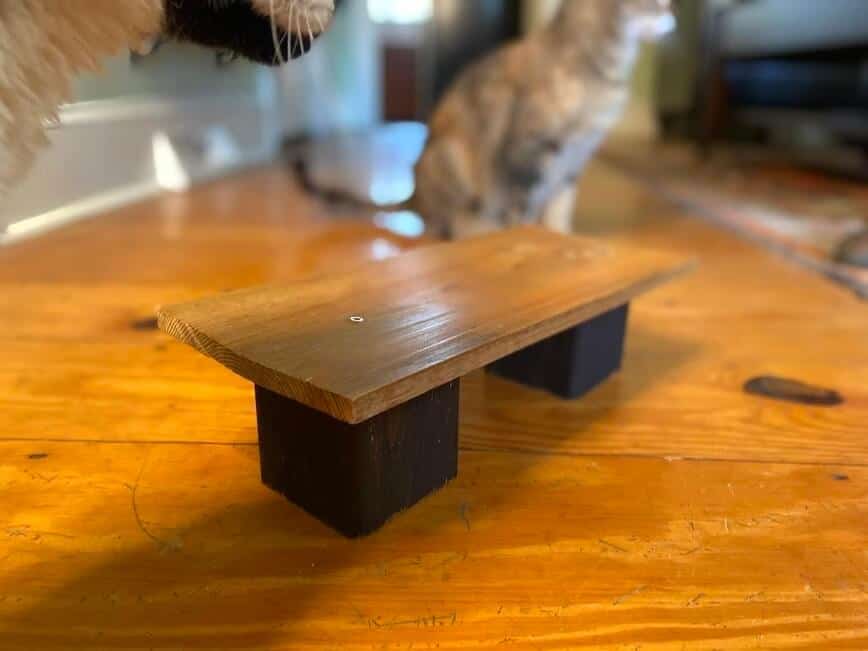
If you already have some wood scraps around the house, this project won’t cost you a cent! The instructions included here are general guidelines. Our DIY Cat Feeding Station sits about 4” off the ground, but the size of yours will depend on the size of your pet. If you have a large dog, for example, the table will need to be quite a bit taller than for a cat.
🪛 Materials
- Two 4 x 4”, each cut to 3.5” (legs)
- One 1 x 6”, cut to 10” in length (tabletop)
- Sandpaper
- Two screws
- Wood stain
*Measurements will differ depending on the size of your pet (taller height, larger bowls, etc)
😺 Instructions
Easy peasy. First, sand all surfaces to ensure that there are no rough edges or potential splinters. Next, apply wood stain to all pieces of wood and let dry completely. Finally, going through the top of the table, attach legs using two screws. Done!
If you prefer, you can even place the legs further out toward the edges and drill holes through the tabletop for your pet bowls to be set into.
Using a pencil, just trace the size of your bowl onto the underside of the tabletop. Then, drill a small hole on the inside of your tracing. This small hole will allow you to fit a jigsaw blade to cut out a circle on the inside of your tracing (make sure you cut on the inside of your tracing so the bowl doesn’t fall through!). Hand sand the cut-out circle and insert bowls.
You can also get really creative with the look of your pet’s feeding station. Add some fancy wood trim to the edges. If you’re talented with a paintbrush, add some decorative designs. Maybe a cool name plaque on the front. You can even make it waterproof by adding a layer of polyurethane or placing a shelf liner on top. The only limit is your imagination!
As if your pet didn’t already love you enough, you’re now their hero! Get ready for some serious snuggles.
Now that their bellies are full, they're going to want this pet bed to relax in afterward, for happy fluffy dreams.
Did you make this Elevated Cat Feeding Station? Let us know in the comments below!





Leave a Reply