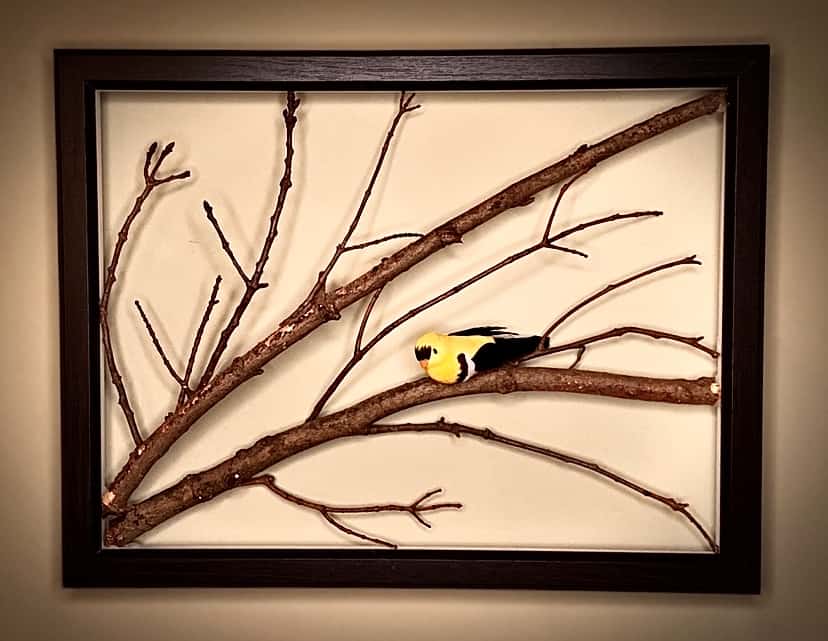
This tree branch art will bring the outdoors in and add lots of interest and beauty to your home decor.
Jump to:
Particularly in the colder months of the year, when we want to be outside but the weather is too chilly, why not find a way to bring the outdoors in? This fun craft project will do just that! And it can be made any size you like, whether you prefer a small accent piece or a large statement (mine measures about 12 x 18").
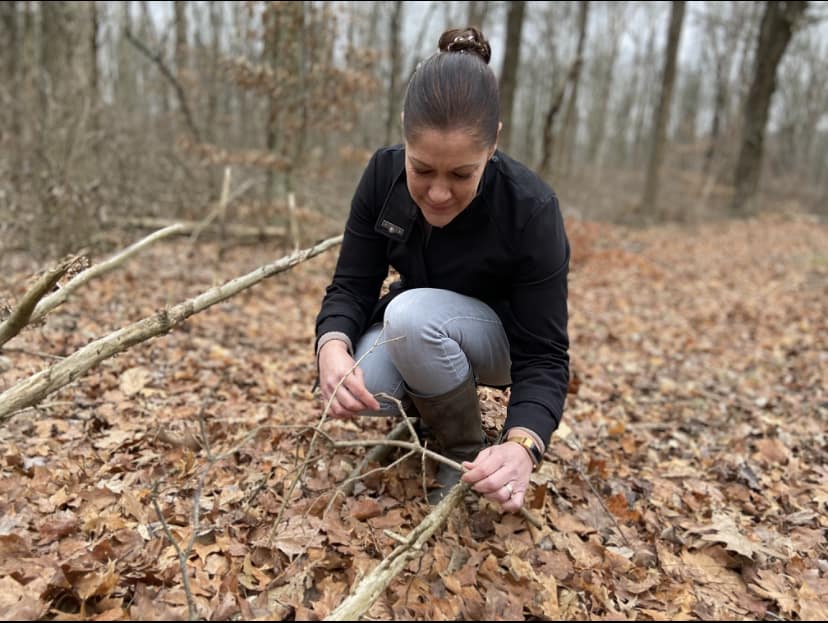
Needing to get out of the house for a while, we decided to go on a walk to get some “vitamin N.” Wearing our warmest coats and scarves, we walked to the nearest wooded area and took a stroll. The chilly temperature was invigorating, the remaining snow and ice crackled beneath our feet, and squirrels scampered here, there, and everywhere.
While admiring the beauty of nature all around, I thought that I wanted to take just a little bit home with us. So, toward the end of our walk, we picked up a few small branches and twigs, and headed back home to make a tree branch art project.
You’ll only need a few common craft materials and in under an hour will have a beautiful new art piece to display in your home.
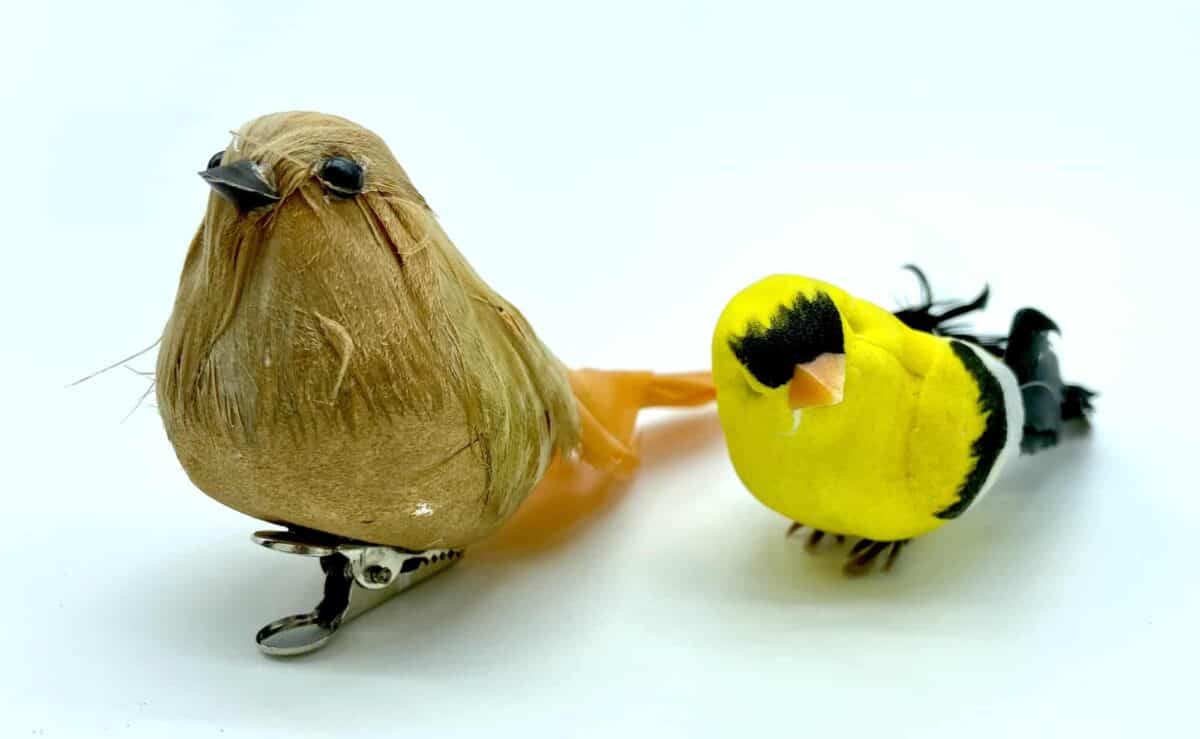
A few weeks ago, while aimlessly roaming the craft store aisles, I came upon these little birds. I wasn’t sure how I would work them into a craft just yet, but knew I would come up with something...and this was the perfect project for them!
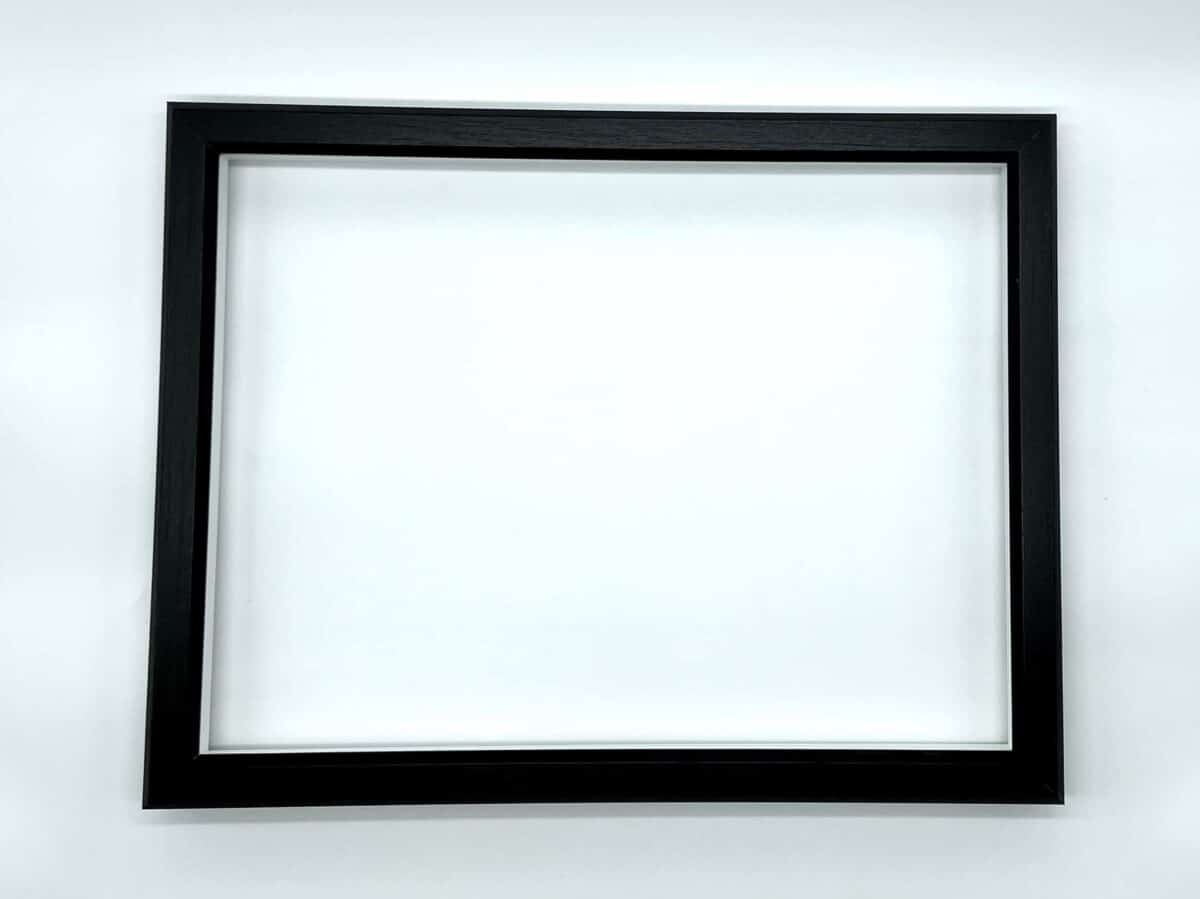
This is also a great project to create with that picture frame you found at a thrift store, but it doesn’t quite fit any of your photos or other art. Whether it's a simple black frame, like mine, or ornate and filigreed...any frame will work!
🌳 Materials
- Picture frame
- Small branches and twigs
- Hot glue gun and glue
- Branch clippers
- Small fake birds
- Large butcher paper or another surface that can catch glue drips
🖼️ Instructions
First, remove the backing and glass from the picture frame, so that you’re just left with the frame itself.
For this project, you’ll want to collect a few more branches than you need. The reason for this is that you won’t exactly know ahead of time which branches will fit in the frame and how they will look once laid out.
I would recommend clipping the branches and laying them out inside the frame in a design that looks pleasing to you.
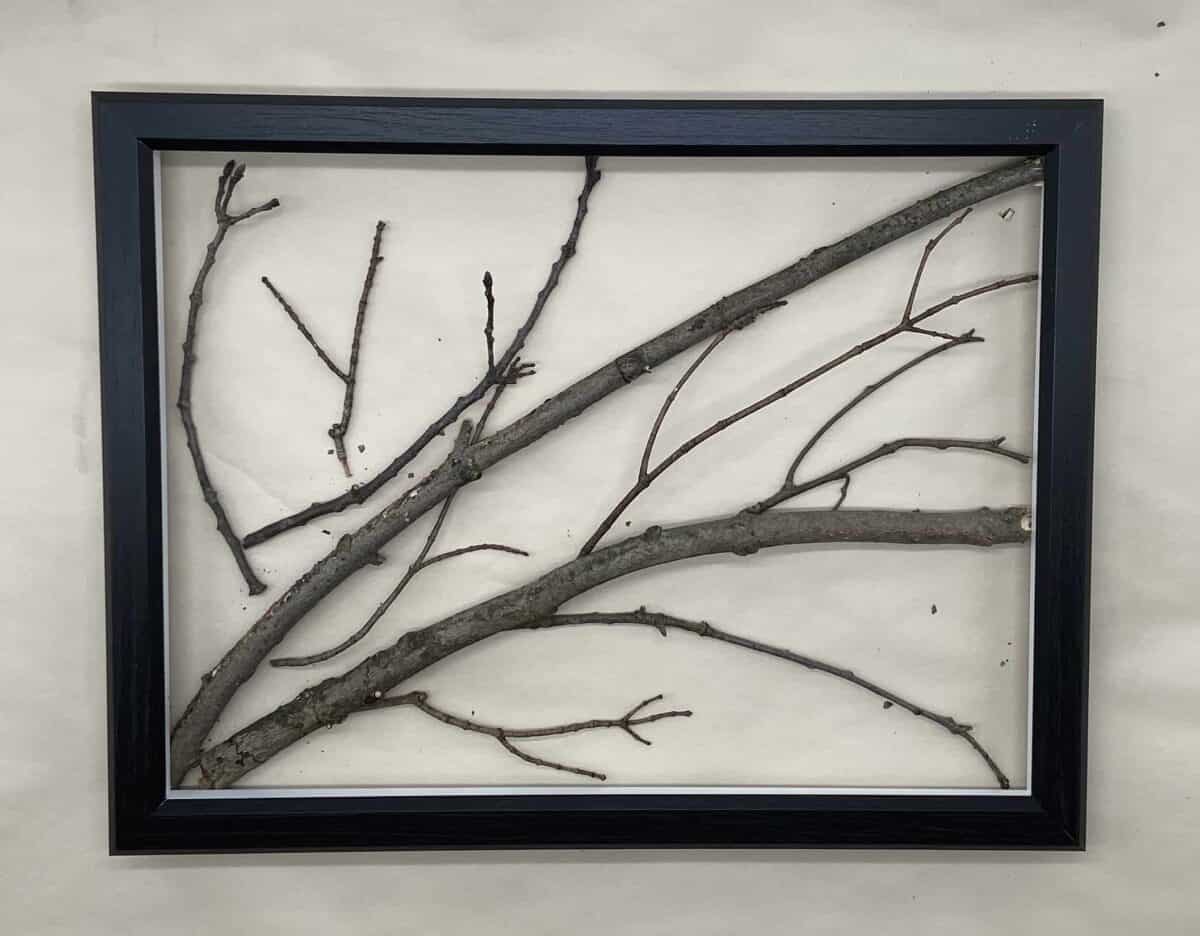
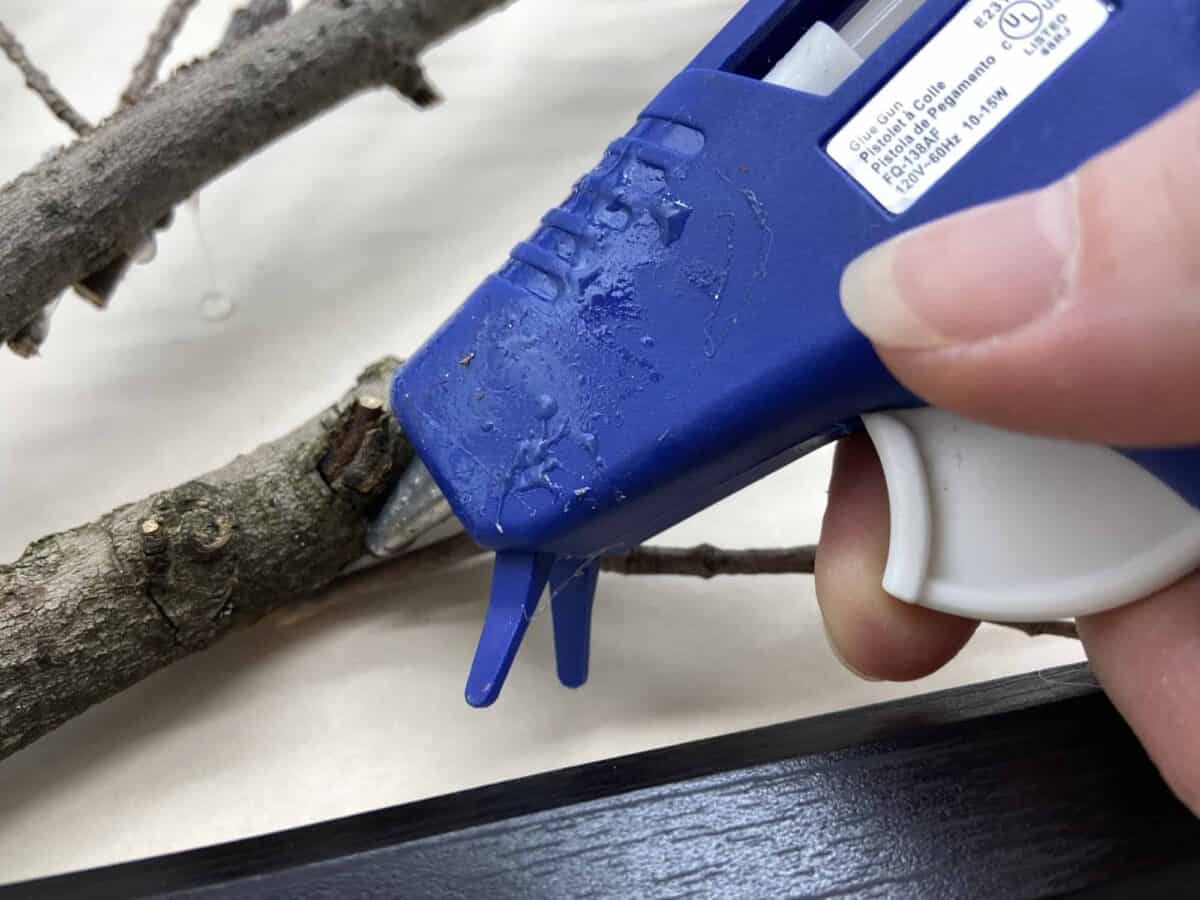
Once you’ve designed the general layout of your tree branch art, start gluing them into place with the hot glue gun.
Glue the smaller twigs on the back sides of the larger branches. This way, you won't be able to see where they're attached.
Make sure to hold the pieces in place for a minute or two, to make sure they stay put. Keep in mind that the larger, heavier branches may take a few extra minutes.
Step back and look at your artwork. Add a few tiny twigs here and there if you feel that it needs just a little more. The last step is to find a comfy perch for the bird and glue it into place as well.
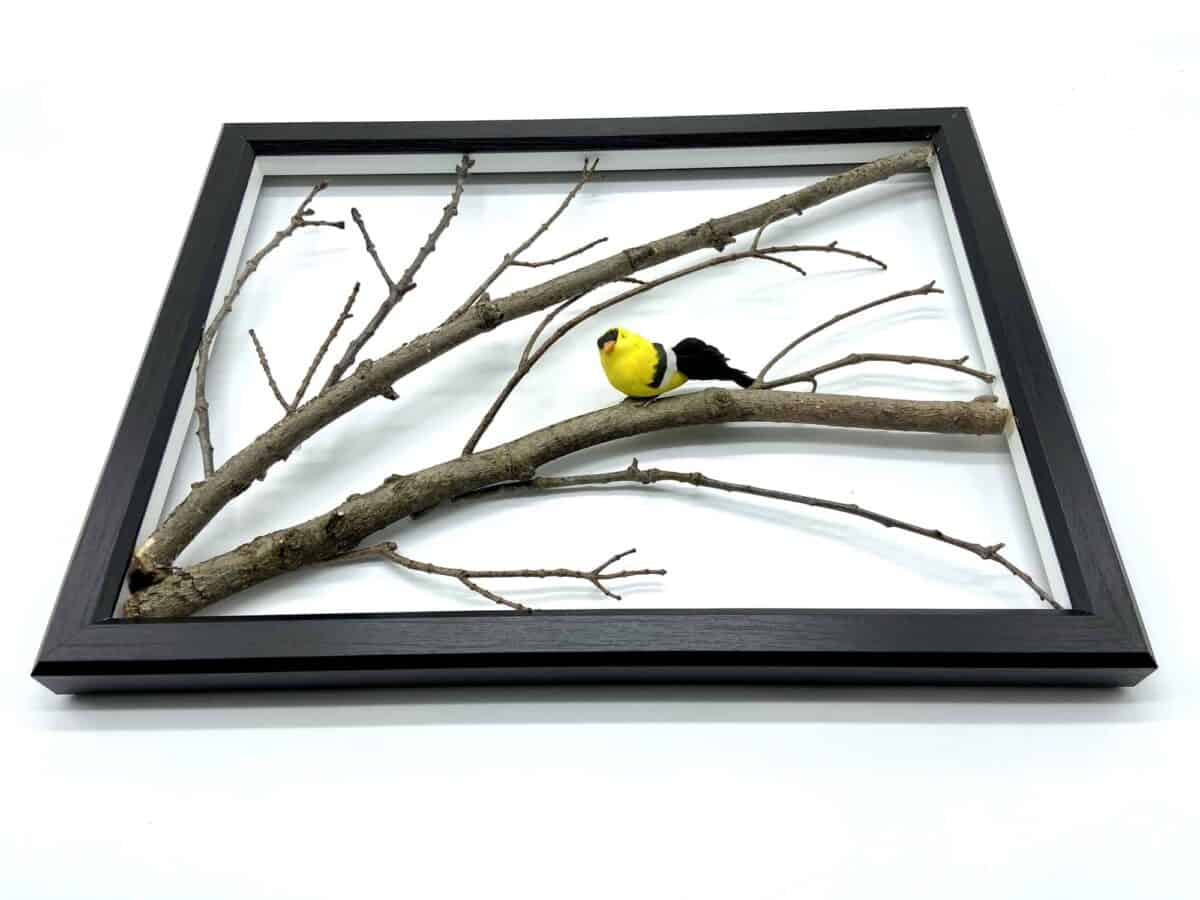
Finally, hang your tree branch art in your home, where it will remind you of the beautiful natural world right outside your door.

⭐ Tip: If you want to add a little more detail to your tree branch art, add some leaves or artificial flowers for a pop of color, or even change it up seasonally!
Did you make this Tree Branch Art? Let us know in the comments below!





Leave a Reply