The tree is decorated and the lights are up, but you feel like your home still needs a little more holiday sparkle and glitter. This shabby chic sign is exactly what you’re looking for!
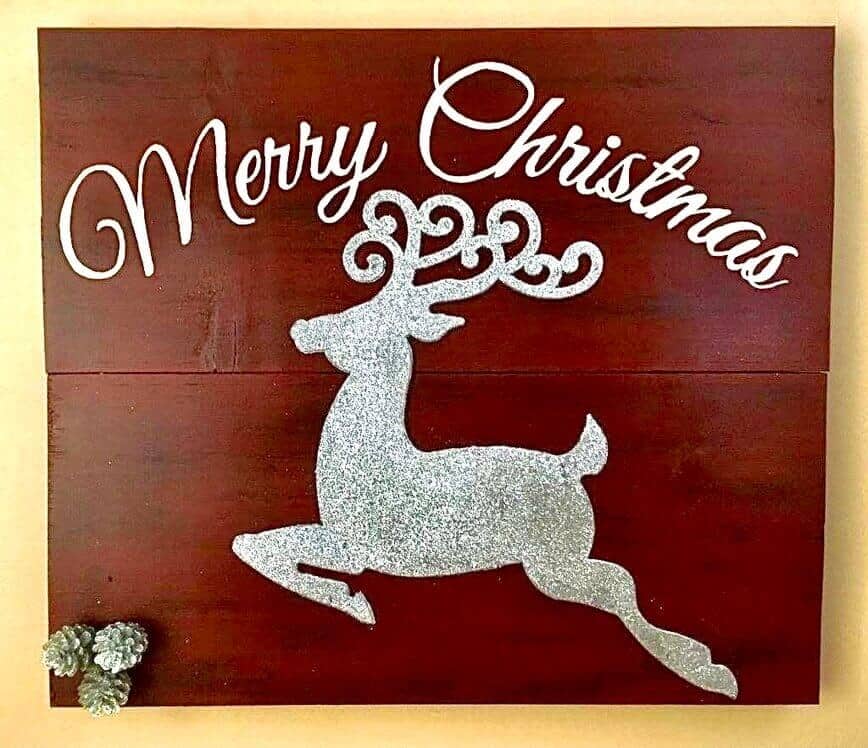
With just a few materials and some dollar-store items, you can make your home shine like a star! The total cost for my project was about $2 because I mostly used materials I found around the house.
This project started for me when I was browsing through the dollar store, looking for Christmas craft inspiration. While walking through the aisles, this beautiful glittering deer immediately caught my attention. I thought, “I know exactly what to do with this and it will be fabulous!”
🧰 Materials
- Spare pieces of wood
- Paint
- Glitter deer
- Eye hooks
- Picture-hanging wire
- Glue
- Screws
- White pencil
- Spray lacquer (optional)
- Pine cones
🪛 Assembly
I immediately went home and looked around the basement for some scrap pieces of wood. I was able to find two pieces of wood, one measuring 24” x 34” and the other 18” x 4”. The surface on the larger piece was generally smooth except for a few small knots. Perfect! We cut each of the pieces in half and attached them all together.
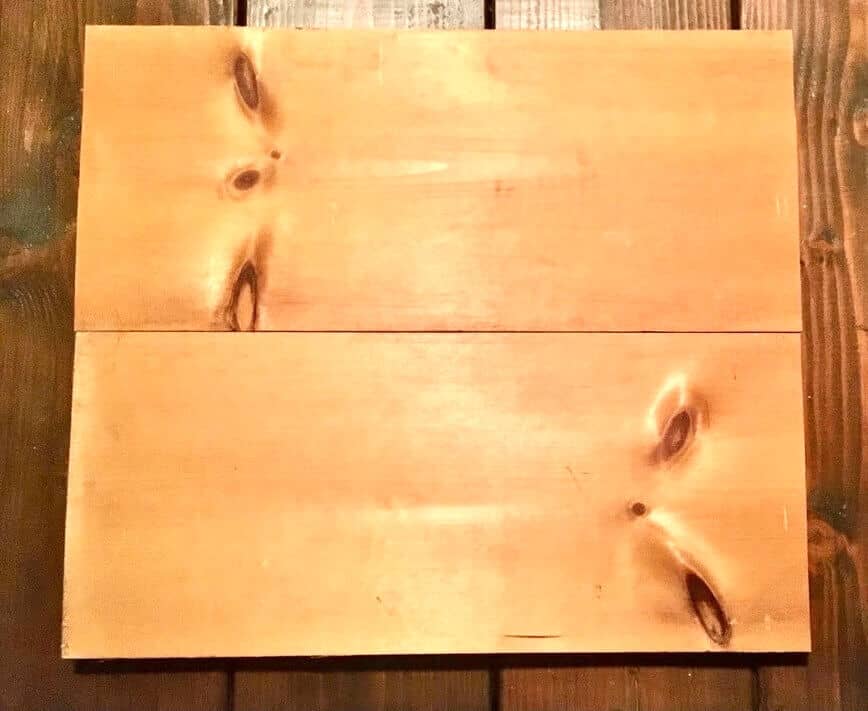
For your project, you can use as many pieces of wood as you like. I would recommend, however, that you use pieces of wood that fit together tightly and are not rounded at the edges, as this will make painting your words on them much more difficult.
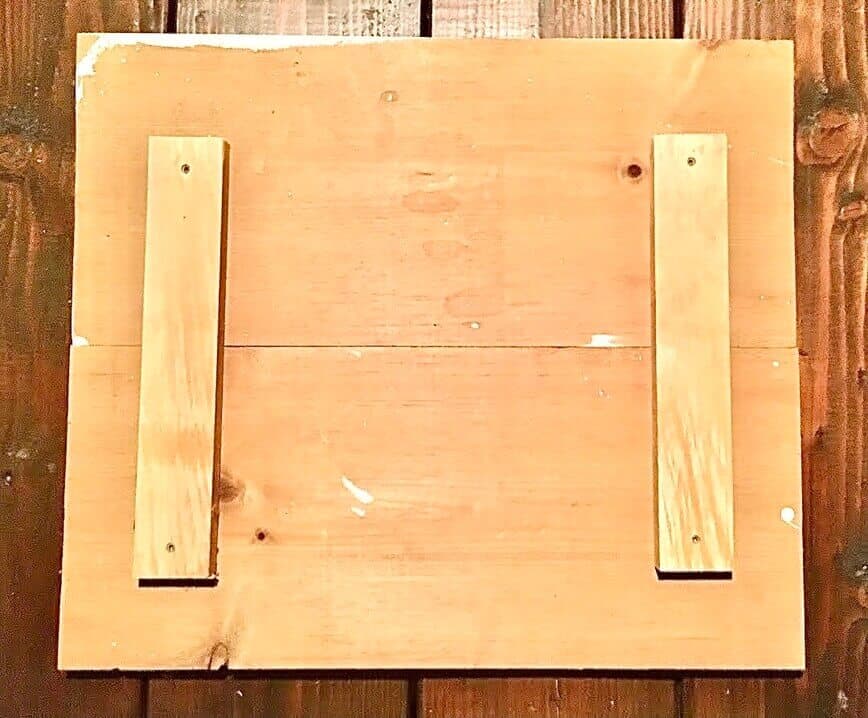
On a table, lay down all of your sign pieces upside-down and ensure that the edges are lined up.
Next, attach the two smaller pieces to the back with some screws to hold it all together (see photo below).
I decided to use support pieces that were shorter than the height of the sign. This way, I could hide the eye hooks and hanging wire below the top of the sign, so they wouldn’t be visible later.
Attach some eye hooks into the top of the bracing pieces and string your wire.
🖌️ Painting
Now the fun and creative part begins! Looking around the basement, I was able to find some leftover cans of paint and chose a couple of those colors. Paint the front of your sign any color you desire.
For my sign, I chose a burgundy red to give it a warm but still Christmas-y feeling. After letting that dry, I then dry-brushed black paint over the surface.
To dry-brush, just barely touch the tips of your paintbrush into the paint, brush off most of the paint on a paper towel, and then very lightly brush it onto your sign here & there. Don’t overdo it...less is more. This will achieve that shabby chic look.
🔤 Lettering
While the paint is drying, decide on what you’d like your sign to say...Merry Christmas, Happy Holidays, Feliz Navidad, anything at all really!
There are a few different techniques that you can use to help yourself out here. If you’re particularly artistic with lettering and have a steady hand, feel free to just grab a paintbrush and paint the letters on freehand. I, however, am not that person.
So, your other options are to either project an image of the letters onto your sign and trace them out, or print them onto paper and then trace, which is what I did.
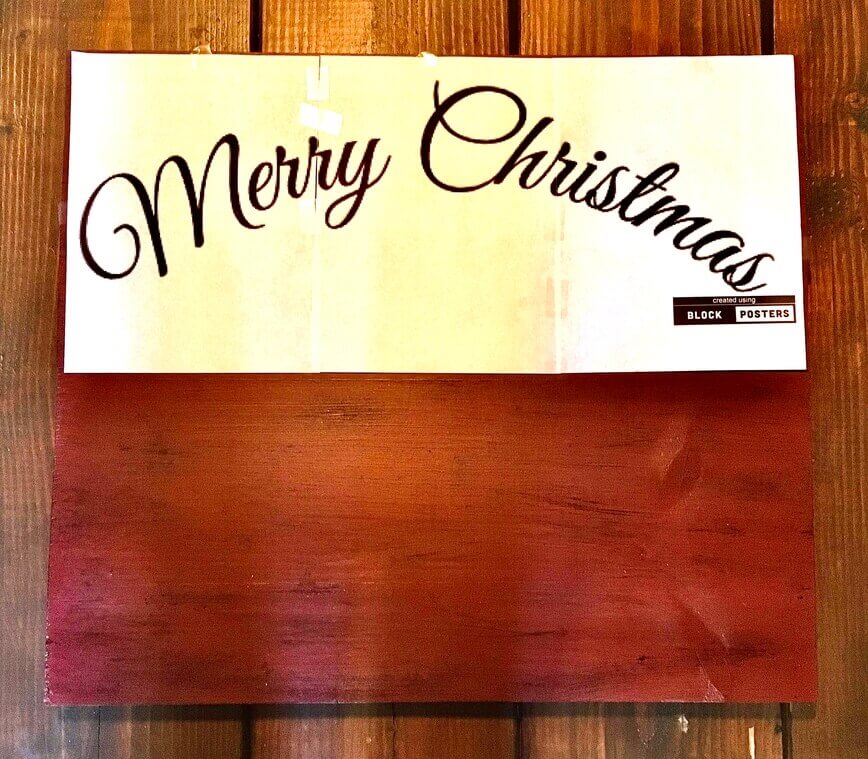
There’s a really cool website I discovered called PicFont, where you can type anything you like, in multiple fonts, and even curve the letters to that they form an arch! I know, right?!
So, I created my words and then found another cool website called BlockPosters, which will allow you to print your words over multiple pieces of paper, on your own home printer. No need to go to the big store that prints out posters...you can do this at home.
I tell ya, this project was really eye-opening regarding all this cool stuff you can do at home!
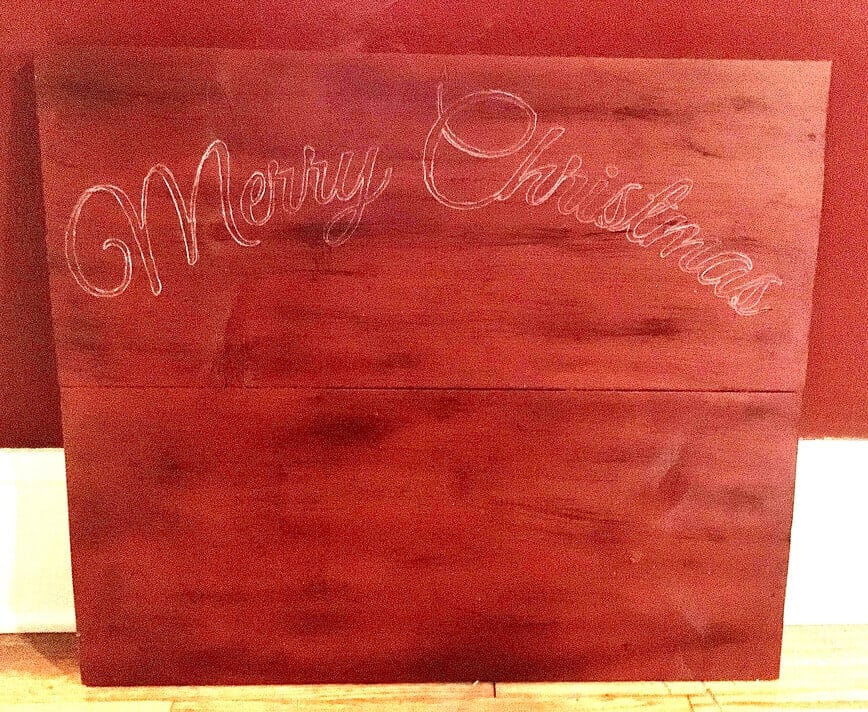
Okay, so I have my words all printed out...now what?
I taped them together and placed them on my sign in the position I wanted them. I also taped them to the surface of the sign so they wouldn’t move while I was working on it.
Then, Erich had the amazing idea of getting a sewing pin and tracing out the letters with tiny holes, like you would do to make a jack-o-lantern on Halloween.
I’m not going to lie...this took a little time, but it was sooooo worth it. Once it was all traced out with tiny holes, I removed the papers and traced it out in white pencil.
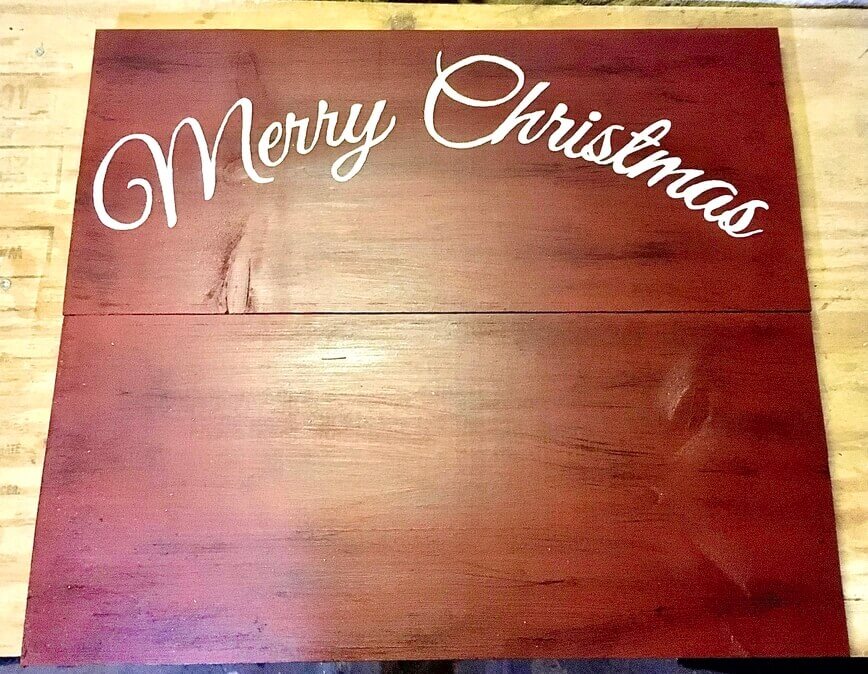
Back to painting! I was able to find a slightly off-white color that I thought would be perfect for my lettering and got to work. Slowly and carefully paint your letters on your sign, using your pencil outline as a guide. Depending on the paint you use, this may require two coats.
Once this is completely dry, as an option, you can apply some spray lacquer to seal it in, give it some shine, and provide some protection.
✨ Final touches
All that’s left to do now is attach your deer to the front of the sign and any other little details you would like. You can use either craft glue or a hot glue gun to attach everything to the surface.
For my sign, I also included some little glittery pine cones I found at the dollar store, although this would be simple to do yourself using just some pine cones, spray paint, and glitter.
Now, ladies & gentlemen, hang your beautiful sign in a prominent place where everyone will see it, and wait for the oohs and aahs. Everyone will want to know where you got this stunning piece of holiday art, and you can tell them, “I did it myself!”
Merry Christmas!

🎄 Christmas fun facts
- Christmas wreaths are a mystery.
- Americans did not want a Christmas tree.
- The history of Christmas stockings involves a sweet Santa.
- Thomas Edison invented the first Christmas lights.
- Remember Hansel & Gretel's gingerbread house.
- Nutcrackers have a history dating back to WWII.
Love Christmas? Check out our other fun projects and delicious recipes:
Recipes
- Chestnuts Roasting on an Open Fire
- 5 Tasty Christmas Party Appetizers (plus 4 desserts!)
- Brussels Sprouts Cooked in Bacon Fat with Walnuts and Pomegranate
- Baked Cranberry Brie Bites with Sage
- Beer Soft Pretzels Stuffed with Spinach Artichoke Dip
- Mom’s Best Chocolate Chip Cookies
- Irish Coffee Chocolate Mousse
Crafts
- Crochet Santa Hat
- Festive Glitter Candle
- DIY Gift Box You’ll Want to Keep for Yourself
- Luxury Body Scrub
Did you make this Shabby Chic Holiday Sign? Let us know in the comments below!



Leave a Reply