I love beautiful home decor...but the price, not so much. Which is why I love to find pieces that I love and then make them myself whenever possible.
Case in point: Something I’ve always wanted is a rustic ladder, whether to drape towels or blankets, or as a bookshelf, or to hang it from the ceiling to use for plants or pots and pans.

I looked around online and found one at Crate & Barrel (see photo above), but at $200 it was way too pricey. So I said to myself, “Self, you can make a DIY ladder easily at home for a fraction of the price!” I mean, sure it would take some time and elbow grease, but I love doing these kinds of projects...taking ordinary everyday objects and transforming them into something beautiful.
Jump to:
🌲 Materials
- Cedar branches
- Jigsaw
- Electric sander
- Sandpaper in multiple grits (recommended 50 to 220)
- Twine
- Scissors
- Stain & polyurethane (optional)
🥾 Branches
So Erich and I visited a friend’s property and found some fallen cedar branches. We looked around for branches that were fairly long and pretty straight. The rungs didn’t have to be long, but the side pieces needed to be at least 4 feet, if not longer. A slight curve didn’t bother me either, as it would add character, but just not too much of a bend.

Why cedar? Two reasons: First, it will hold up nicely if and when we decide to use it outdoors; and second, it has a wonderful color and scent, plus offers protection from moths if I decide to use it for towels and blankets or books.
We found 6 branches that seemed to fit the bill and brought them home (it’s good to have extra, just in case one doesn’t work out for whatever reason).
🪚 Using the jigsaw
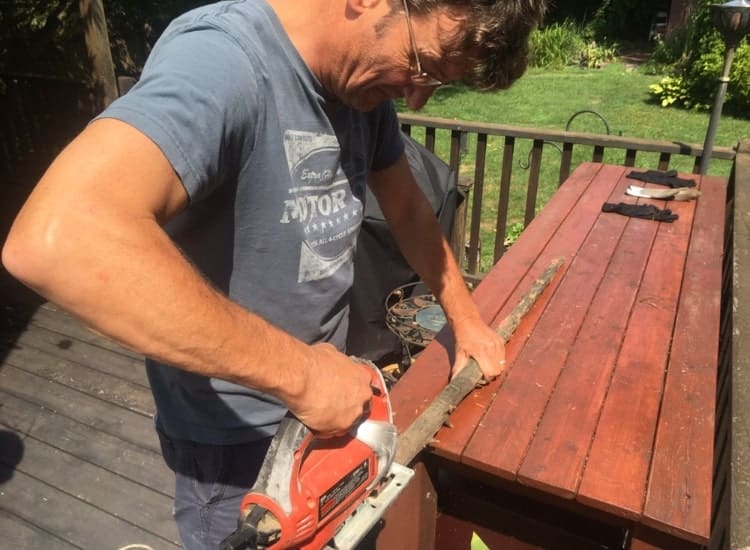
Erich quickly got to work, using his jigsaw to cut off all the tiny branches that were poking out all over.
✨ Sanding
It was then my turn to get sawdust all over me, sanding and sanding and sanding. Luckily, cedar branches don’t seem to have much bark, which is very thin and easy to sand down.
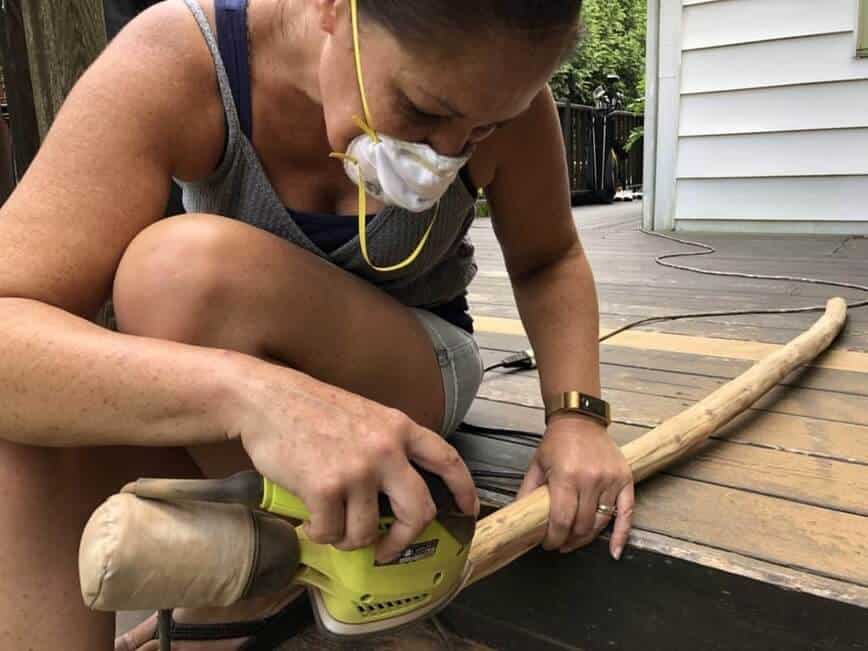
I started with 50-grit sandpaper on an electric sander, then used 120-grit, and finally 220-grit (I spent about $20 on the sandpaper). While it turned out quite smooth and very nice, a friend mentioned that the proper technique is to increase by 20-grit each time. I strongly recommend wearing a mask, as there will be a ton of sawdust.
⭐ More cutting and sanding
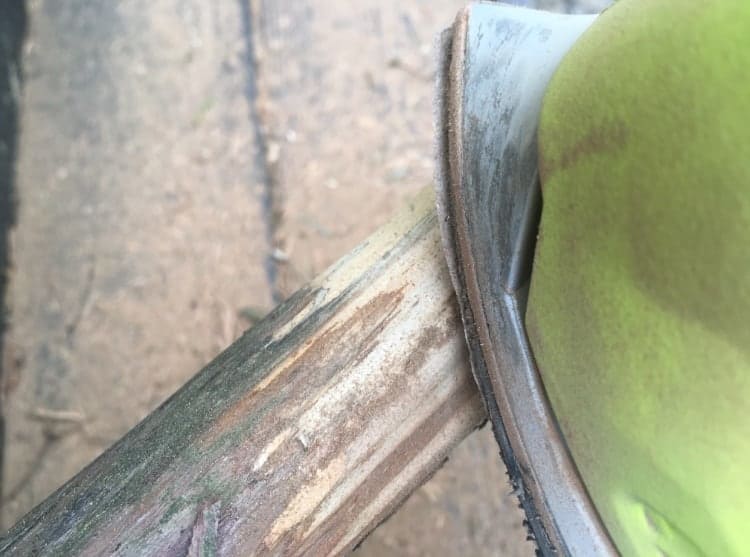
Once all the branches were sanded and dusted off, we laid everything out and Erich cut the branches to the final size. Then, a little bit more sanding for me to do, to smooth the cut ends.
🖌️ Stain and polyurethane (optional)
While I decided to leave my ladder au naturale, if you wish to stain your ladder, I would do that at this point. You could also polyurethane for a super smooth and shiny finish. Be aware, however, that by doing this, you will lose any of the cedar’s scent and protective effects against insects.
🪢 Diagonal lashing
We then laid everything out and grabbed the twine to attach the rungs to the sides. You could probably use a thinner or thicker twine than I did, or even a different material, but I decided to use a regular household twine.
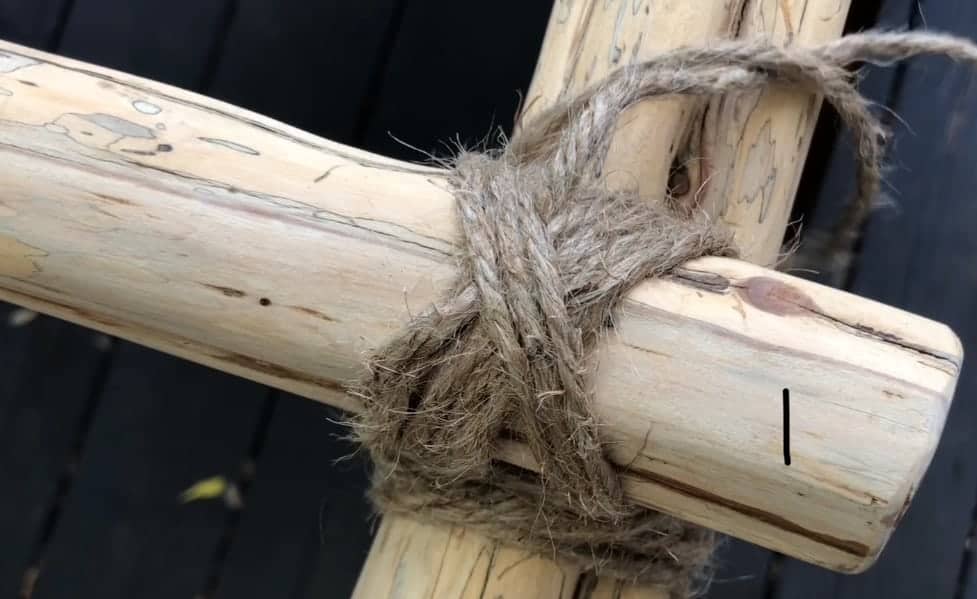
Wrapping the twine uses several techniques, with impressive sounding words - like diagonal lashing, timber hitch, cross wrapping, frapping, and clove hitch - but they’re actually really easy and just take a few minutes. Please see the video below, where I walk you through the entire thing.
⭐ Tip: While you’re wrapping, especially the first one or two rungs, while not absolutely necessary, it will help to have another person holding the sides still. Think about it...if one side slides down, it won’t sit flat on the floor. Also, we figured out that if you attach the top and bottom rungs first, that will hold everything in place for wrapping the middle rungs.
⭐ Note: While this ladder is quite sturdy for home decor, it is NOT, under any circumstances, to be used for a person to stand on or climb!
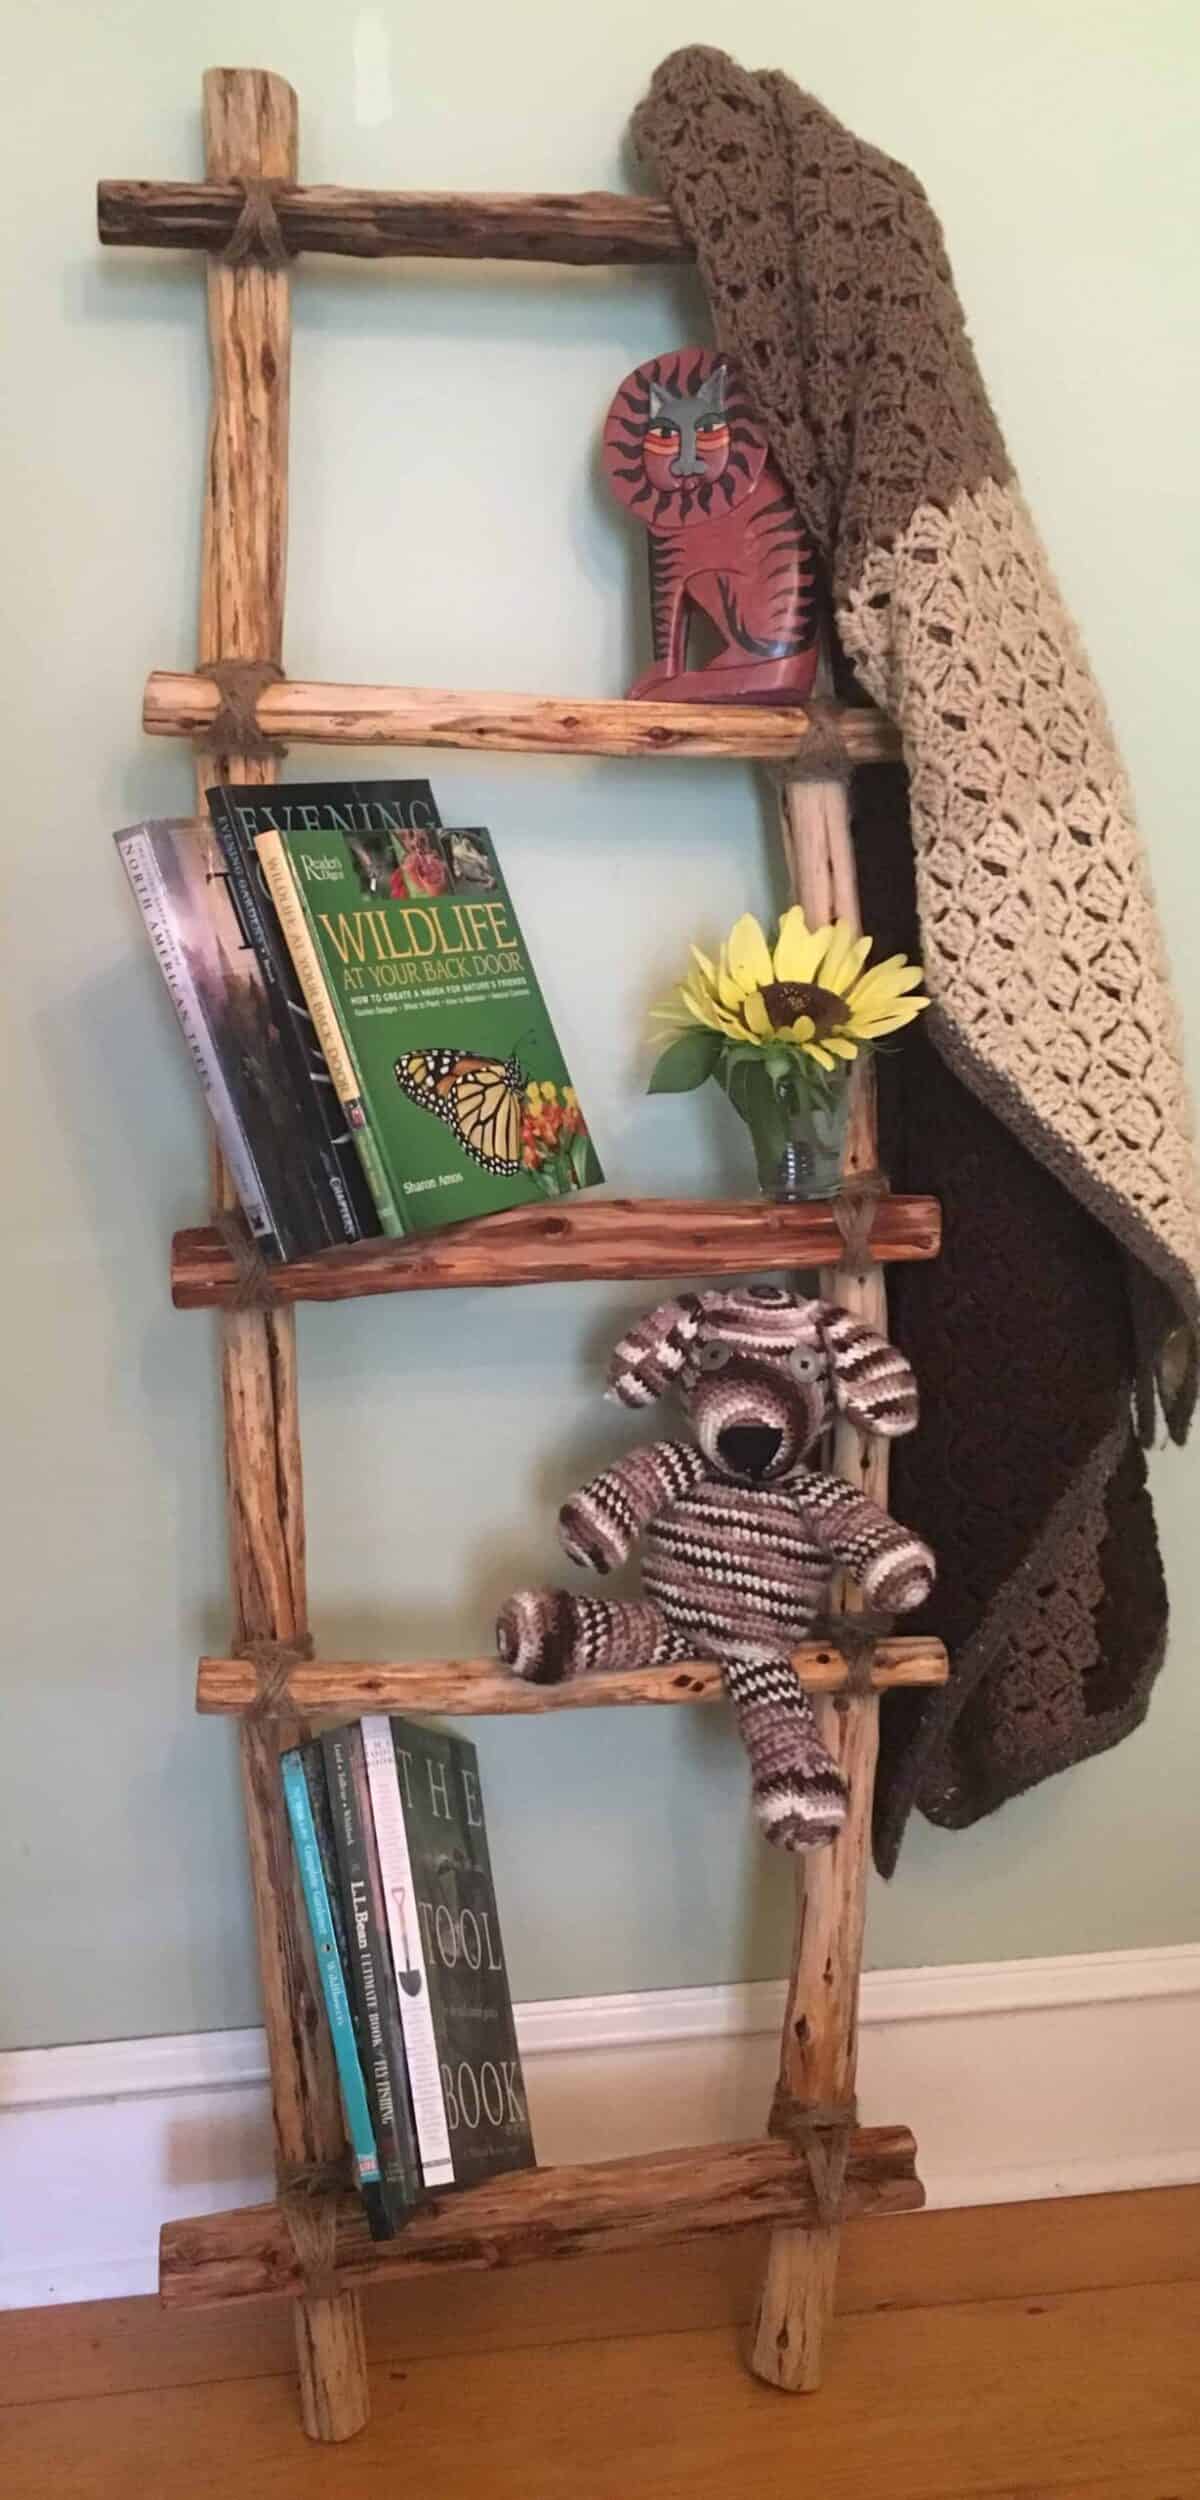
All that’s left to do now is decide where to place your ladder in your home and enjoy!
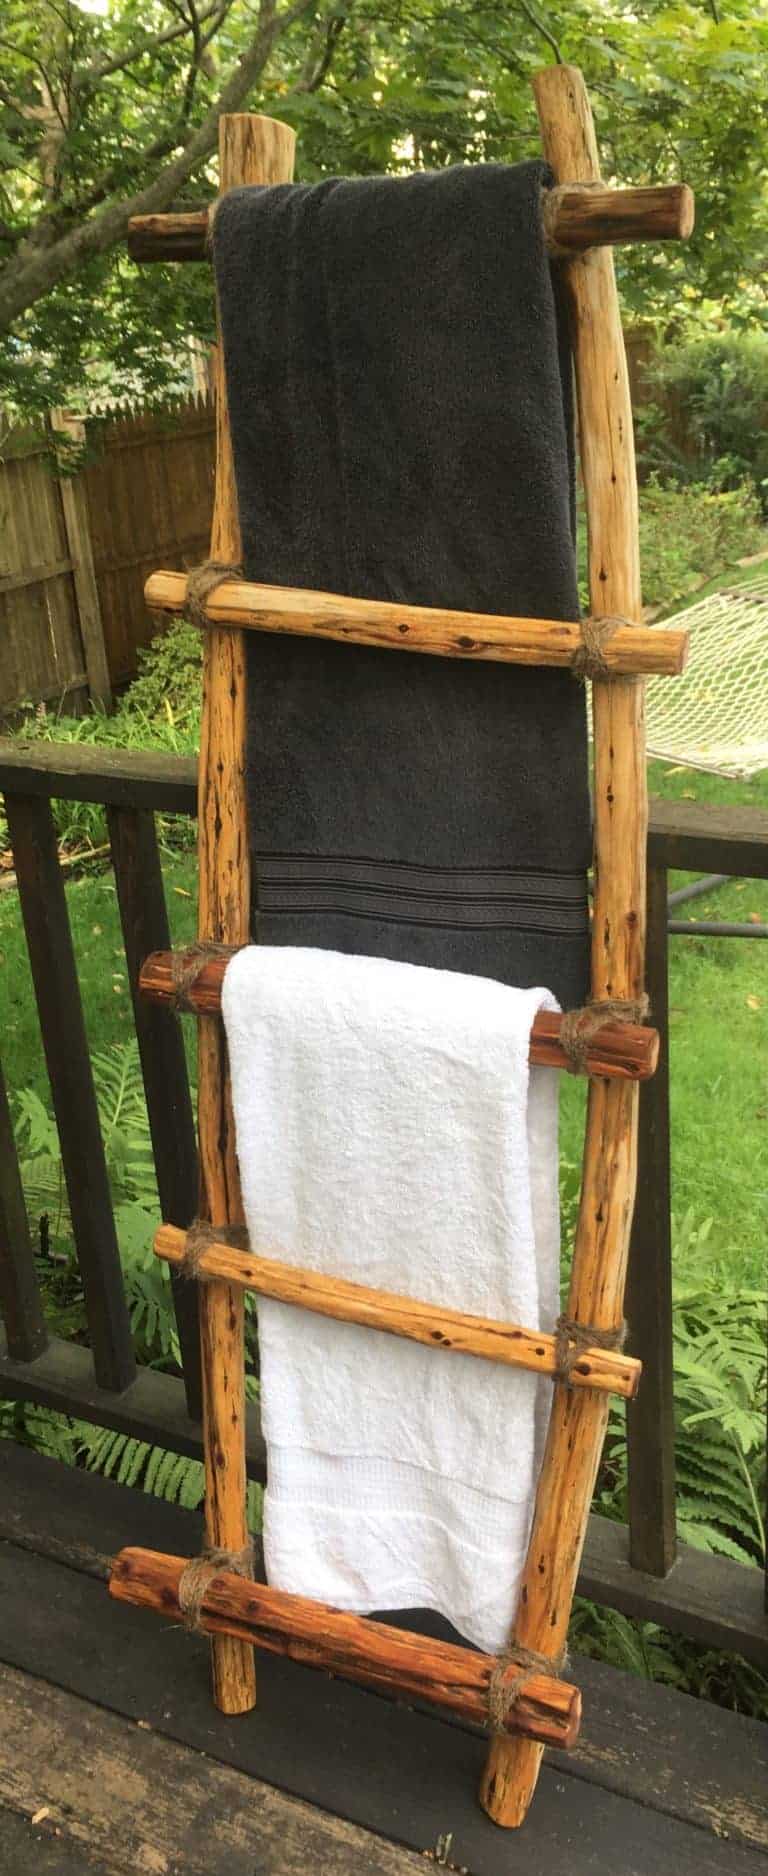
Did you make this DIY Ladder? Let us know in the comments below!


Leave a Reply