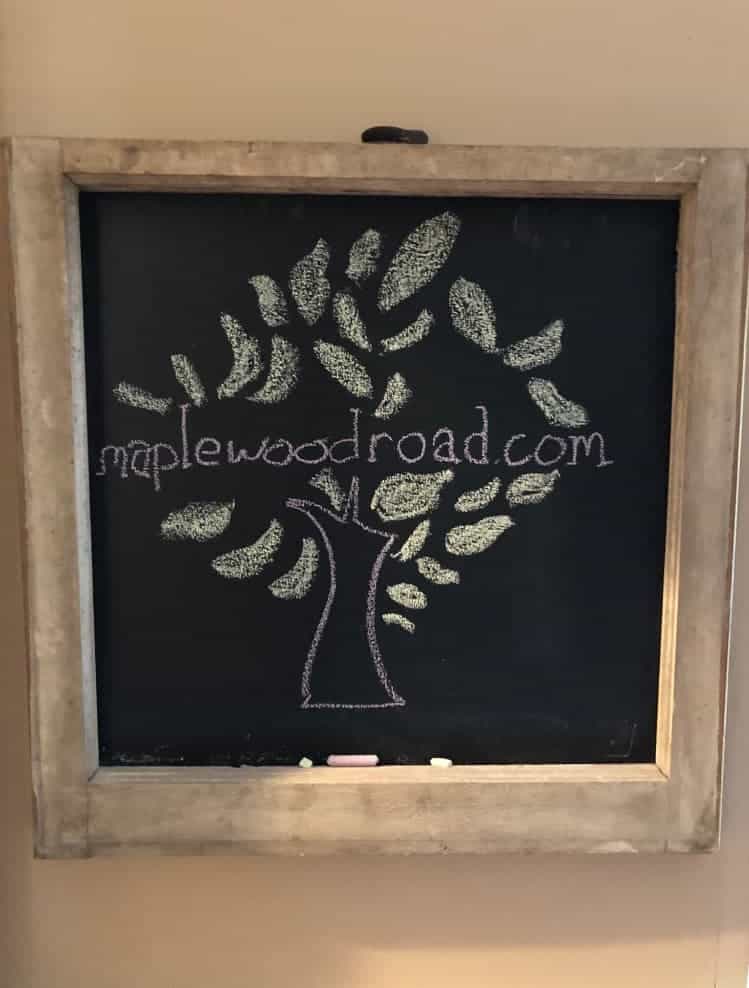
Doodle, write reminders, or leave a love note for your significant other! Tired of looking at sticky notes all over your refrigerator and wish you had a more attractive place to write your thoughts? How about creating a rustic chalkboard instead! You can do this!
Jump to:
📝 Planning
This project is so easy and only takes a day! The first step you’ll need to do is to decide on a location for your chalkboard. This is probably the most important thing to consider. If your chalkboard is in a location you never notice, then it will never get used! What’s an area in your home that you walk through often? By the entryway or in a mudroom may be a possibility, or maybe in the kitchen? Our chalkboard is in our mudroom, because this is an area of our home that we walk through multiple times a day.
🪟 Get your supplies ready
You’ll need a few supplies for this project: Chalkboard paint, a paintbrush, painter’s tape, pencil, ruler, level, an old window frame or picture frame, 3 screws, wall anchors, a drill, and of course, chalk. I know what you’re thinking...okay, all of those items can be found at the hardware store...but an old window frame? Search around local antique stores and yard sales. It may take a little looking, but when you find the right one, you’ll know it!
🖌️ Materials
- Old window frame or picture frame
- Chalkboard paint
- Paintbrush
- Painter's tape
- Pencil
- Ruler
- Level
- 3 long screws
- Wall anchors
- Drill
- Chalk
Once you have all your materials have decided on a location in your home, it’s time to begin building your rustic chalkboard!
🎨 Painting the chalkboard on the wall
Probably the easiest way to start is by having another person hold up the window or picture frame in the location you want it and tracing around the inside with a pencil. Don’t worry about the pencil marks, you’ll be painting over these.
If you don’t have another person handy, measure the inside dimensions of the window frame and use a ruler and level to mark the location on the wall.
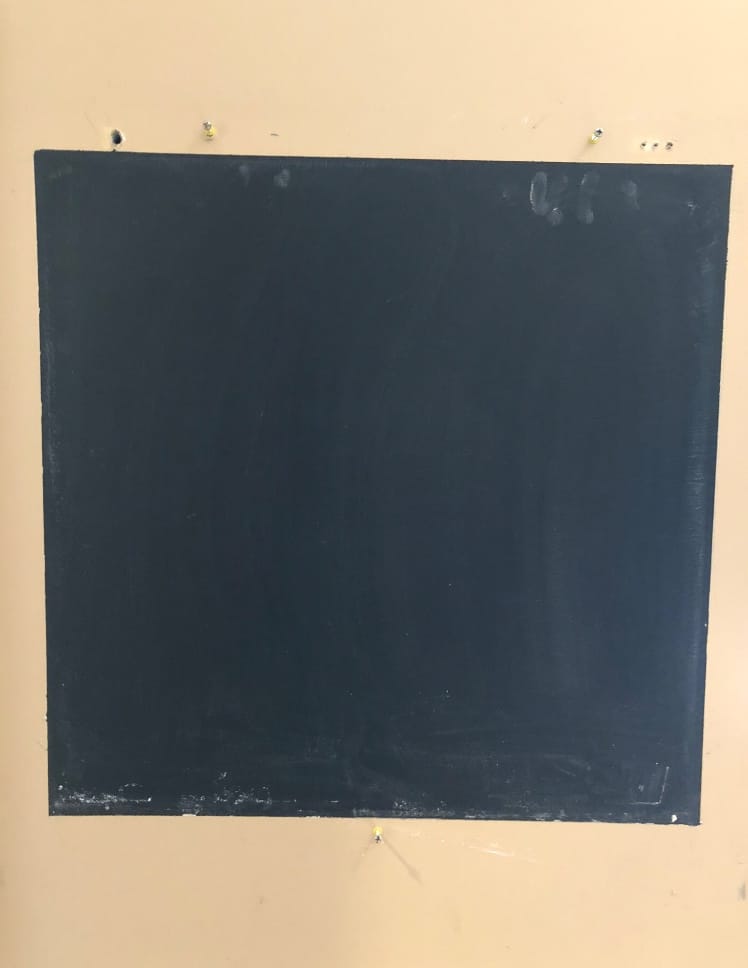
Start by taping off an area of wall that measures just slightly larger than the inside measurement of the window or picture frame. This will ensure that the frame covers the entire painted area, with no wall color showing at the edges.
You’re now ready to paint the taped-off area with chalkboard paint. I would advise doing several coats and letting it dry between each one. This will help achieve a more consistent color throughout.
You will need to wipe down your chalkboard with a damp sponge occasionally, and multiple coats will also make your chalkboard more durable.
🪛 Hanging the frame
To attach your frame to the wall, you’re going to hang it with three screws, two in the top part of the sash and one in the bottom.
In order to mark the wall so that everything lines up properly, first partially drill two screws into the back of the top part of the sash and one into the center of the bottom. Put some chalk or baking flour on the heads of the screws and touch it to the wall where you want it located. This will leave small marks on the wall in the exact location where your holes will be drilled into the wall.
Now, drill small holes in the wall where it is marked with the chalk or flour and place wall anchors in the holes.
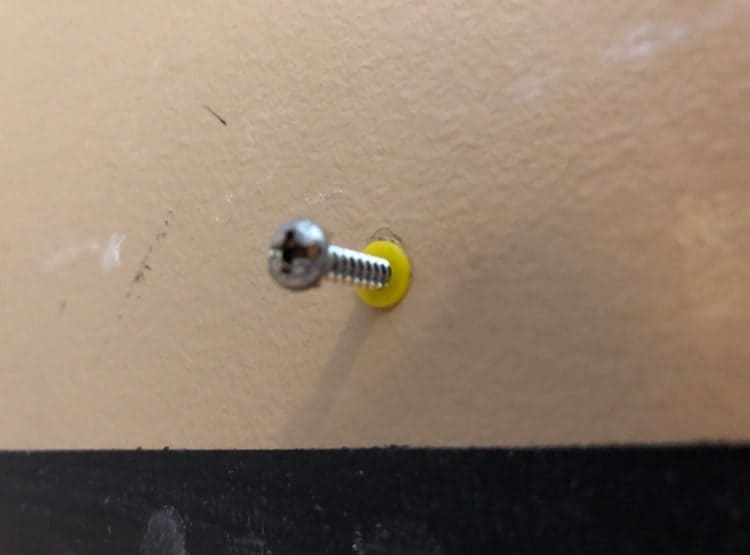
Then, remove the screws from the frame and insert them into the wall anchors, leaving them sticking out of the wall about a half inch or so.
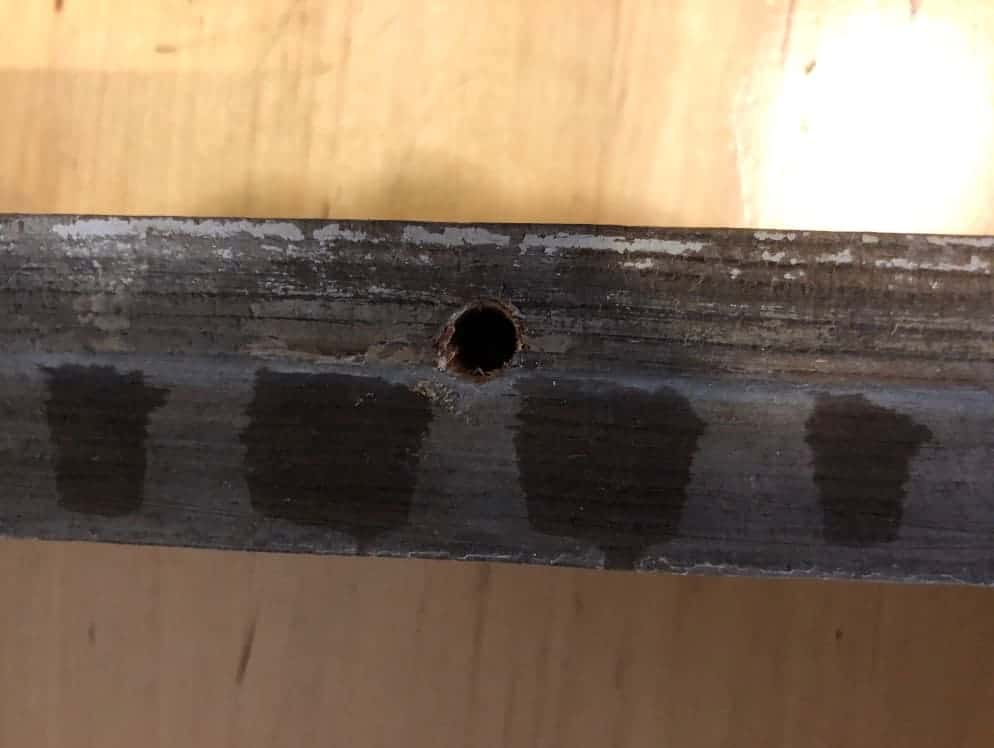
Next, where you removed the screws from the frame, drill three holes there that are slightly larger than the screw heads.
Lastly, hang the frame onto the screws.
All that’s left to do is let your inner artist shine through! Happy drawing!

Did you make this Rustic Chalkboard? Let us know in the comments below!





Scott Apgar
Very cool!!!
maplewoodroad.com
Thanks!