This fall leaf aluminum foil craft is fun for adults and kids alike! The image of a fall leaf is portrayed in relief in just a few easy steps. It's almost like doing leaf rubbings, but with a twist.
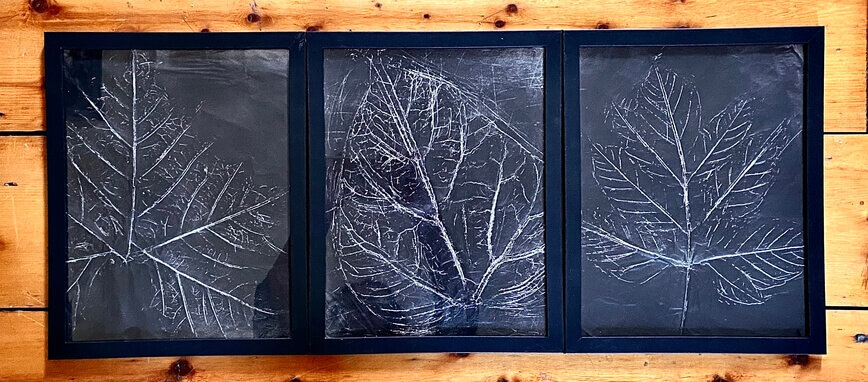
Take a walk through the woods. Admire Mother Nature all around you. Look at the trees, the bark, and finally the leaves. There are so many shapes and sizes, it boggles the mind. There is beauty all around us if we just stop to admire it for a moment. Let's bring just a little of that beauty home.
Jump to:
🍂 Materials
- Leaves
- Cardboard or foam board
- Aluminum foil
- Matte black spray paint
- Steel wool
- Picture frame with glass
🍁 How to make it
Find a few beautiful leaves and gently pluck a few off their branches.

Place the leaf on top of the cardboard or foam board, upside down, so the veins of the leaf are more prominent on the top side.
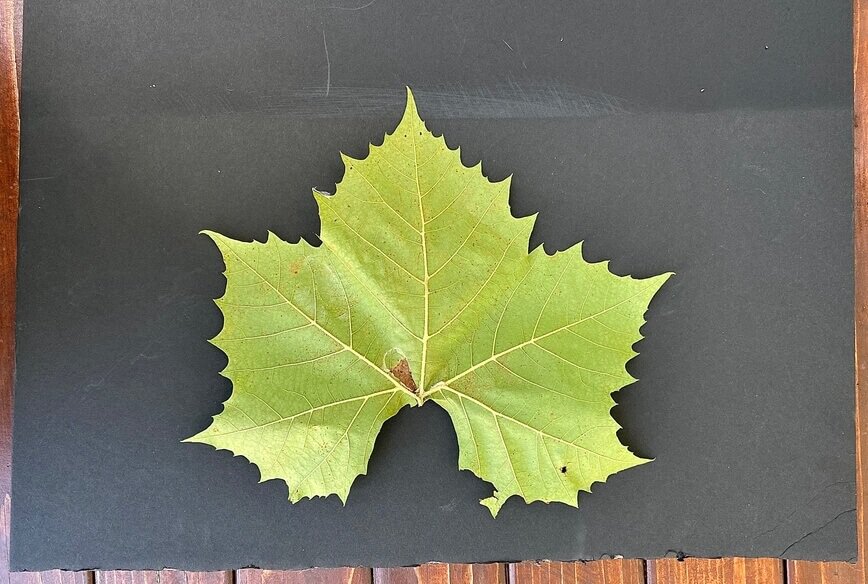
Spread a large sheet of aluminum foil over the top, making sure to cover the entire leaf, plus a few extra inches all around. Also, wrap the edges of the foil around the edge of the cardboard, to hold it in place. Using your fingers, gently press down all over, to bring out as many details of the leaf as you possibly can. But if you have long fingernails, be careful they don't rip through the aluminum foil.
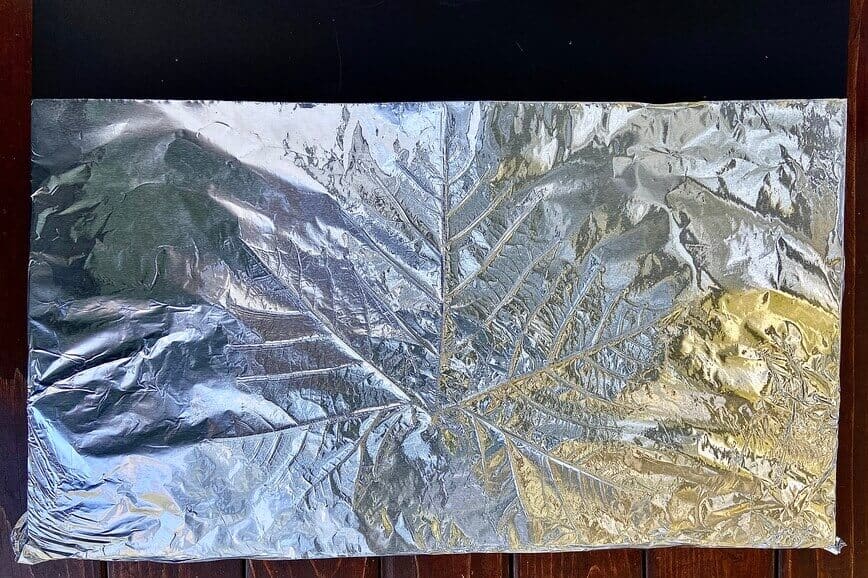
Lightly spray a coat of matte black spray paint all over the foil surface. You can cover the whole sheet of foil with the paint or gradually fade it out just a bit for a more artistic effect, as I did. Let it dry completely (this should only take about 15 minutes or so).
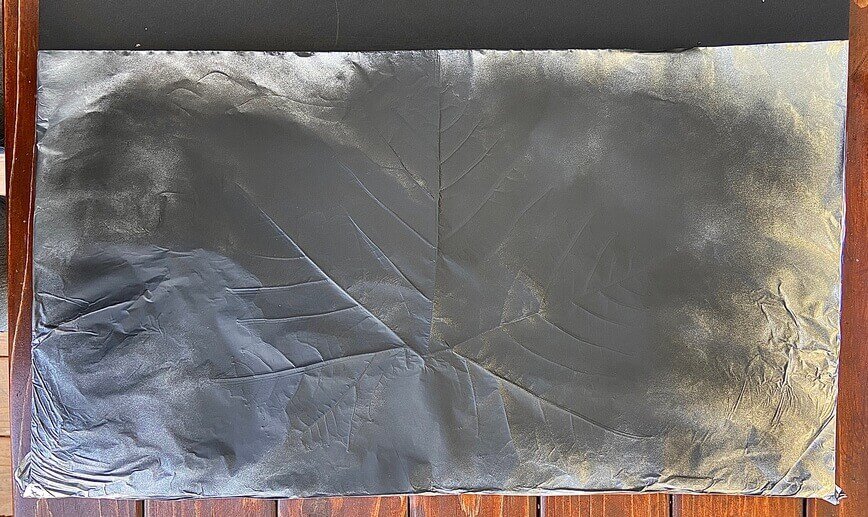
Next, using steel wool, verrrrry gently rub it over the surface of the foil. This will remove the spray paint on the raised areas of the leaf veins.
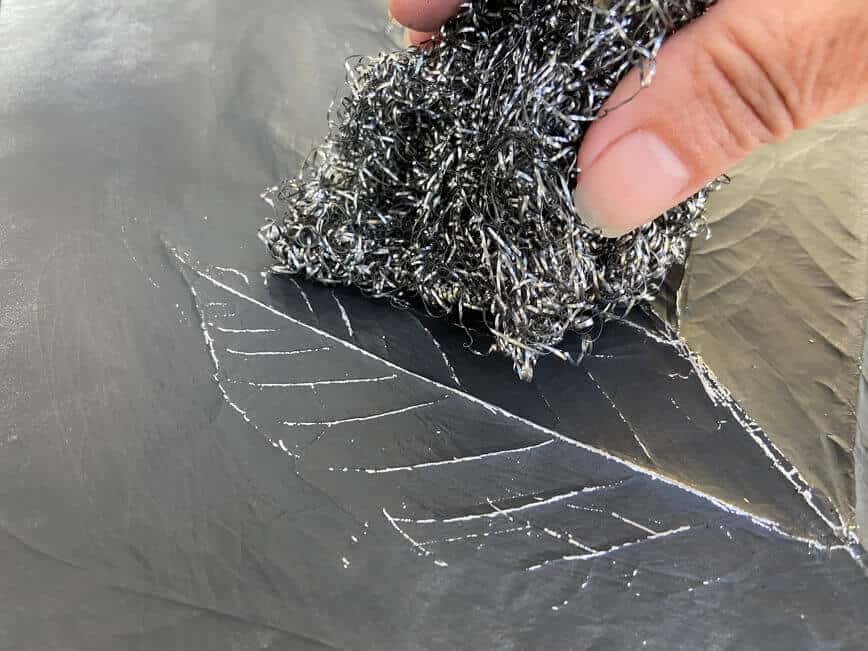
Keep rubbing the steel wool over the entire surface until the fall leaf image looks just right...
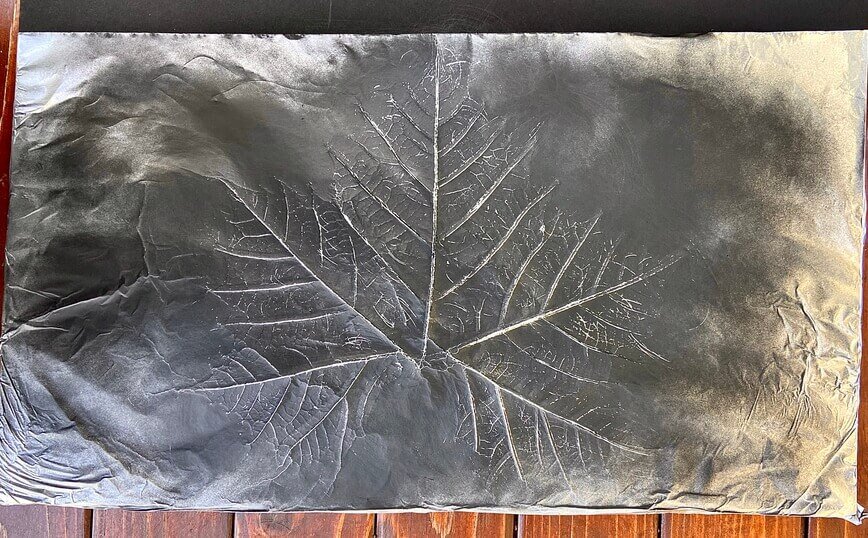
To frame your fall leaf aluminum foil craft, you have two options. You can either leave everything as-is, with the leaf under the foil, on the cardboard, and cut it to size to fit inside a frame. Or, you can do what I did, which was to only frame the foil. Also remove the glass from the frame and place it on top of your leaf art.
Some of my leaves were too large to fit inside the frame size that I had available, but that's okay! This way, you can try placing the glass in different locations over the leaf art and seeing what looks best.
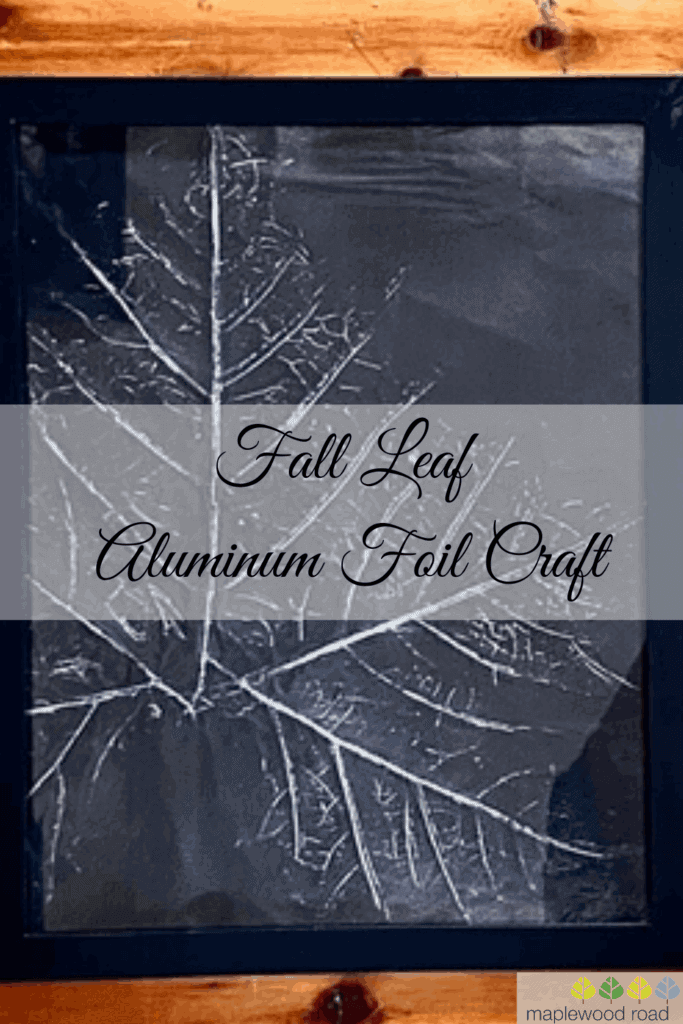
Then, press down on the glass and tear the foil around the edges for a clean edge. Place it inside your frame, add the backing of the frame, and you're done! Enjoy!
Do you love fun crafts? Check out a few more of our craft ideas now!
- Tree Branch Art for Your Natural Home Decor
- 3 Fun Acorn & Pinecone Crafts for Fall
- String Art - Easy step-by-step tutorial (with video!)
- DIY Custom Painted Doormat
- Adorable Crochet Pumpkin Pattern
- Mason Jar Soap Dispenser
- 3 Creative and Useful Wine Cork Crafts
- Easy 2-Hour Slouch Hat Crochet Pattern
- How to Transfer Photos to Wood (The Easy Way!)
Did you make this Fall Leaf Aluminum Foil Craft? Let us know in the comments below!




Leave a Reply