A few days ago, Erich and I both needed to get out of the house for a little downtime. The laundry could wait an hour, and the cats...well, they’re cats, they’ll be just fine. If anything, they’ll be excited when we get back home. Isn’t it awesome how your pets are always so excited to see you! But I digress…
We went for a nice relaxing walk, breathing in the fresh air, savoring the cool breeze. The leaves are starting to change color and fall from their branches, and acorns and pine cones are seemingly everywhere. Wait a minute...I can work with this! I suddenly felt a surge of crafty inspiration from Mother Nature and gathered up some acorns and pine cones and leaves and wild grasses too!
After that glorious walk outdoors, I returned home feeling refreshed and ready to make some acorn and pine cone crafts. Now where did I put that hot glue gun?
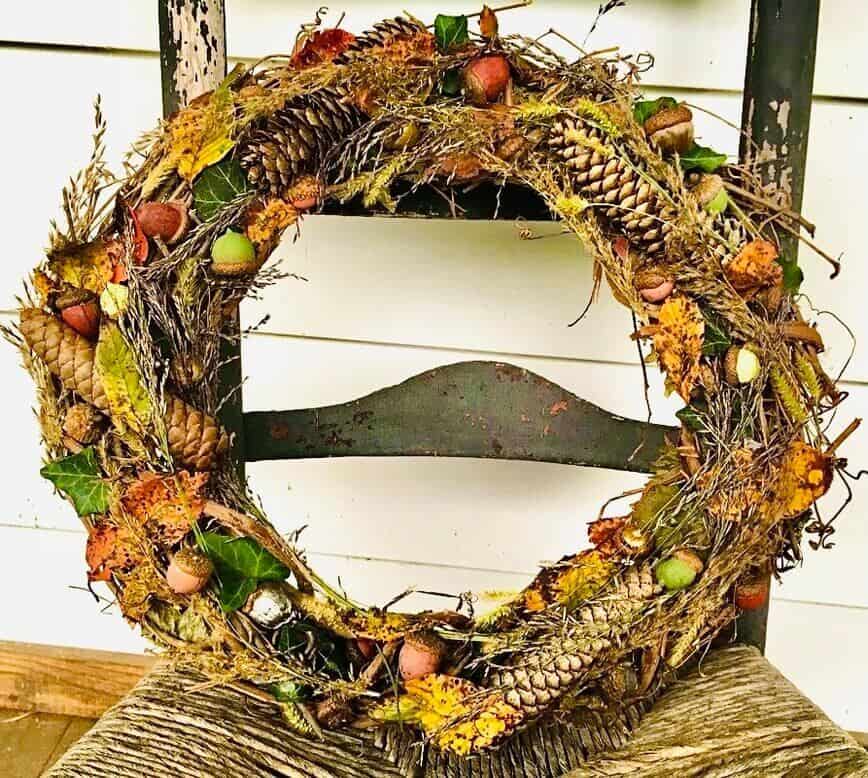
Fall wreath

The trick to making this fall wreath is to gather as many different nature supplies as you can. Besides acorns and pine cones, gather up some colorful leaves, wildflowers, wild grasses, anything really!
For the base of my wreath, I decided to use a twig wreath that I found at Michael’s, as it would blend into the background nicely (as opposed to those green styrofoam forms, which would stick out like a sore thumb). It was only a few dollars and would work perfectly!
As I wanted to add just a little additional hint of fall color to my wreath, I gathered my paint supplies and painted a few of the acorns in dark reds, yellows, peachy-pinks, and greens. The paint dried really quickly and then I was on to the next step…
All that’s left to do is hot glue gun all your finds to the wreath.
I found it helpful to hold up each piece to the wreath before I glued it, to make sure it “fit” and looked good there. Just be careful...it’s called a HOT glue gun for a reason (admission: I was so excited and not paying attention closely enough, and burned myself a few times).
Another suggestion to making a beautiful wreath is to layer, layer, layer. Multiple layers add interest and depth, so overlap different elements, like an acorn over a leaf, or wild grass draped across a pine cone. I even found some English ivy in our yard, which I added for another interesting visual element and pop of color.
Also, look at your wreath from different angles as you go. Will you display it up high? Then make sure you add elements to the underside of the top arch. Or will it be sitting low on a chair? Glue some grasses and acorns to the top.
When you’re all finished making your beautiful wreath, attach a pretty ribbon or some jute twine and hang it on your front door...or place your wreath on an old rocking chair or fireplace mantle...or anywhere else around your home that would benefit from a touch of autumn.
Painted acorns
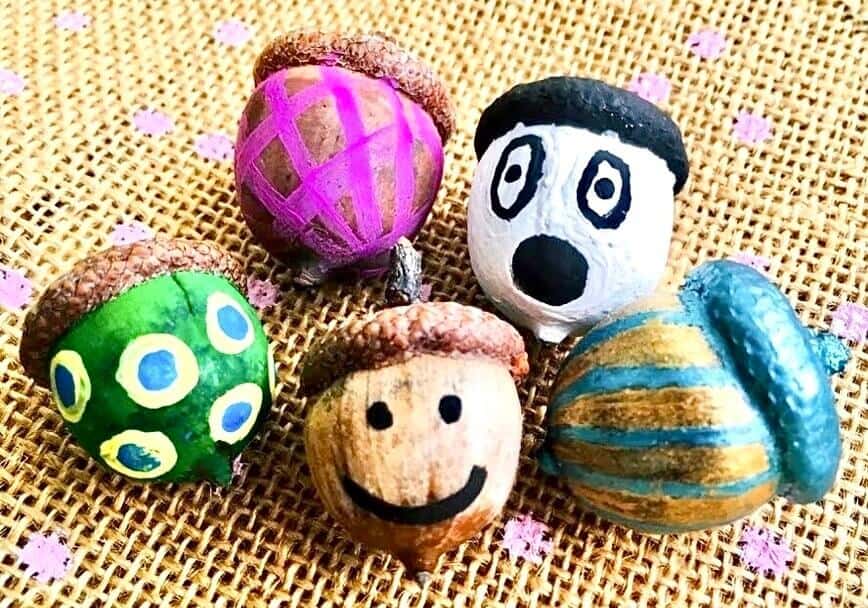
Do you love painting and do you have a steady hand? Ok, I realllly don’t have steady hands, but even I was able to do this fun acorn craft! Don’t judge my painting skills though...the point is, I had fun!
Find a few of your biggest, roundest acorns, as they will be your canvas. I used craft acrylic paints for my artwork, along with some small artist’s paintbrushes.
Get creative! Paint lines, circles, faces, or anything your heart desires! Paint pumpkins or ghosts or turkeys or Santas for the upcoming holidays!
Paint the acorn caps to make little hats...or sprinkle glitter all over...or add stickers....
Place your painted acorns randomly around the house, or add tiny magnets to the back to use as fridge magnets, or attach a ribbon to the top to make tiny Christmas ornaments...the only limit is your imagination!
Most importantly, have fun!
Beautiful candle display
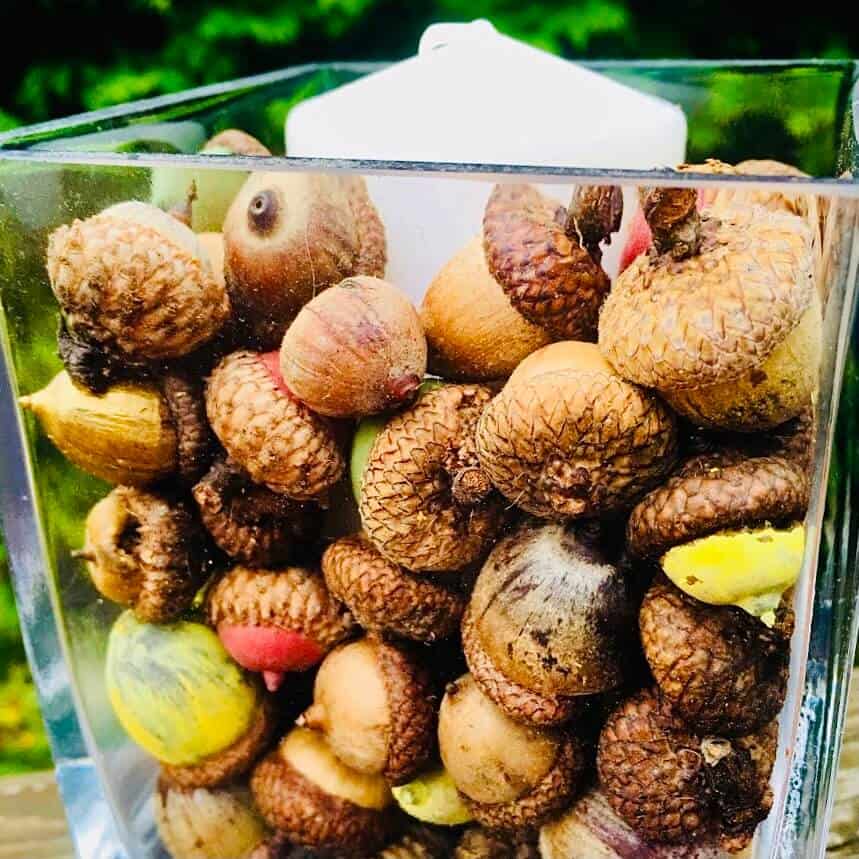
I saved the easiest acorn craft for last! Simply gather up a candle, or several candles, and wide vases.
Place the candle in the center and pour the acorns all the way around the candle, nearly filling the vase. Add a few of your painted acorns for more visual interest.
Or use several tall taper candles and hold them in place with all your acorns.
If your candle is wide but a little on the short side, place a small clear drinking glass upside-down, underneath the candle, to give it a higher boost inside the vase.
Display as a dinner table centerpiece for a touch of seasonal romantic lighting. Or use a scented candle and place it on a table in your foyer, for a pleasant aroma in the air as guests arrive at your home.
Looking for more fun crafts? Check out a few more of our fun craft ideas now!
- Fall Leaf Aluminum Foil Craft
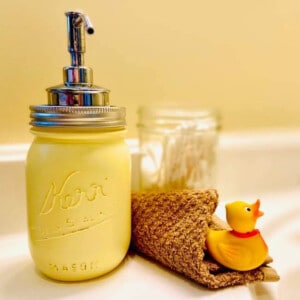
- Mason Jar Soap Dispenser
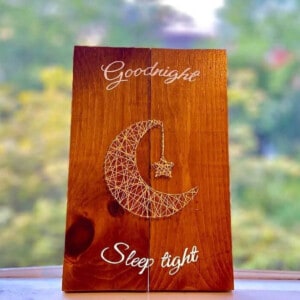
- String Art - Easy step-by-step tutorial (with video!)
- DIY Custom Painted Doormat
- Easy 2-Hour Slouch Hat Crochet Pattern
- How to Transfer Photos to Wood (The Easy Way!)
- DIY Etched Wine Glasses
- Create a Rustic Chalkboard in Just 1 Day
- DIY Luxury Body Sugar Scrub
Which acorn and pine cone crafts are you going to try first?


Devon
I love the acorn candle display! It's such a cute idea.
maplewoodroad
Thanks! 🙂
Kat www.thehobbithold.com
I love the painted acorn craft idea! Never occurred to me before, I might try it 🙂
maplewoodroad
Thanks so much! It's a fun activity for all ages! 🙂