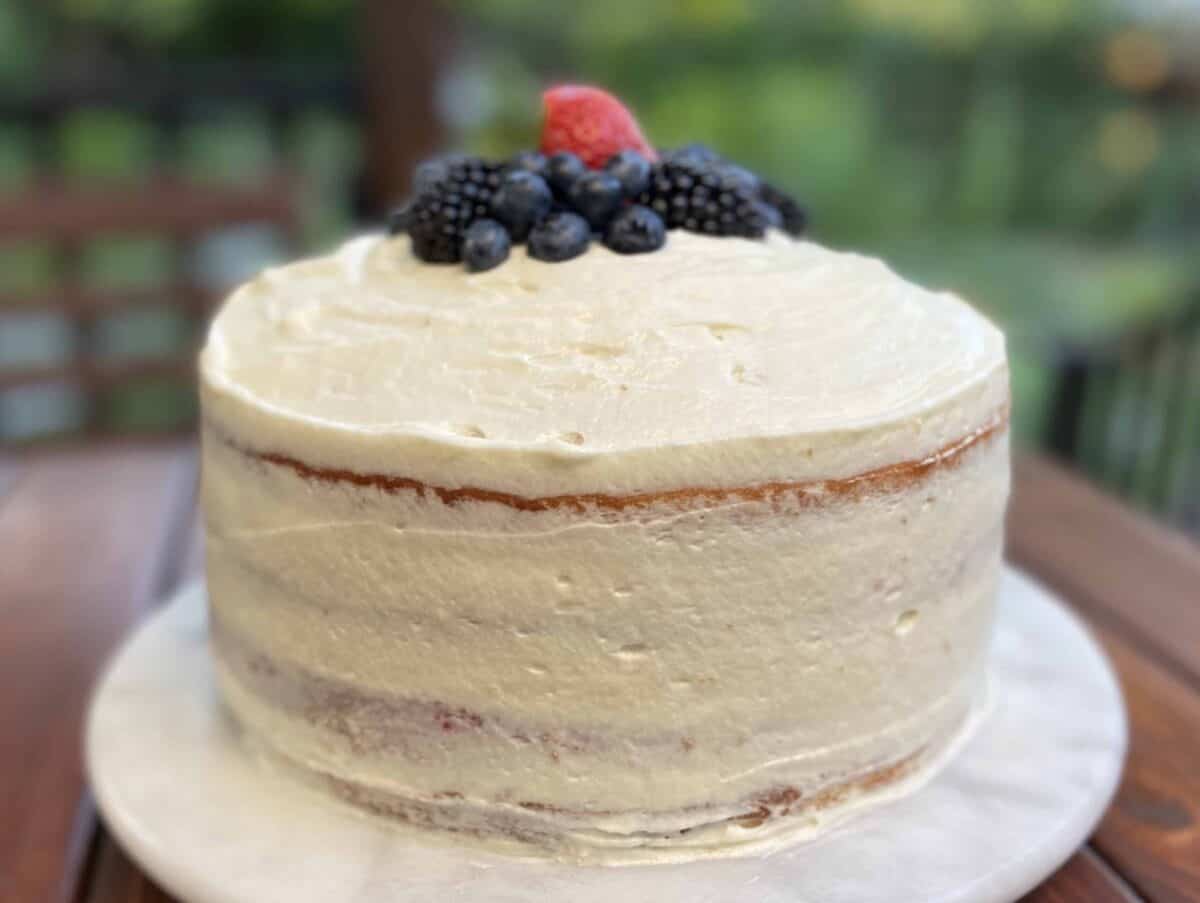
My berry chantilly cake recipe will reward you with one of the most luscious cakes you've ever tasted. The light, fluffy vanilla cake is piled high with layers of fresh berries and an indulgent yet delicate and fluffy chantilly cream with mascarpone. You couldn't ask for anything more in a dessert.
Jump to:
Several of our friends and neighbors kindly taste tested my cake and they all gave it a score of 10/10! Let us know what you think in the comments below.
Berry chantilly cake is a very popular dessert at Whole Foods Market, but costs a staggering $30! I'm going to show you how to easily make this showstopping dessert at home for a fraction of the price.
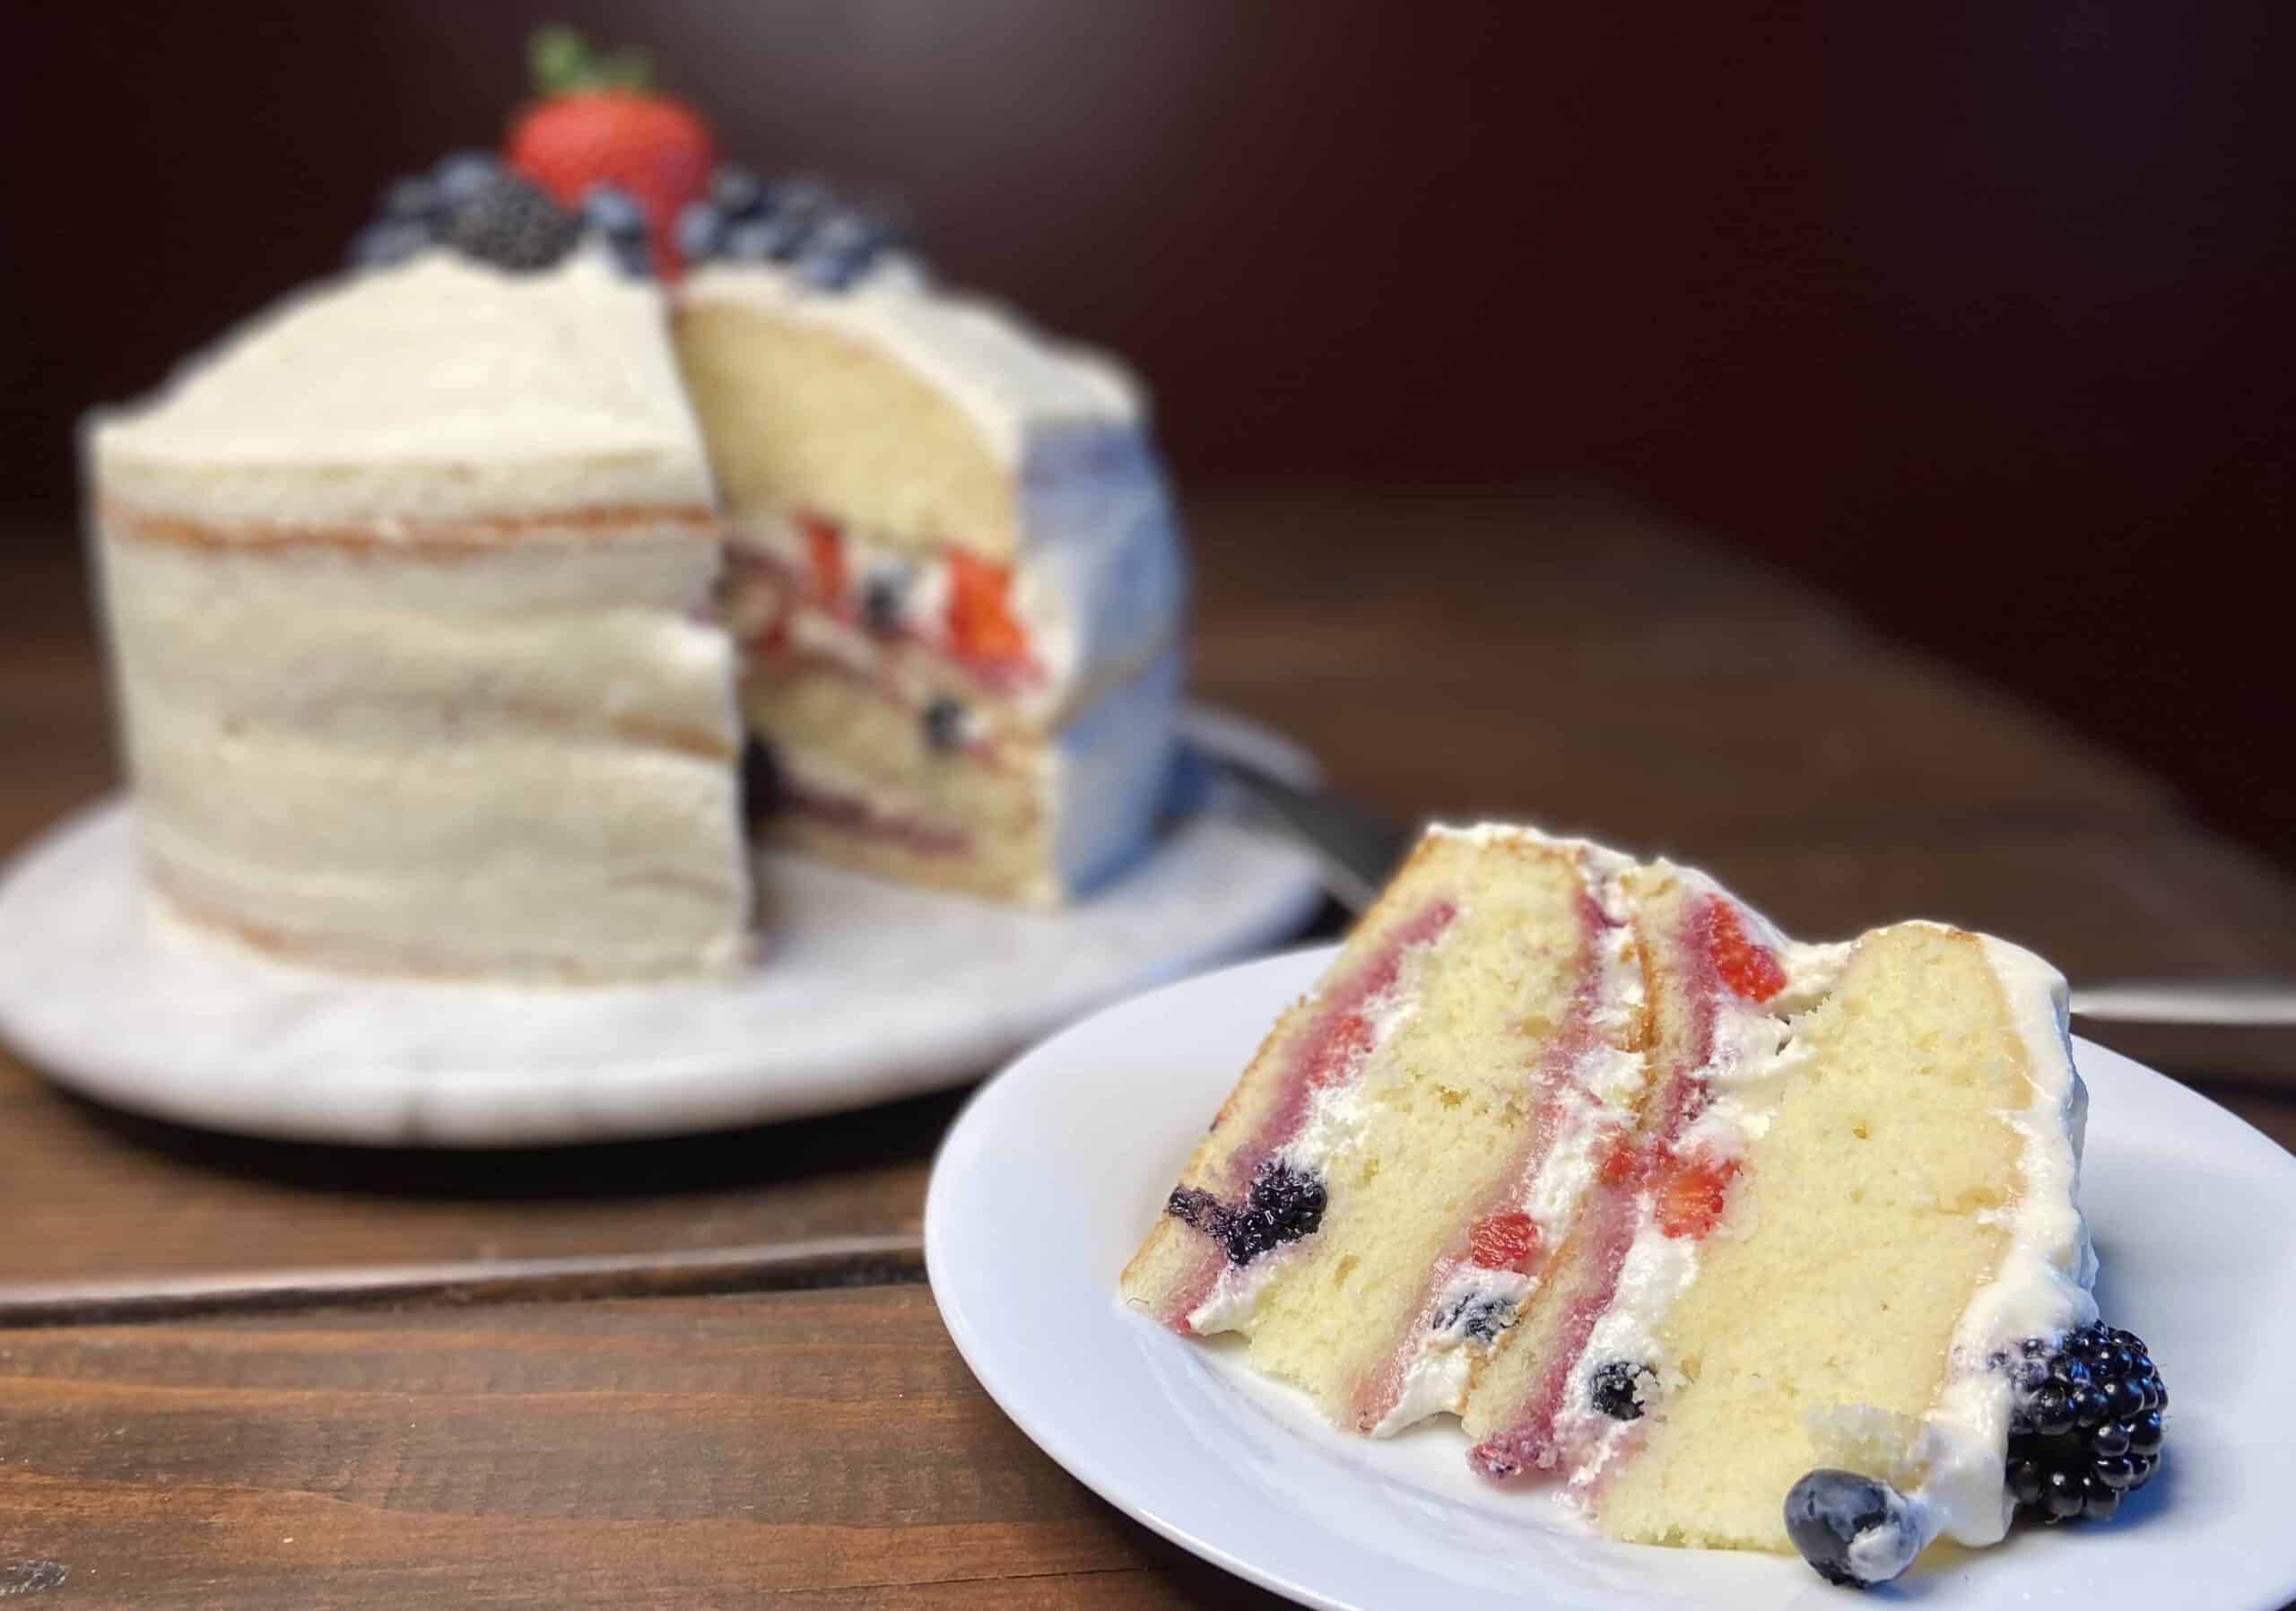
This 4-layer cake may look impressive and will certainly wow your friends and family, but it's deceptively easy to make. While there are a few steps involved, they're all easy as pie...or cake, in this instance. And you can learn from my personal experience: what to do and definitely what not to do (see below for more details on my "whoops!").
Chantilly cream may sound impressive, but shhh, don't tell...it's just a fancy word for whipped cream. But this isn't just any whipped cream, no ma'am. We're combining it with mascarpone and a few other ingredients which combine perfectly to make a fluffy and lightly sweet icing.
🧾 Ingredients
Vanilla cake
- Unsalted butter
- Granulated sugar
- Eggs
- Salt
- Baking powder
- Cake flour*
- Whole milk
- Vegetable oil
- Vanilla extract
Berry syrup
- Jam of your choice (I chose raspberry)
- Water
Chantilly cream
- Heavy cream
- Cream cheese
- Mascarpone cheese
- Powdered sugar
- Vanilla extract
Berries
- Your favorite berries
See the recipe card below for full list of ingredients and their measurements.
*Cake flour is lower in protein (gluten) and therefore yields a lighter, fluffier cake. If you don't have cake flour handy, you can use all purpose flour, but this may result in a slightly denser cake (learn more about flour in baking).
🥣 Making the cake batter
First, make the cake. Preheat oven to 350°F.
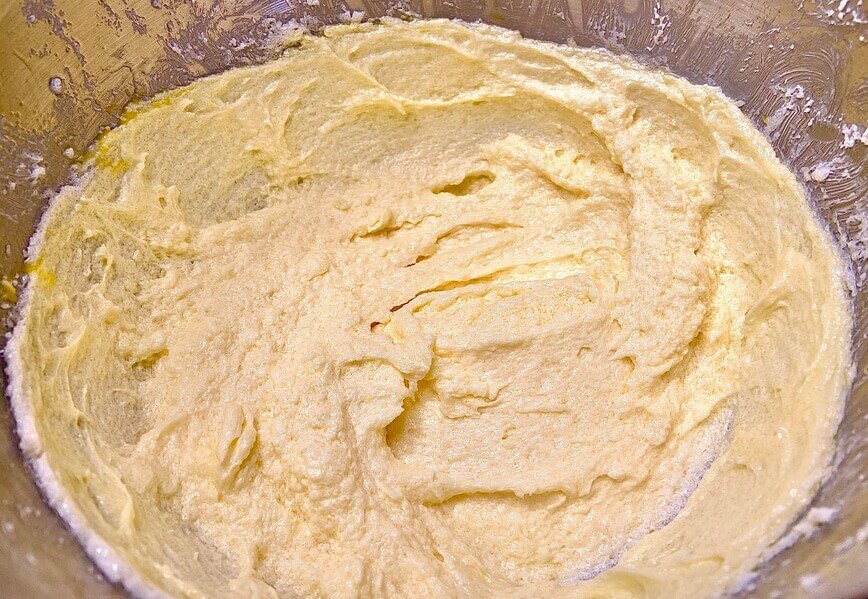
Using a stand mixer with flat beater attachment, cream butter and sugar for five minutes (this will contribute to your cake being light and fluffy).
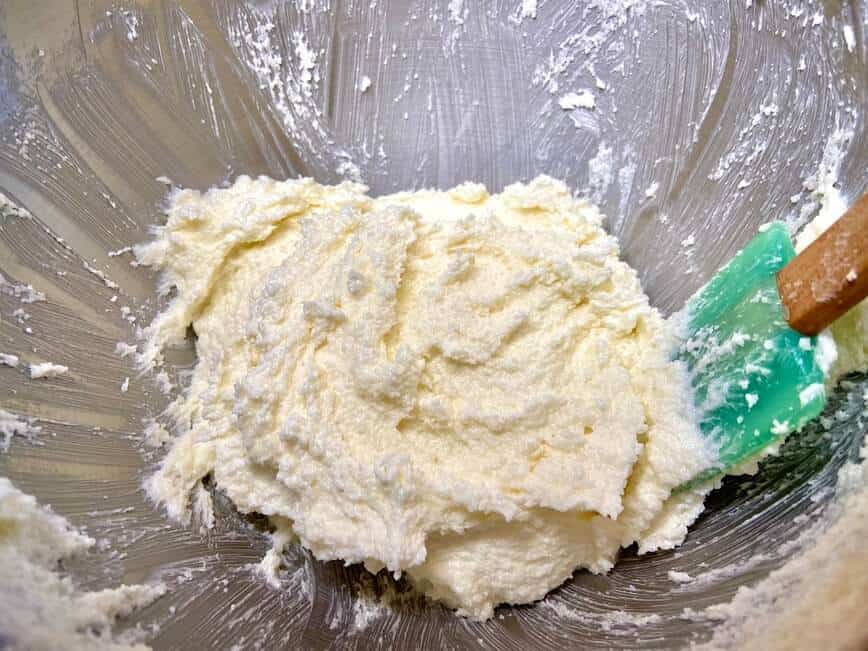
Next, add eggs one at a time and mix until smooth.
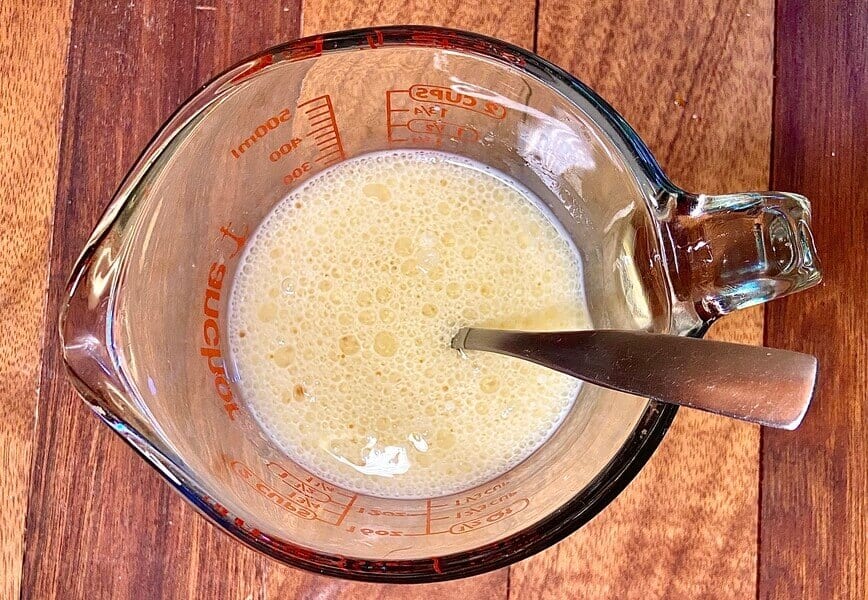
In a separate bowl, mix together dry ingredients (flour, salt, and baking powder). In another container, whisk together milk, oil, and vanilla extract.
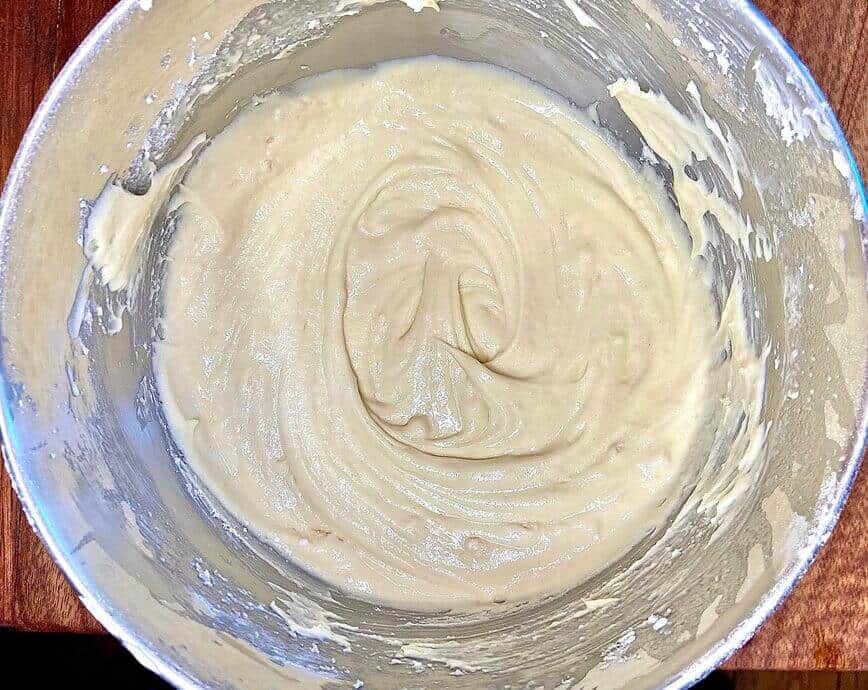
With the mixer running on a slow-to-medium speed, add to the butter/sugar/egg mixture: First add half of the dry ingredients, then the wet ingredients, then the rest of the dry ingredients. Add each just until mixed in...don't overmix.
⏲️ Baking
Now here's the important part (at least for me)...don't forget to grease and line the baking pan! Visit our Instagram account to see my "whoops!"
Butter the entire pan, bottom and sides, and place a cut-out sheet of parchment paper in the bottom. Split the batter between TWO 8" round baking pans.
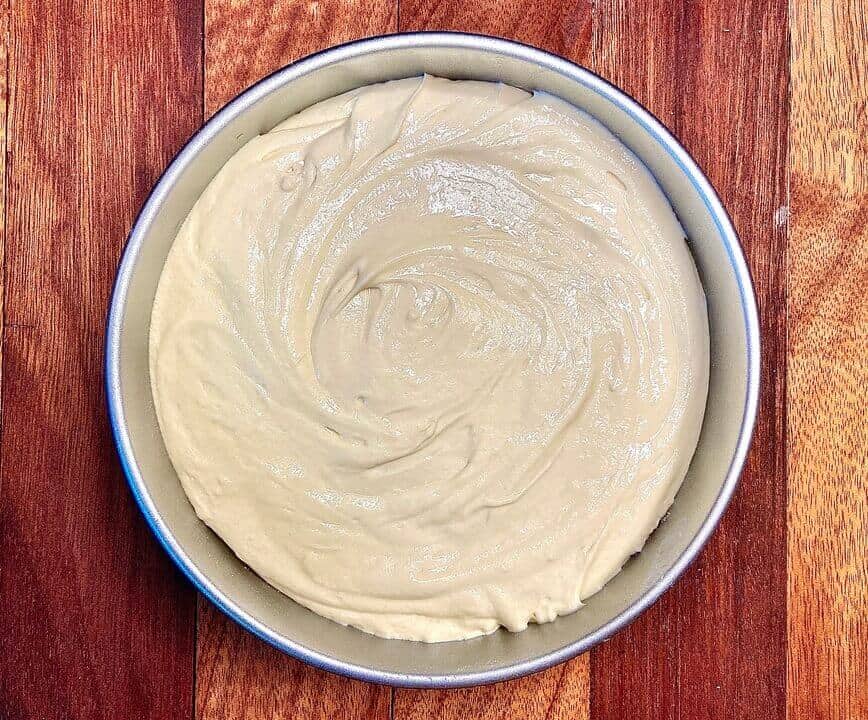
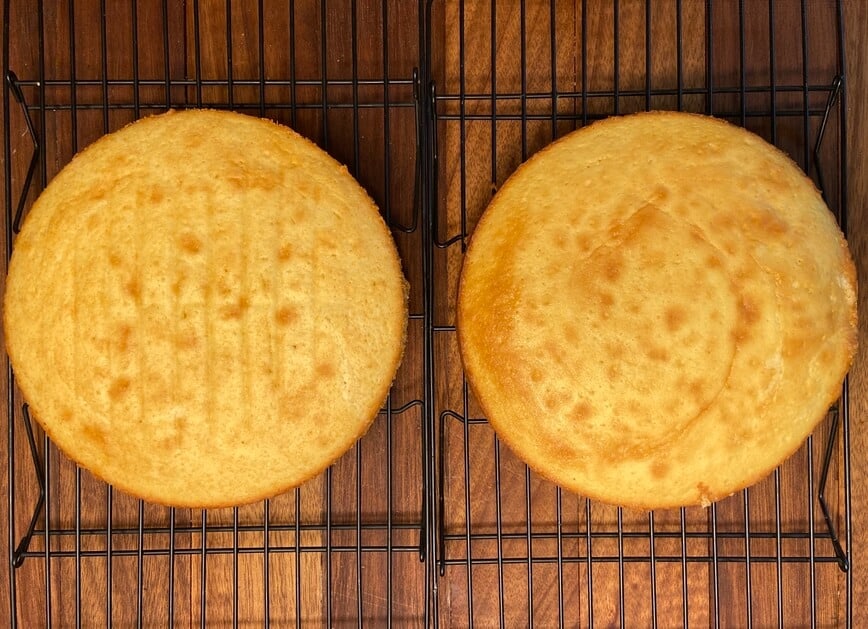
Bake for 30-35 minutes or until a toothpick inserted in the center comes out clean. Let completely cool on a baking rack.
🥄 Making the berry syrup
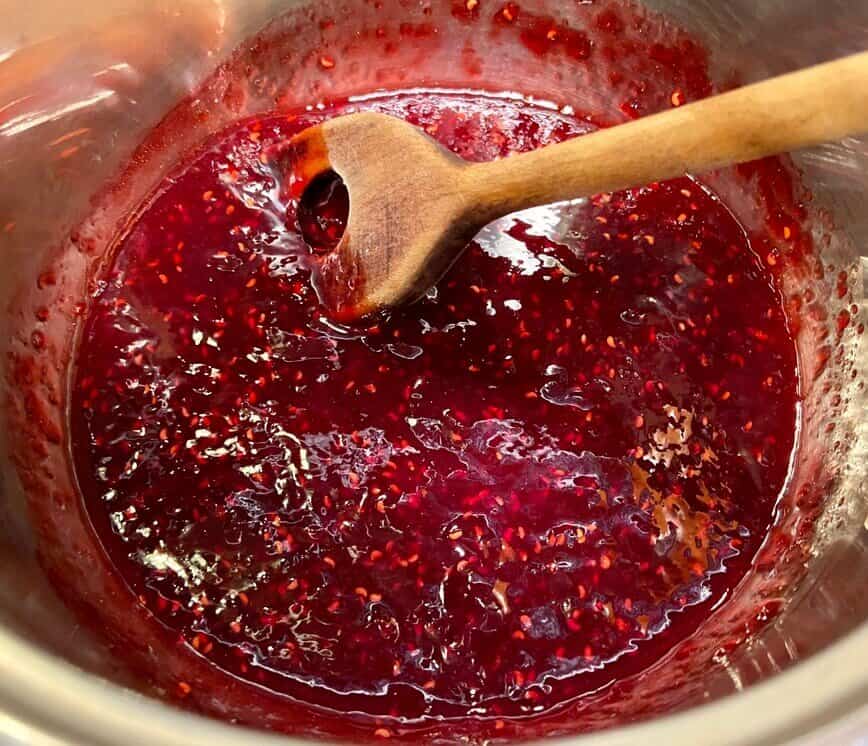
While the cakes are baking, make the syrup. In a small saucepan, heat up jam and water over low heat. Stir frequently for about two minutes, until jam is smooth. Let cool slightly.
✨ Making the chantilly cream
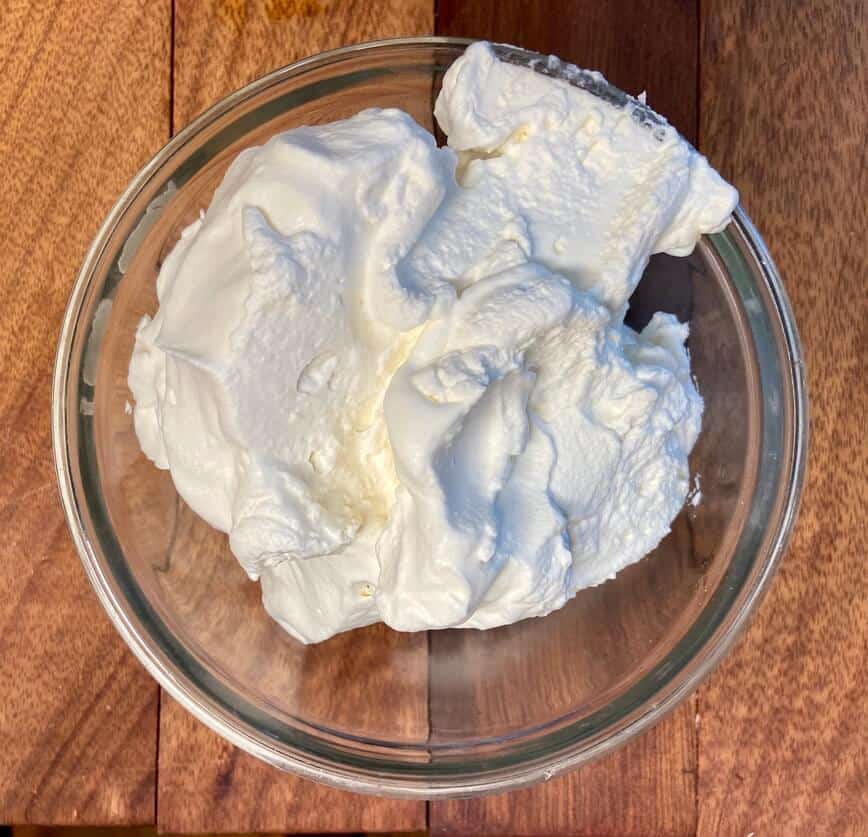
While the cakes are cooling, make the chantilly cream. Using a stand mixer with whisk attachment, whisk together heavy cream and vanilla until stiff peaks. Place the whipped cream in a separate bowl and wash out the mixing bowl. You're going to need it again in just a minute...
Using a clean mixing bowl, with a flat paddle attachment, beat together cream cheese, mascarpone cheese, and powdered sugar. Mix for 2 to 3 minutes or until smooth.
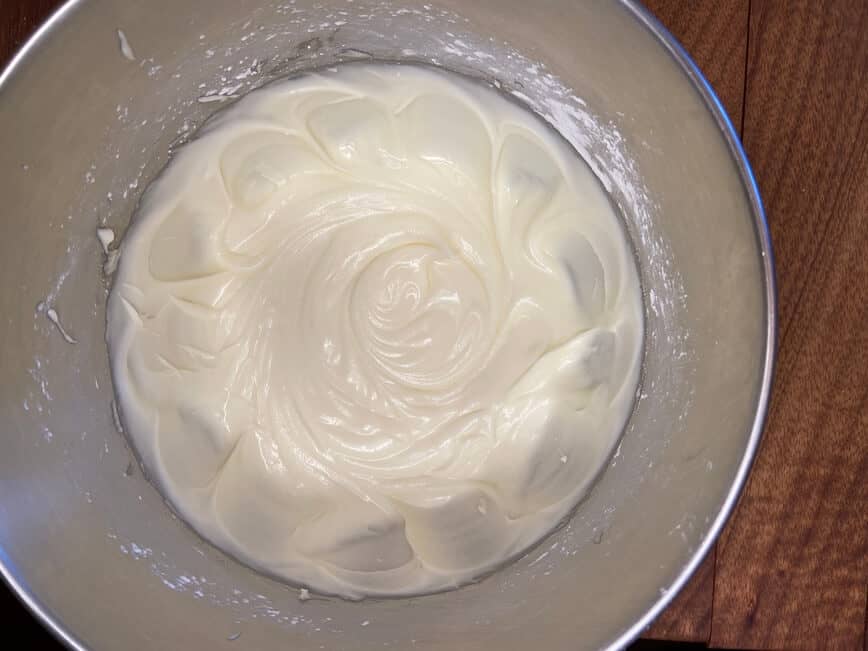
Gently fold whipped cream into cream cheese/mascarpone mixture just until smooth.
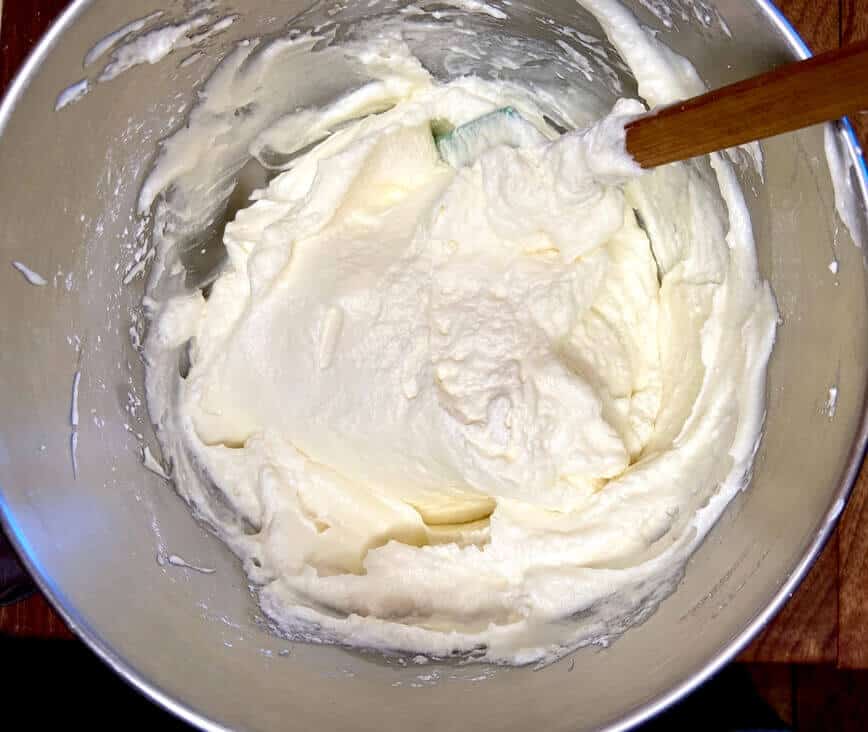
🍰 Assembling the cake
Now that the cakes are cool, we're going to cut each one in half, to make four layers. Here's my trick: Using a knife, carefully cut around the outside of each cake. Then, using unflavored dental floss, pull the floss through the center of the cake to completely slice it in two (see the tutorial video above) and set the top piece aside for now.
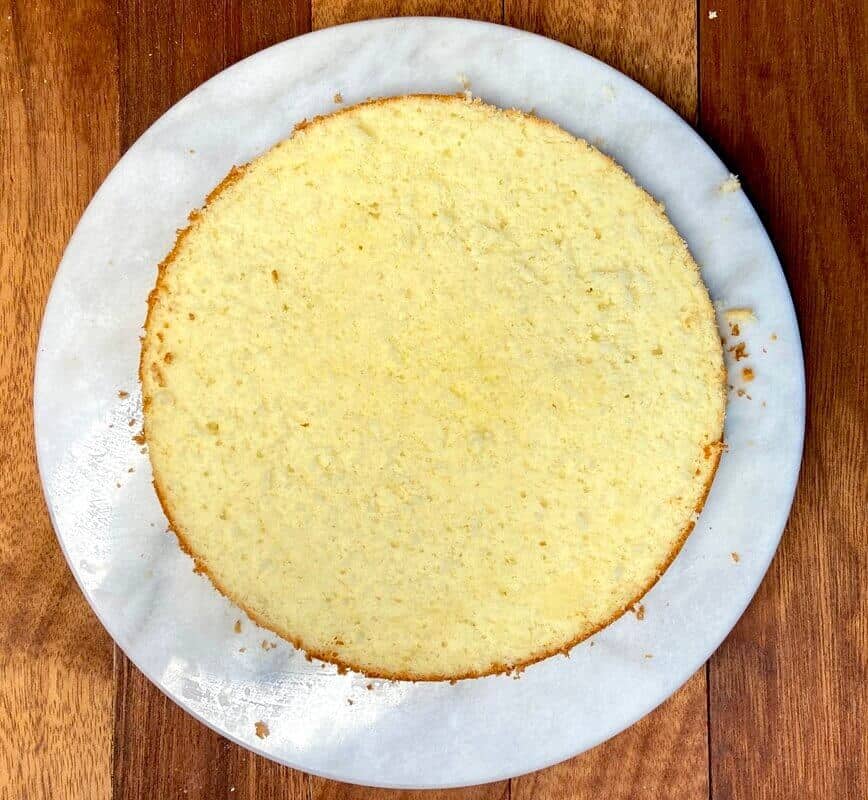
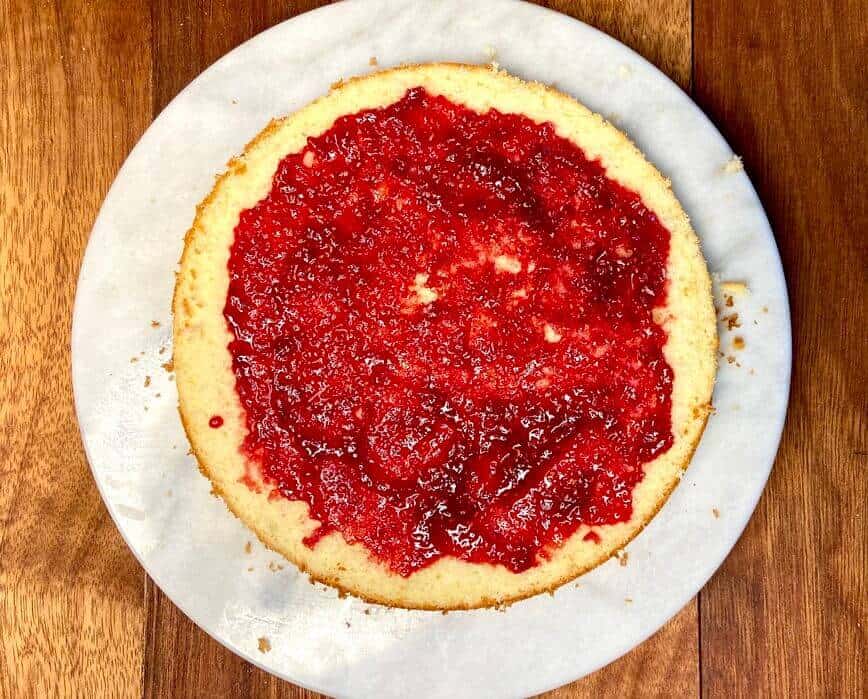
Spread ⅓ of the jam onto the top of the first layer. Don't go all the way to the edges, or the jam might leak out the edges.
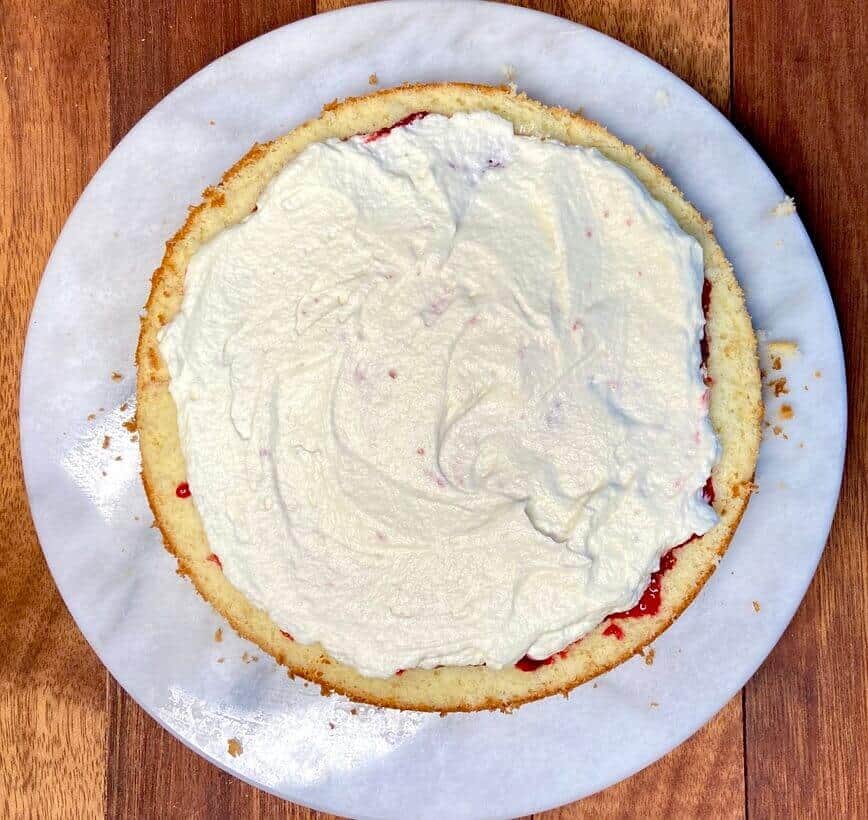
Next, add a layer of chantilly cream.
Lastly, add some berries on top of the cream.
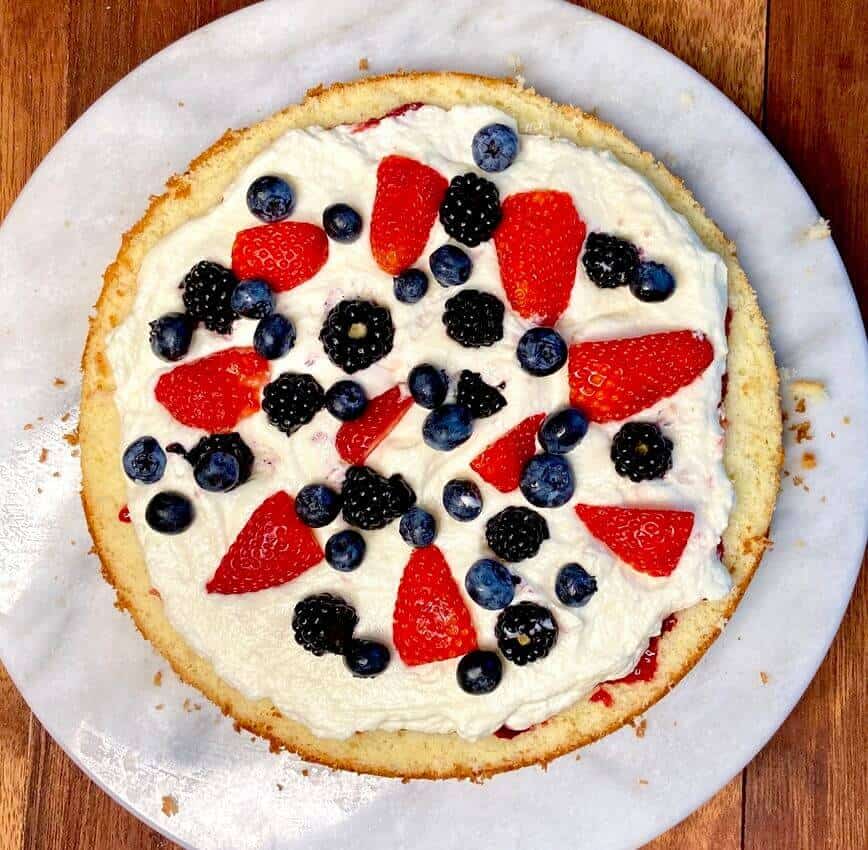
Add your next piece of cake on top and repeat the same steps two more times.
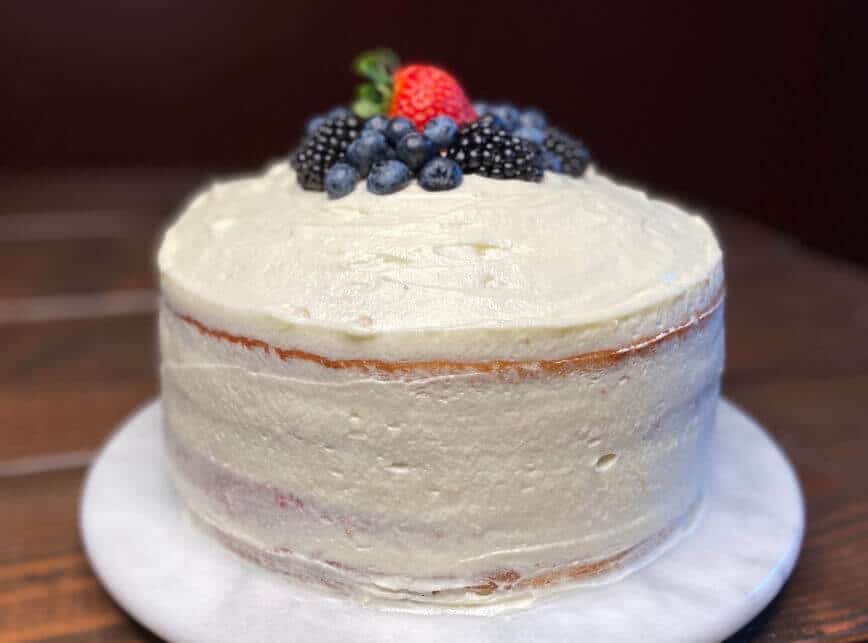
Finally, spread icing all over the top and sides of the cake and decorate with berries on top.
⭐ Tip: It was a hot and humid July day when I made this cake and the cream was starting to drip off the cake as I was icing it. If this happens to you, just place the cake and/or cream in the fridge for 30 minutes or so, and the cream will firm up a little bit.
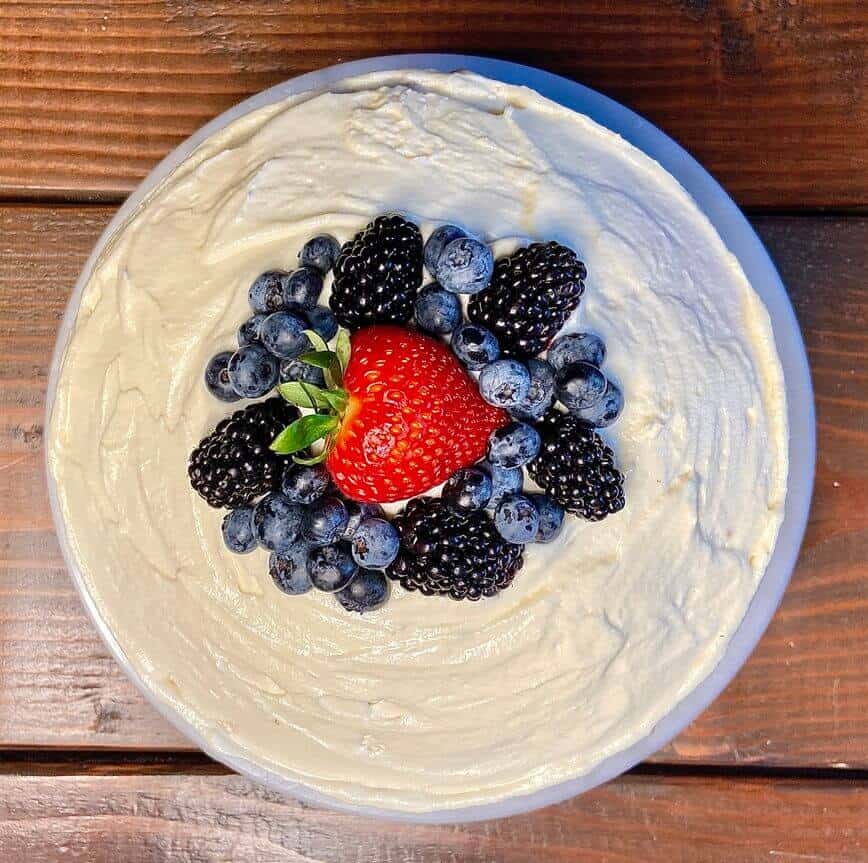
Serve and enjoy!

❓ FAQ
Certainly not. To make my life easier, I used my stand mixer to mix the ingredients (honestly, I don't know how I managed without it before!), but you can use a handheld electric mixer instead and mix the rest by hand.
I also used an 8 inch round cake pan (note to self: get a second one...baking would have taken half the time). You can use a different pan instead, but keep in mind that the baking time may differ.
You can use any berries your heart desires, but I'd recommend using fresh berries whenever possible. Frozen berries won't have the same texture. If you can't find any fresh berries, then you can certainly use frozen, just thaw them first and blot dry with a paper towel so the juices don't leak out between the layers.
While this recipe is best served fresh the same day, it can be stored in the fridge for a day or two.
Love desserts? Check out a few more of our delicious recipes now!
- Peach Cobbler Pound Cake
- Chocolate Orange Cake
- Italian Almond Cake
- Fresh Fruit Tart
- Best Banana Nut Bread
- Easy Fudge Recipe
- Chocolate Cake in a Mug
- Lemon Raspberry Cheesecake Bars
- Sour Cream Coffee Cake
- Irish Coffee Chocolate Mousse
- Banana Ice Cream
- Homemade Cinnamon Rolls
Did you make this Berry Chantilly Cake? Let us know in the comments below!
📝 Recipe
Berry Chantilly Cake
Ingredients
Vanilla Cake
- 1 cup unsalted butter, at room temperature
- 2 cups granulated sugar
- 4 large eggs, at room temperature
- 1 teaspoon salt
- 3 teaspoons baking powder
- 3 cups cake flour*
- 1 cup whole milk
- ¼ cup vegetable oil
- 1-½ teaspoons vanilla extract
Berry Syrup
- ⅔ cup jam of your choice (I chose raspberry)
- 2 tablespoons water
Chantilly Cream
- 1-½ cups heavy cream
- 8 ounces cream cheese, at room temperature
- 8 ounces mascarpone cheese
- 2 cups powdered sugar
- 1 teaspoon vanilla extract
Berries
- About 4 cups of your favorite berries (slice large berries, like strawberries)
Instructions
- Preheat oven to 350°F.
- Using a stand mixer with flat beater attachment, cream butter and sugar for five minutes.
- Next, add eggs one at a time and mix until smooth.
- In a separate bowl, mix together dry ingredients (flour, salt, and baking powder).
- In another container, whisk together milk, oil, and vanilla extract.
- With the mixer running on a slow-to-medium speed, add to the butter/sugar/egg mixture: First add half of the dry ingredients, then the wet ingredients, then the rest of the dry ingredients. Add each just until mixed in…don’t overmix.
- Butter the entire pan, bottom and sides, and place a cut-out sheet of parchment paper in the bottom. Split the batter between TWO 8″ round baking pans.
- Bake for 30-35 minutes or until a toothpick inserted in the center comes out clean. Let completely cool on a baking rack.
- While the cakes are baking, make the syrup. In a small saucepan, heat up jam and water over low heat. Stir frequently for about two minutes, until jam is smooth. Let cool slightly.
- While the cakes are cooling, make the chantilly cream. Using a stand mixer with whisk attachment, whisk together heavy cream and vanilla until stiff peaks. Place the whipped cream in a separate bowl and wash out the mixing bowl. You’re going to need it again in just a minute…
- Using a clean mixing bowl, with a flat paddle attachment, beat together cream cheese, mascarpone cheese, and powdered sugar. Mix for 2 to 3 minutes or until smooth.
- Gently fold whipped cream into cream cheese/mascarpone mixture just until smooth.
Assembling Cake
- Now that the cakes are cool, we’re going to cut each one in half, to make four layers. Here’s my trick: Using a knife, carefully cut around the outside of each cake. Then, using unflavored dental floss, pull the floss through the center of the cake to completely slice it in two and set the top piece aside for now.
- Spread ⅓ of the jam onto the top of the first layer. Don’t go all the way to the edges, or the jam might leak out the edges.
- Next, add a layer of chantilly cream.
- Lastly, add some berries on top of the cream.
- Add your next piece of cake on top and repeat the same steps two more times.
- Finally, spread icing all over the top and sides of the cake and decorate with berries on top.
- Serve and enjoy!
Notes
- *Flour: Cake flour is lower in protein (gluten) and therefore yields a lighter, fluffier cake. If you don't have cake flour handy, you can use all purpose flour, but this may result in a slightly denser cake.
- What type of berries should I use? You can use any berries your heart desires, but I'd recommend using fresh berries whenever possible. Frozen berries won't have the same texture. If you can't find any fresh berries, then you can certainly use frozen, just thaw them first and blot dry with a paper towel so the juices don't leak out between the layers.
- Do I need any special equipment? Certainly not. To make my life easier, I used my stand mixer to mix the ingredients (honestly, I don't know how I managed without it before!), but you can use a handheld electric mixer instead and mix the rest by hand. I also used an 8 inch round cake pan (note to self: get a second one...baking would have taken half the time). You can use a different pan instead, but keep in mind that the baking time may differ.
- Can I make this cake ahead of time? While this recipe is best served fresh the same day, it can be stored in the fridge for a day or two.
- Suggestion: If you enjoyed this dessert, you're gonna love our fresh fruit tart!

Content and photographs are copyright protected. Sharing of this recipe is both encouraged and appreciated. Copying and/or pasting full recipes to any social media is strictly prohibited.



Rita
Absolutely gorgeous!! TY for the recipe!
maplewoodroad
Thanks so much! Enjoy! 🙂