I needed a bookcase makeover.
Every morning, the morning sun streaming in my window wakes me from my dreams and brings me into a beautiful new day. I say hello to the kitties still lazing by my feet, throw off the covers, and turn over…
To see my ugly, ugly bookcase, which is also my nightstand.
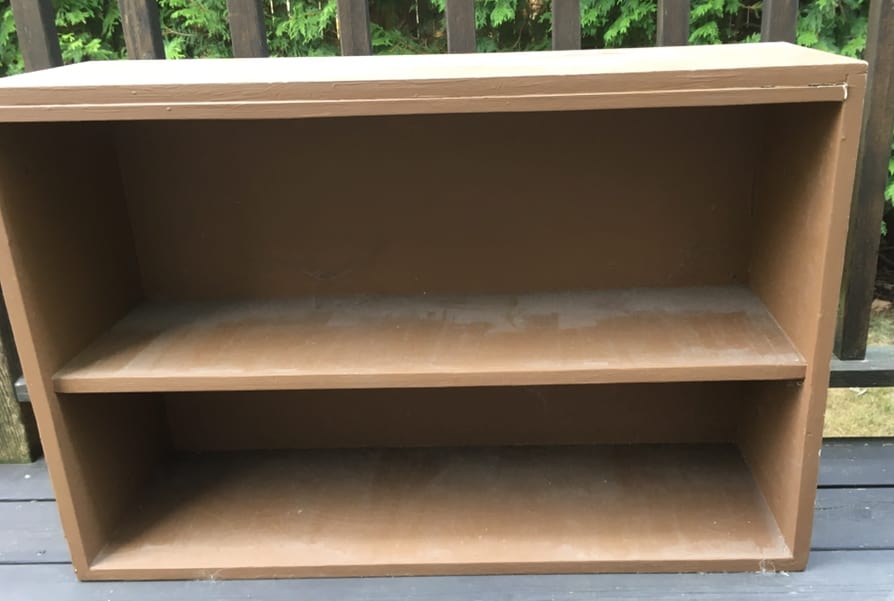
Years ago, when our bedroom was painted a dark grey, with dark wood furniture, the brown painted bookcase wasn’t so bad. In the meantime, however, we’ve painted our room a very pleasant blue, reminiscent of the sky on a beautiful day. The white trim and woodwork lightens up the room even more. And then there’s that dull brown bookcase. Blech.
So a few days ago, I said “That’s it, this bookcase is getting a new life!”
Easy Bookcase Makeover Instructions
First thing, I took all the books and whatnot off (OMG, this thing is dusty!) and took measurements for trim. I then grabbed my car keys and went to Lowe’s. After picking out some beautiful trim, which was only $6 for an 8-foot length (sweet!), I headed back home to start the bookcase transformation!
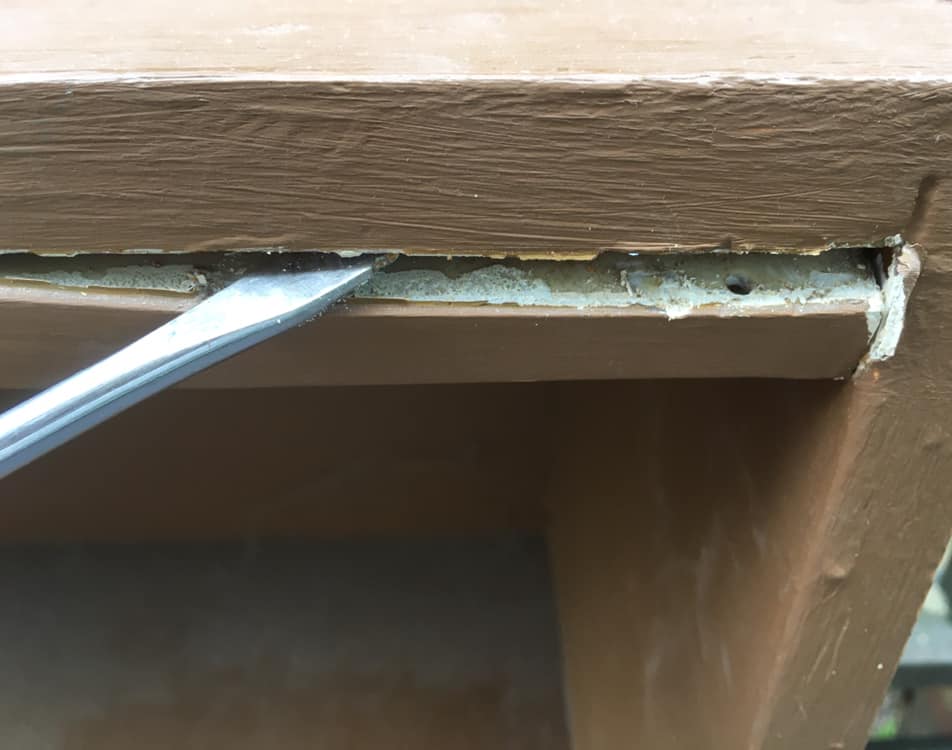
We took the bookcase outside and immediately pried that hideous track off the top (maybe there were originally sliding glass doors or something?).
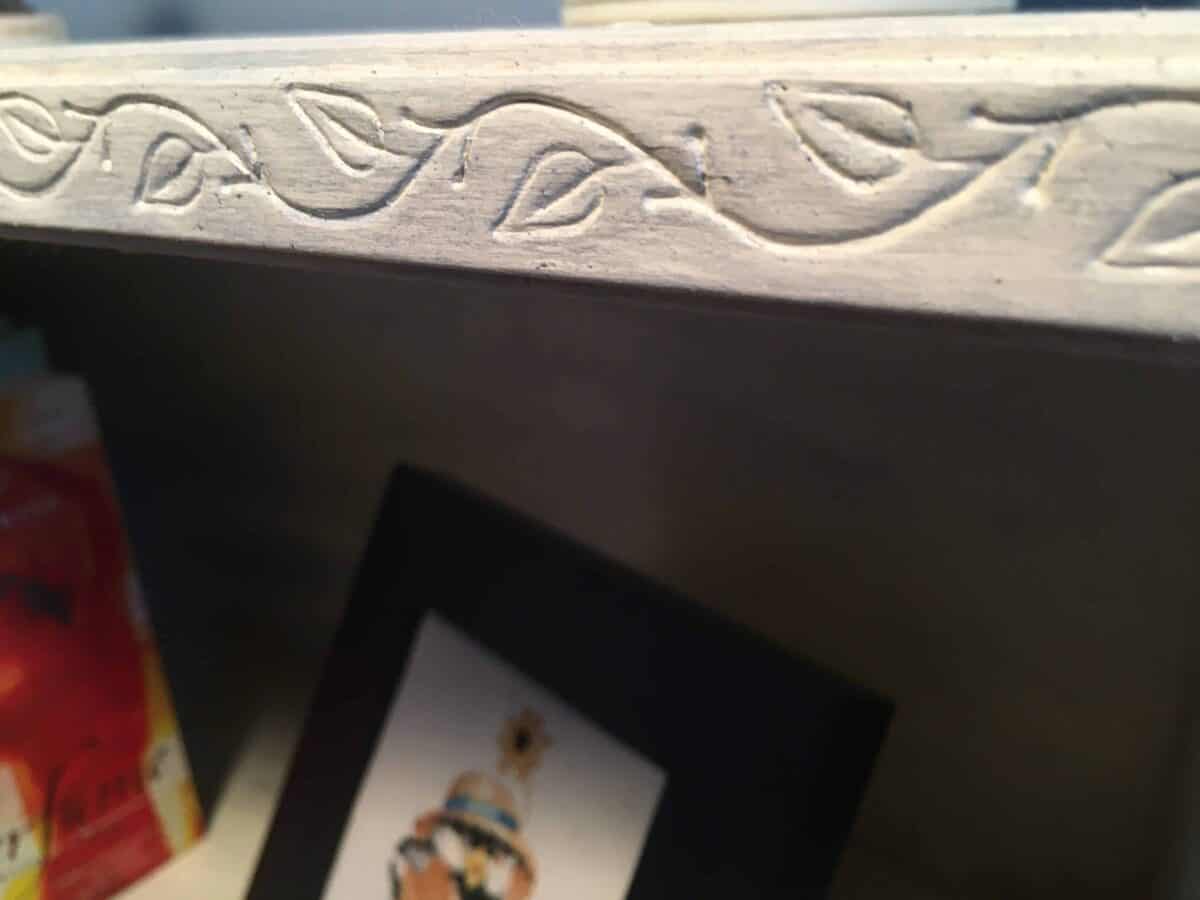
I had decided on a leafy vine for the top and a simpler trim for the sides. But guess what? After the first couple 45° cuts, I realized that the different trims were never going to line up at the corners (one was much thicker than the other). Plus, I totally forgot about needing a piece for the middle too. Ugh. “Erich, honeyyyyyyy, can you run back out to the store (which is a 20-minute drive each way)?”
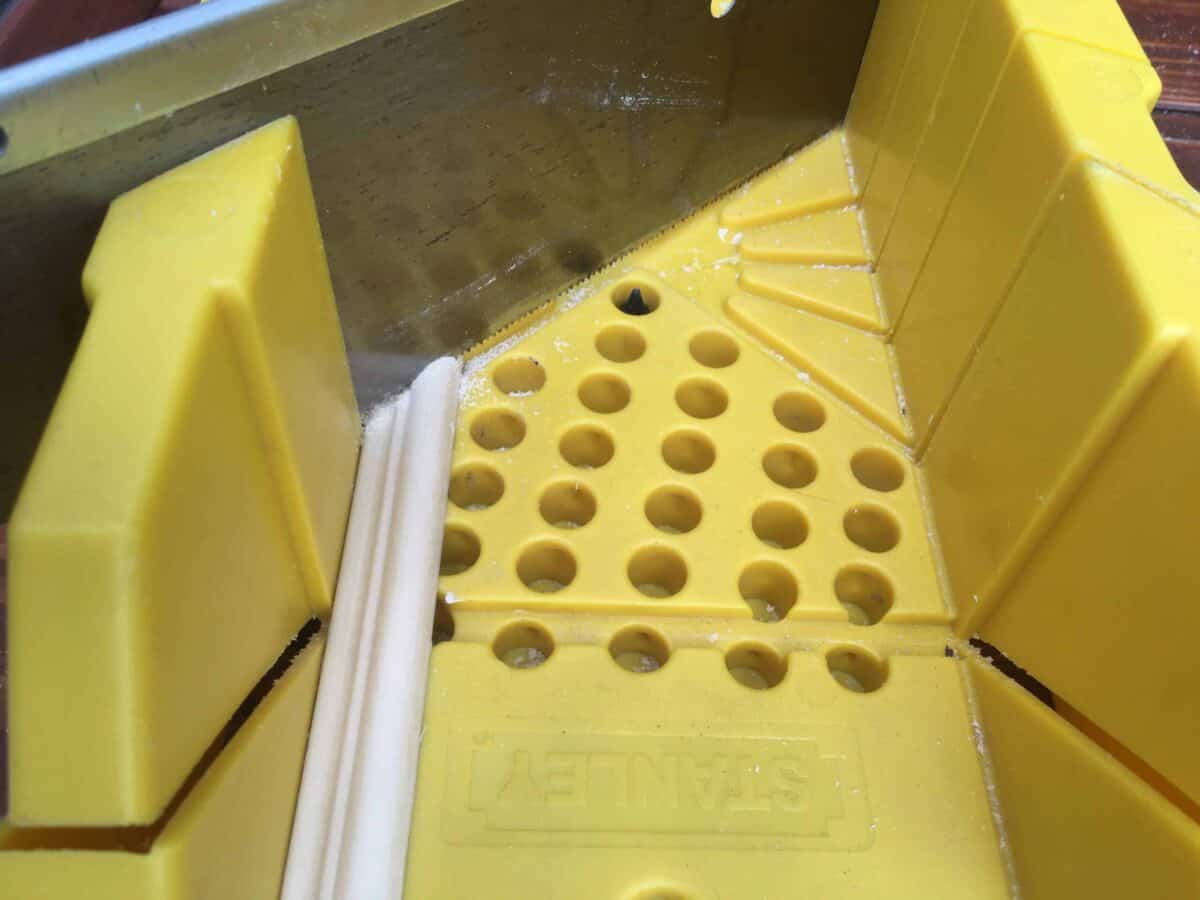
After he returned from the second trip to Lowe’s today, we were finally able to get to work. Using our handy-dandy angle cutter, we quickly cut each piece at 45° angles.
I then placed a bead of Liquid Nails along the edge of the bookshelf and Erich drilled a few tiny pilot holes into each length of trim.
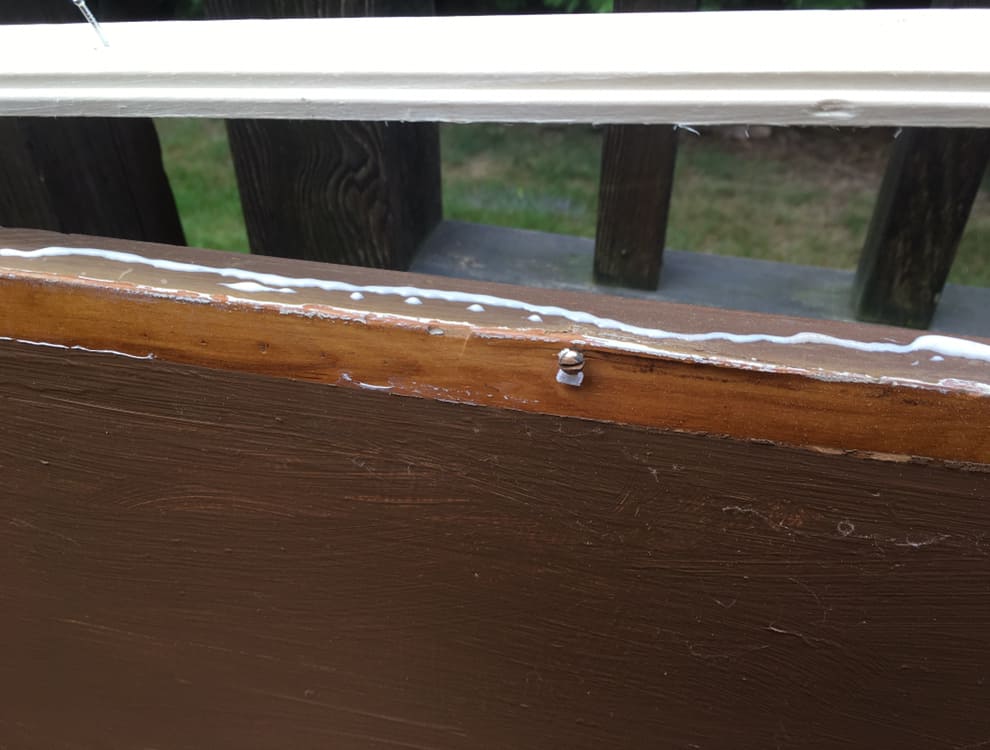
He then secured the trim to the shelf edges using finishing nails and then tapped them in, slightly below the surface, using a trim nail punch.
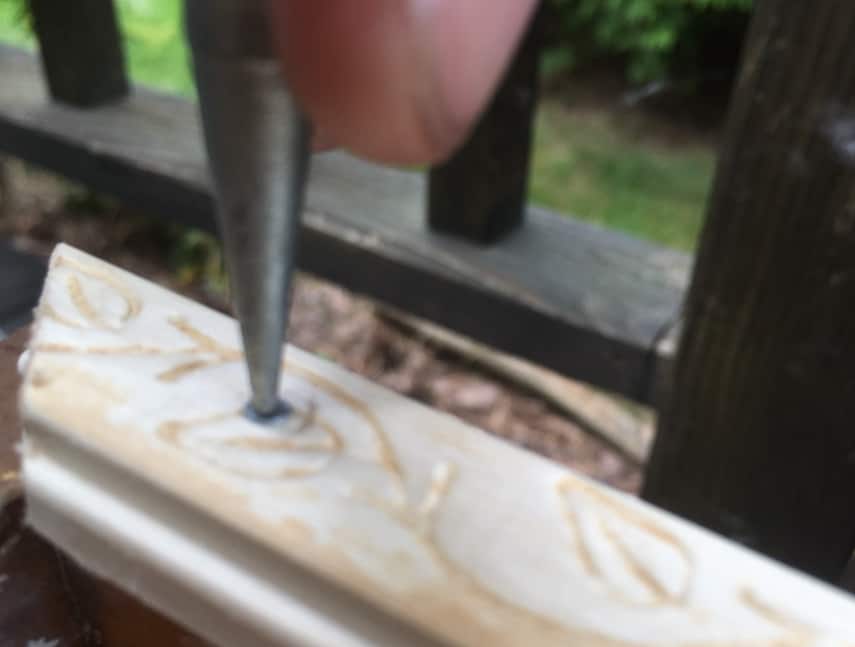
Once all the trim was attached, and a quick dusting of the entire bookshelf, it was ready for paint. Since this bookshelf was already painted before, sanding wasn’t really necessary. A nice creamy white would go beautifully with the new color scheme in our room. Since it gets a lot of wear and tear from frequent use (I read a lot!), I decided to give it three thin coats of paint.
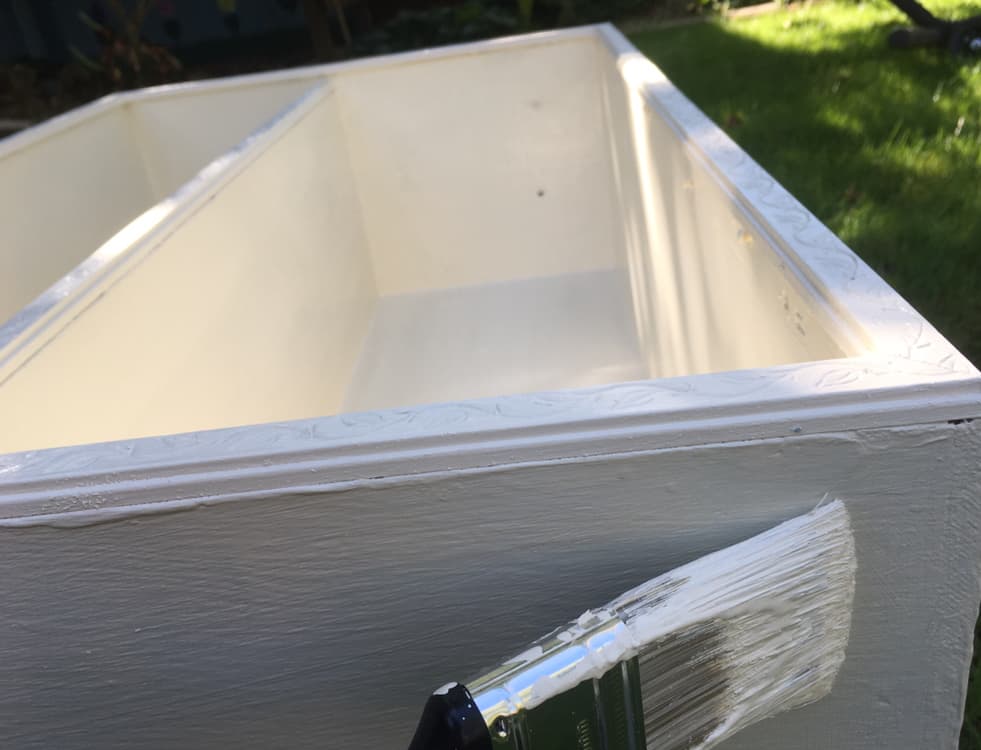
The next day, after the paint was thoroughly dry, I moved onto the next step...adding a bit of shabby chic. While the white was really nice, it was a bit plain for my personal taste. Mixing together black and white, I was able to achieve just the right shade of grey I was looking for.
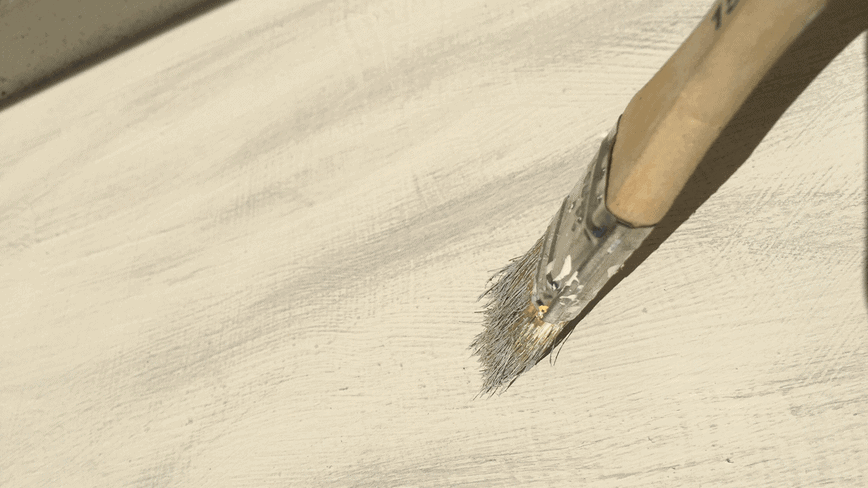
Using an old beat-up paintbrush, I used a dry brush technique to apply the grey. FYI, the use of an old paintbrush was on purpose, because nice, new, neat bristles would pick up too much paint for dry brushing (in my experience, anyway).
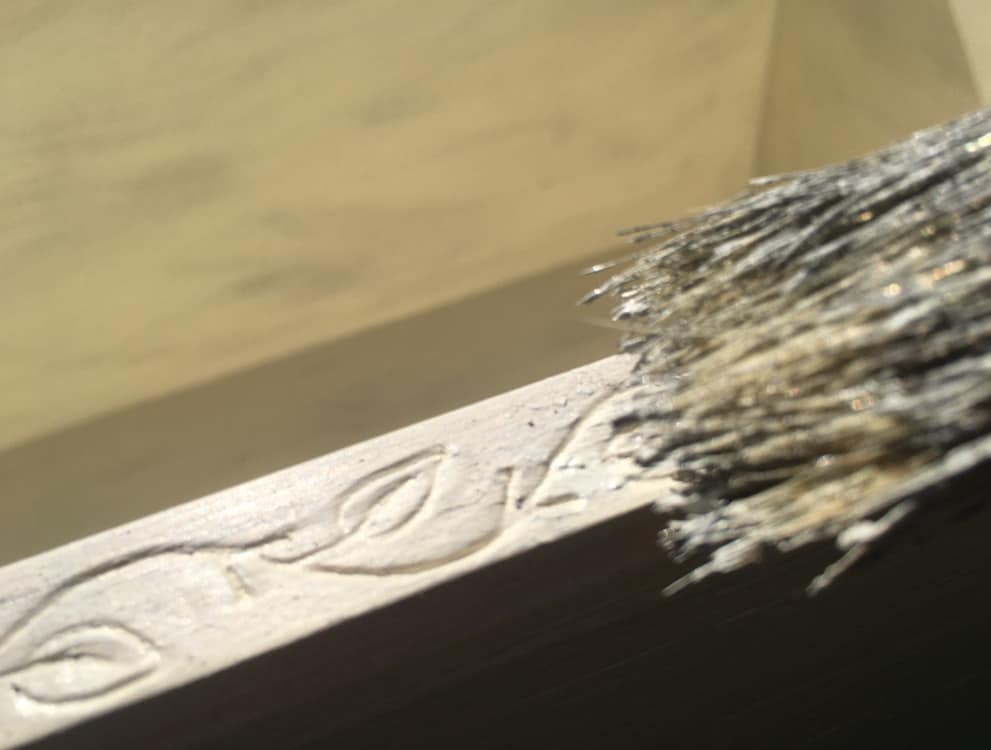
If you’ve never dry brushed before, just pick up a teeny-tiny bit of paint on the tips of the brush bristles and then remove most of the paint by brushing it along a paper towel or rag. Then, very very very lightly brush strokes here and there, mostly going with the grain of the wood, but making some slight angles too. Once all the paint is off the brush, immediately keep brushing along the light strokes you made, to spread it out even more. You’ll need to work really quickly for this step. I’ve also found that having lighter and darker strokes adds to the authenticity of aging the piece.
⭐ Oh, and here's a pro tip: Don't kneel in the paint, it ruins your pants. 😕
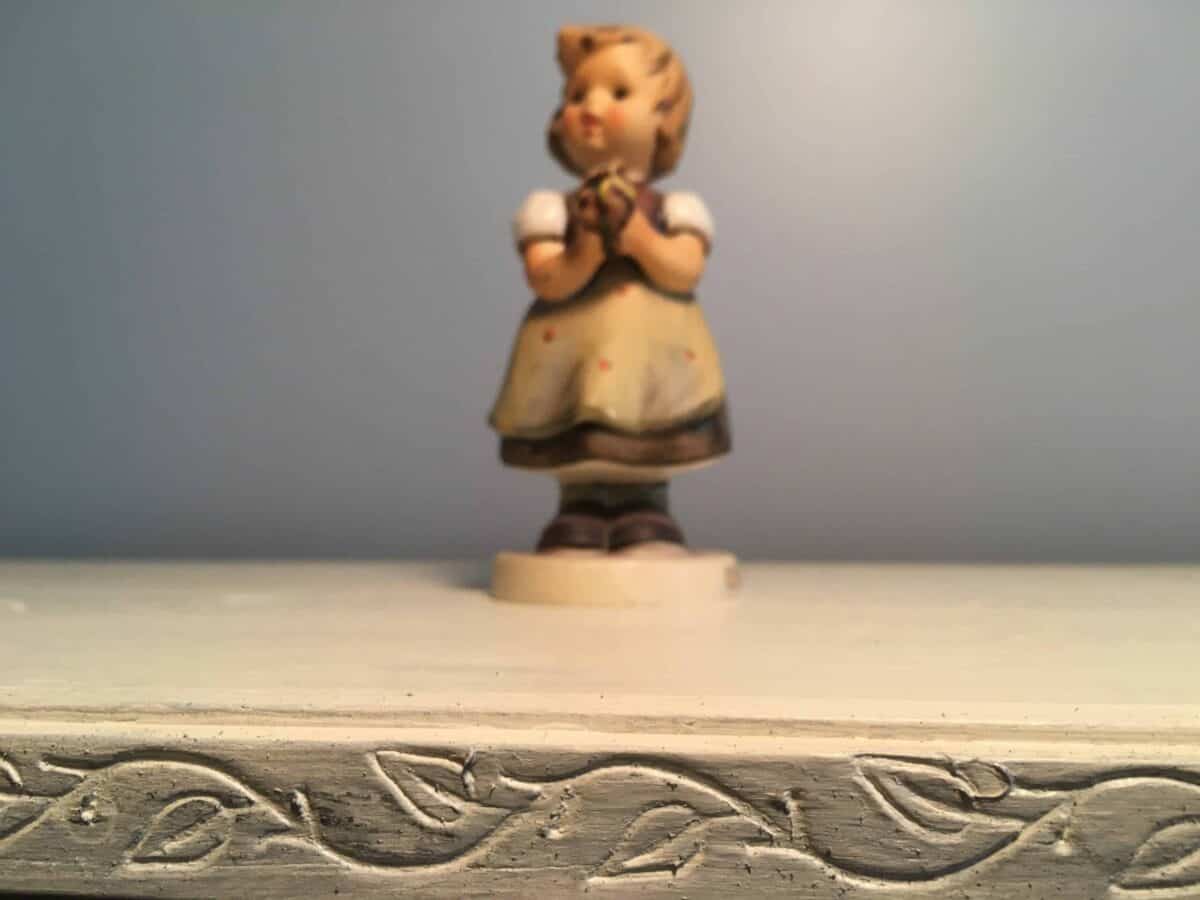
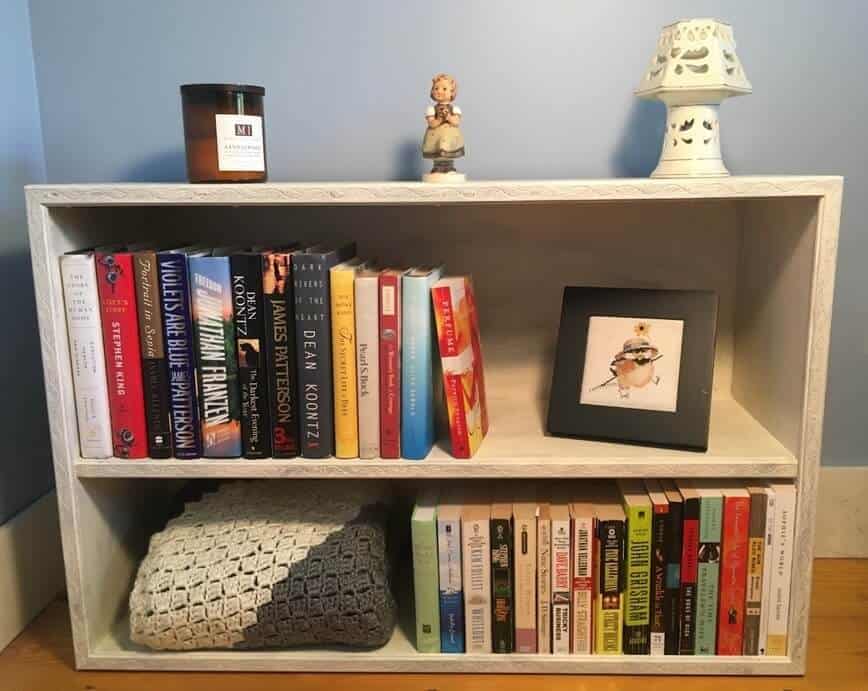
Luckily, dry brushing dries very quickly, so within the hour I was able to take my beautiful new bookcase/nightstand back inside and fill it with my books (I’m obviously a fan of King, Koontz, Patterson, etc), one of my grandmother’s Hummels, and a few knick-knacks. I’m thrilled with how my bookcase makeover turned out and now I’ll wake up each morning with a beautiful piece of furniture to admire.
Did you try this Bookcase Makeover? Let us know in the comments below!


Leave a Reply