When the winter months arrive and the weather turns cold, all it takes is a few snowflakes for me to turn into a 5-year-old again. Just the sight of a few flakes falling from the sky makes me giddy. Erich and I call these first few flurries “pioneer flakes,” joking that they’re exploring ahead of all the rest, checking to make sure it’s okay to land.
Jump to:
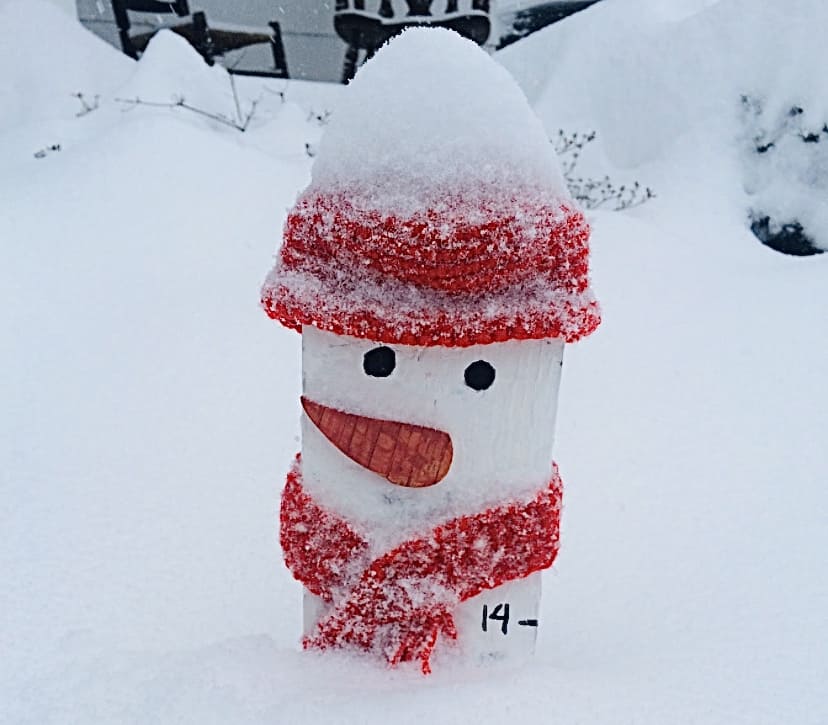
And as far as I’m concerned, the more snow the better! So I need a Snowman Measuring Stick to keep a close eye on the snowfall amounts and what better than a cute little snowman to keep track for me!
Our Snowman Measuring Stick is a brave little guy, sticking it out for months at a time, through all kinds of weather, even getting buried sometimes…
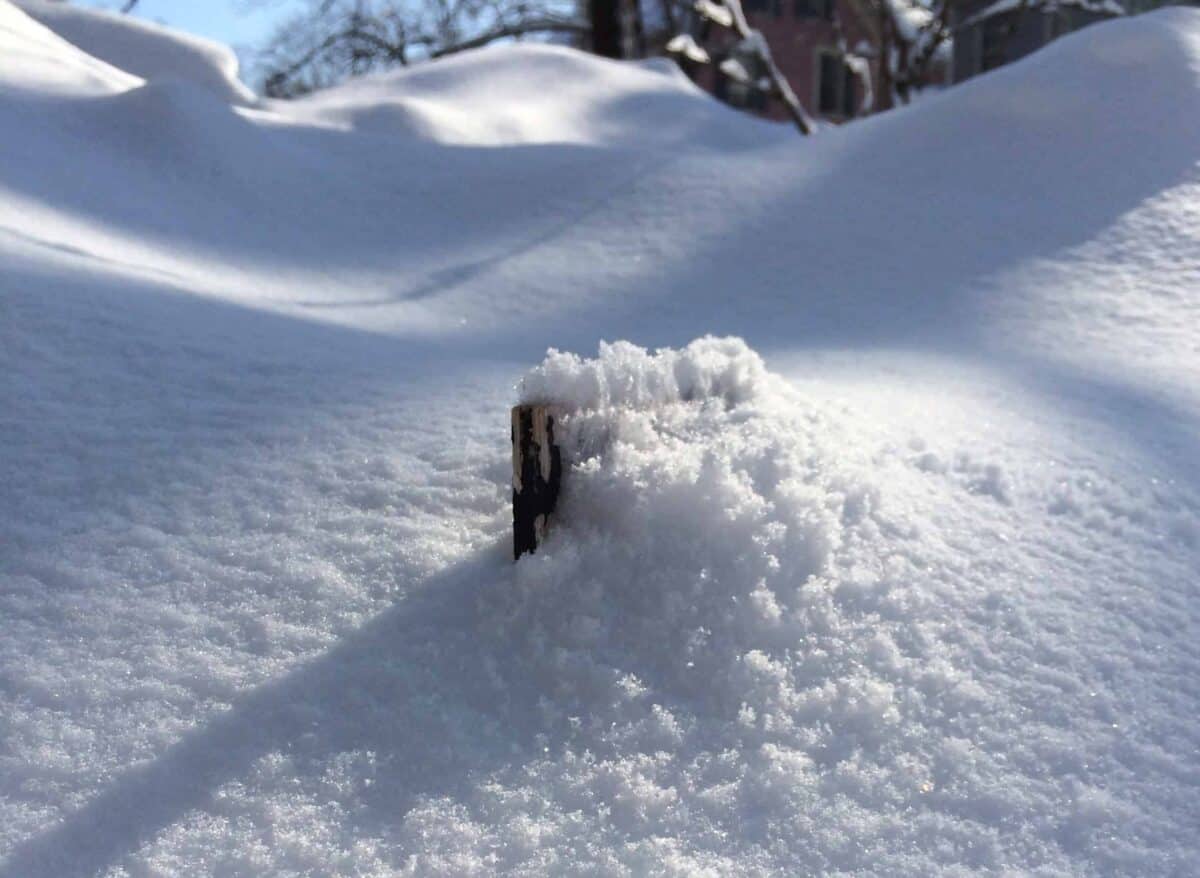
All I have to do is put him in the ground each winter, then just take a quick peek out the front door to see how much snow has fallen. Our neighbors have even gotten in the habit of checking up on him. And he always does his job beautifully!
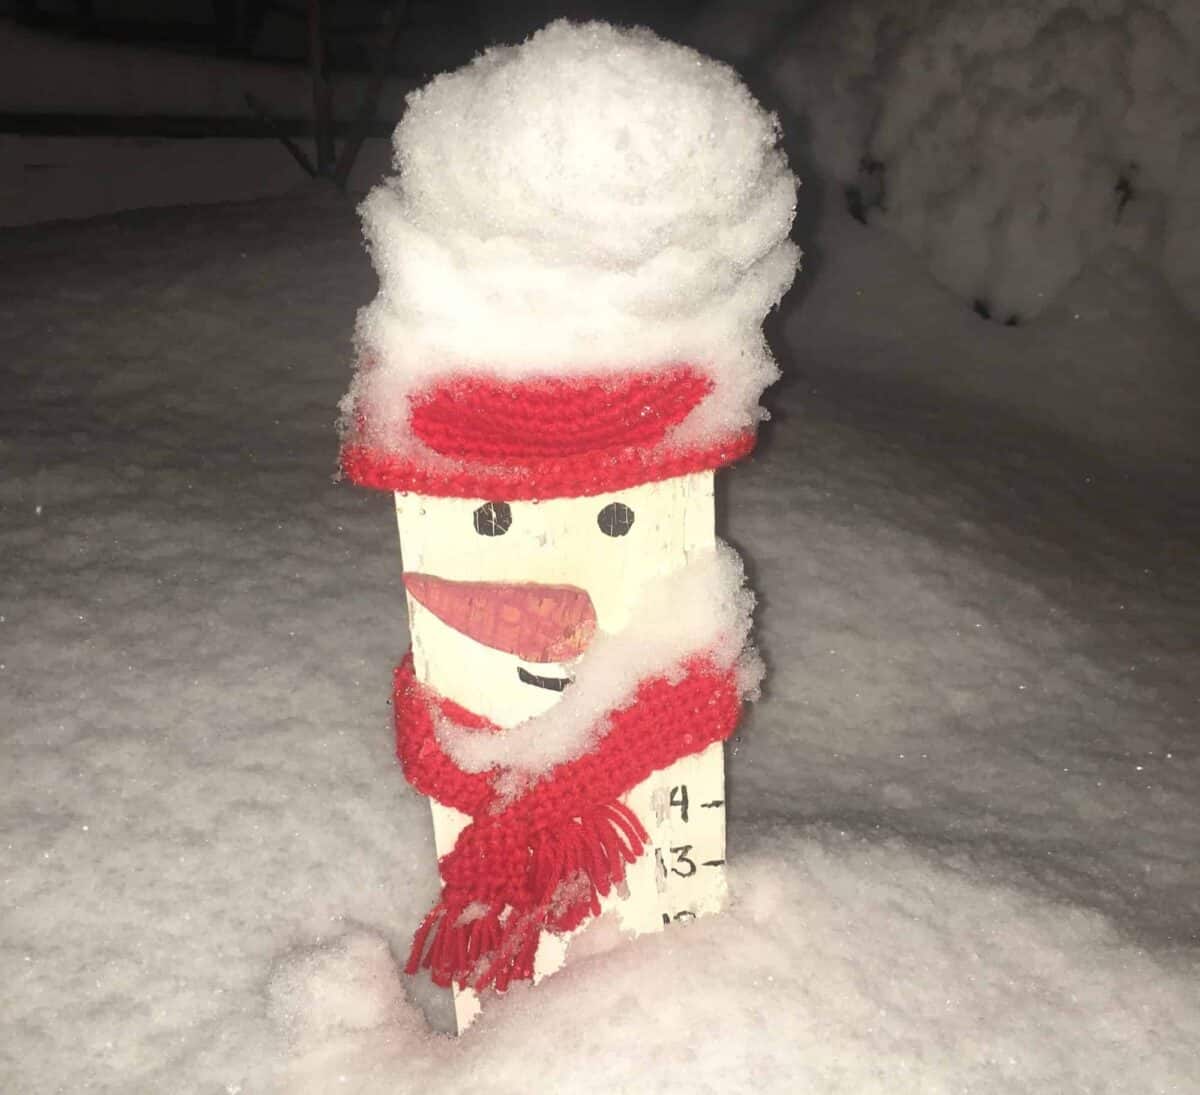
To make your own Snowman Measuring Stick, it’s really quite simple.
🧰 Materials
- Piece of scrap wood or plywood, cut to 4 x 20”
- 1 x 2 x 20” piece of wood (to be used as the stake)
- Another small piece of wood (about 2 x 3”) for the nose
- Paint & small artist paintbrushes
- 2 or 3 black buttons
- Two 1.5”-long screws
- Jigsaw
- Ruler
- Hot glue gun & glue
- Yarn (optional)
- Crochet hook (optional)
⭐ Note: These instructions are for a 14" snowman measuring stick. If you happen to live somewhere that makes you laugh at a measly 14" of snow and you're thinking "Shoot, we get that much snow in a half hour!", then simply make both pieces of wood longer/taller!
☃️ How to make it
The first step in making a Snowman Measuring Stick is simply painting the 4 x 20” piece of wood completely white.
Once the white paint is dry, using a ruler and a pen, mark off the inch marks along the length of the wood, going up to about 14” or so...then painting the marks and numbers in black paint.
Next, paint the eyes and mouth, remembering to leave some area at the top for the hat, and attach the buttons to the body using hot glue.
Lastly, using a jigsaw, cut out a shape that somewhat resembles a carrot and paint it orange; attach to the “face” using hot glue.
The 1 x 2 x 20” will be used as a stake, in order to put the base of the snowman in the ground.
Again using a jigsaw, create a pointed end on one end of the wood, like a stake (otherwise, you’ll never get a blunt end into the ground). Attach to the main body using two screws; placing the blunt end of the stake at about “neck” level on the back side, and the pointed end extending about 6” off the bottom end, to go into the ground.
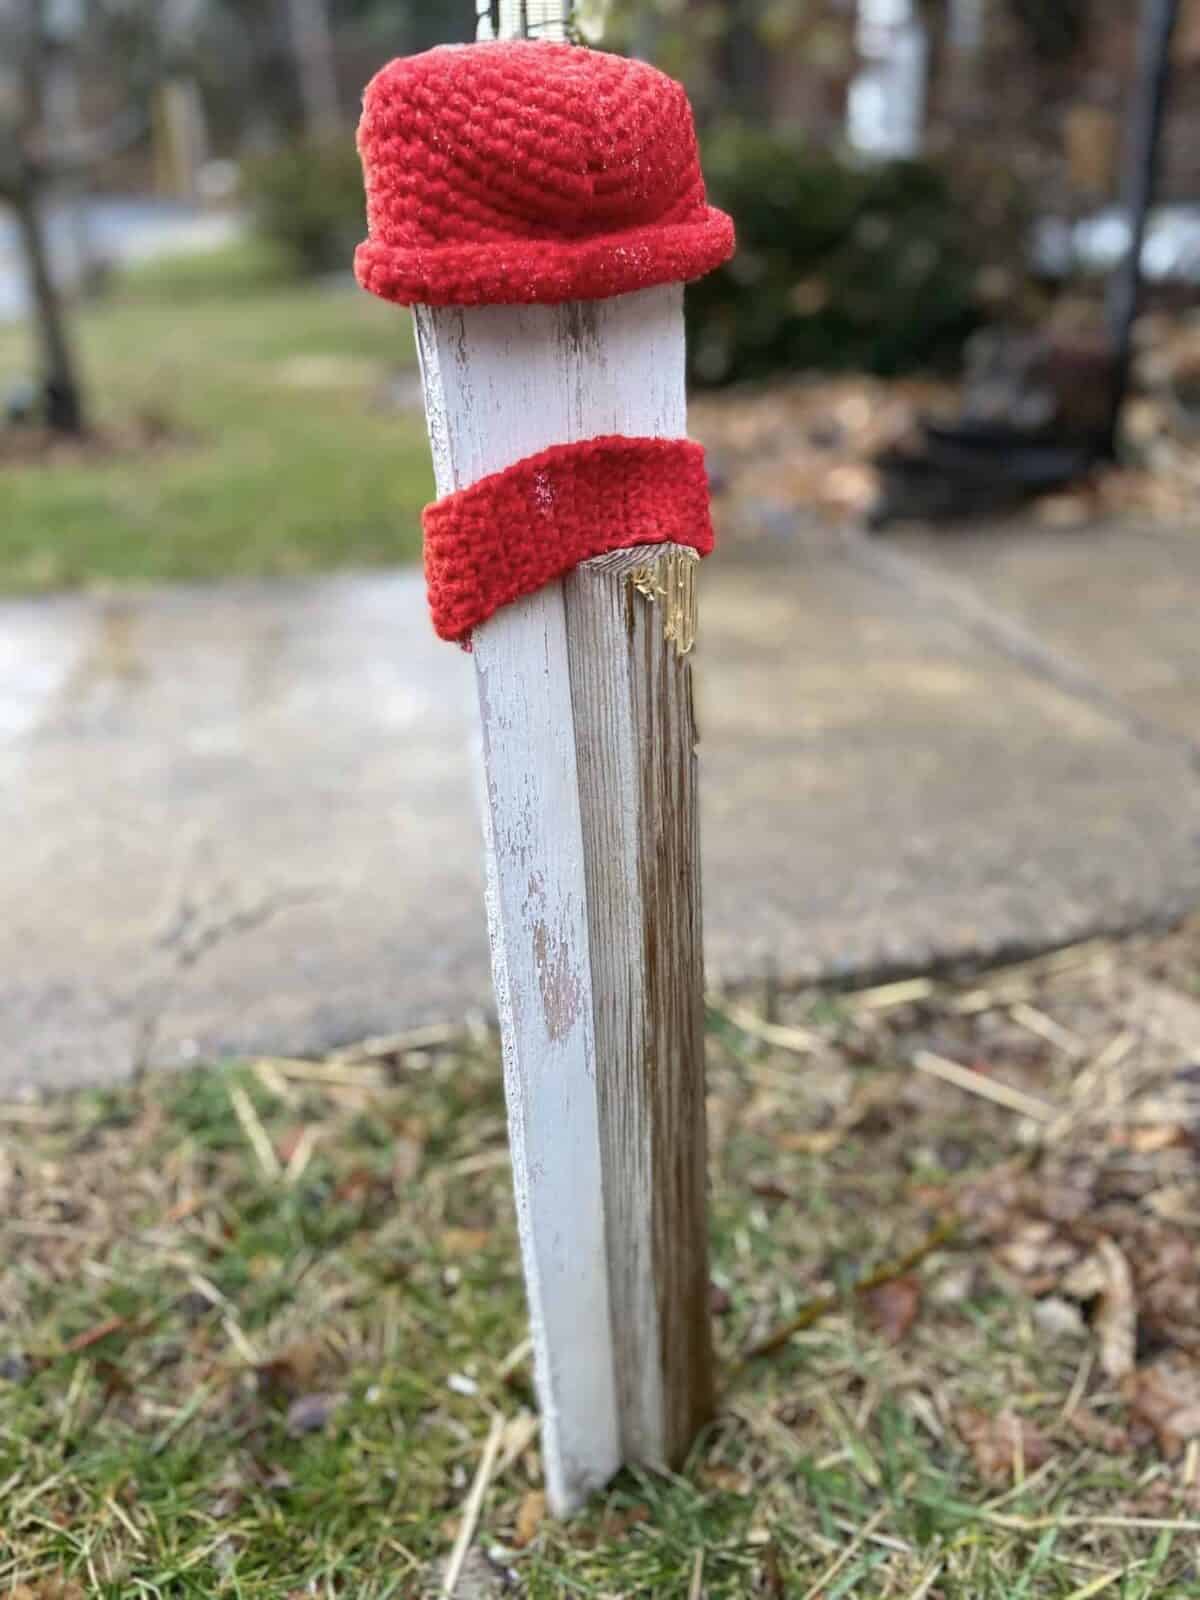
To make the hat and scarf, you can either use a newborn size hat and a bit of fabric for the scarf, or you can always crochet them yourself!
✨ Abbreviations used in this pattern
- st - stitch
- ch - chain stitch
- sc - single crochet
- sl st - slip stitch
- (inc) - increase
- Number in parentheses at end of each row indicates number of stitches in that row
🎩 Hat pattern
(using an F-5 / 3.75-mm hook)
Magic Circle/Ring: 6 sc (6)
Row 1: 2 sc in each st around, sl st at end (12)
Row 2: *sc in first st, then 2 sc in next st (inc); repeat from * all around, sl st at end (18)
Row 3: *sc in first st, then 2 sc in next st (inc); repeat from * all around, sl st at end (24)
Row 4: *sc in first st, then 2 sc in next st (inc); repeat from * all around, sl st at end (30)
Row 5: *sc in first st, then 2 sc in next st (inc); repeat from * all around, sl st at end (36)
Row 6: *sc in first st, then 2 sc in next st (inc); repeat from * all around, sl st at end (42)
Row 7: *sc in first st, then 2 sc in next st (inc); repeat from * all around, sl st at end (48)
Rows 8-16: Sc in each st around x 9 rows (48)
🧣 Scarf pattern
(using an F-5 / 3.75-mm hook)
Foundation Row: Ch 7
Row 1: Sc in each st across (6)
Rows 2-70: Ch st, then sc in each st across (6)
Fringe: Using short lengths of yarn, tie onto ends of scarf and trim length with scissors
Attach hat and scarf to the snowman using hot glue.

Did you make this Snowman Measuring Stick? Let us know in the comments below!



Leave a Reply