It’s finally time to plant tomatoes! Yippee! Growing tomatoes at home is so easy! Temperatures are staying above 50 degrees and it’s time to get those plants in the ground! Even when I was a kid, on a hot summer day, I loved to walk into the backyard, pluck a ripe tomato from the vine, grab a salt shaker, and enjoy a tasty treat...bite of tomato, shake of salt, bite of tomato, shake of salt…
There are about a million types of tomatoes to choose from...you just have to decide which ones you like best and what you’re going to be using them for. Do you like tomatoes on your salad or like to eat them raw? Try an Early Girl for early season or a huge Beefsteak for late season. Do you like to munch on tomatoes while you’re in the garden? Then cherry tomatoes are just the thing for you. Or are you planning on making lots of tomato sauce? Plum or Roma tomatoes tend to be fleshier and have less seeds, to they’re perfect for sauce.
One of my favorite varieties that I’ve discovered in recent years are yellow tomatoes...they tend to have more of a light, acidic, almost citrusy flavor to them, which are amazing on a bed of lettuce with a little Balsamic vinegar sprinkled on top. Yum!
Determinate vs Indeterminate Tomatoes
When you're looking at different types of tomato plants, you may see something on the label that says Determinate or Indeterminate. What this means is simple: Determinate means that the plant will pretty much produce all of its tomatoes at once...great if you're going to be making tomato sauce. Indeterminate means that they will produce tomatoes over a longer period of time...perfect for salads and snacking.
Tomato Pollination
You're in luck...tomatoes are known as self-pollinating and will pollinate themselves. While a windy day may take care of spreading the pollen to fertilize the flower, bumblebees are your real helpers in the garden. To encourage bees to visit your vegetable garden and give you a helping hand, plant some bee-loving flowers around your garden. To find a lot of flowers that work well in the garden, check out this list. We typically use marigolds to border our garden, as besides adding a wonderful pop of color to the garden all summer long, they also have a scent that certain pests stay away from.
When Do You Plant Tomatoes?
Tomato seeds can be planted in trays 6 to 8 weeks before the last frost free date (find your date here). If you're transplanting plants that you've purchased at your garden center, wait to plant them outside until nighttime temperatures are above 50°F (the same rule applies for transplanting your seedlings outdoors.
Tomato Plant Spacing
Generally speaking, tomato plants should be about 24 inches apart. The reason for this is to provide good air circulation around the leaves and to allow the leaves to dry out in the sun after a rainfall, to reduce the chance of disease.
How Long Does It Take To Grow Tomatoes?
That all depends on the type of tomato and you can find that information on the seed packet or tag that comes with the plant. For example, Early Girl may start fruiting in as little as 50 days, whereas Pink Brandywine may take up to 100 days. In our garden, we like to plant a variety of early-, mid-, and late-season tomatoes, so we have fresh garden tomatoes all summer long!
Ok, so let’s get started on how to properly plant a tomato in your garden!
Materials
- Tomato plants
- Hand tiller
- Small garden trowel
- Compost
- Organic liquid fertilizer
- Organic granulated plant food
- Watering can
- Plant support stakes
Amendments
In our vegetable garden, we use two different plant foods:
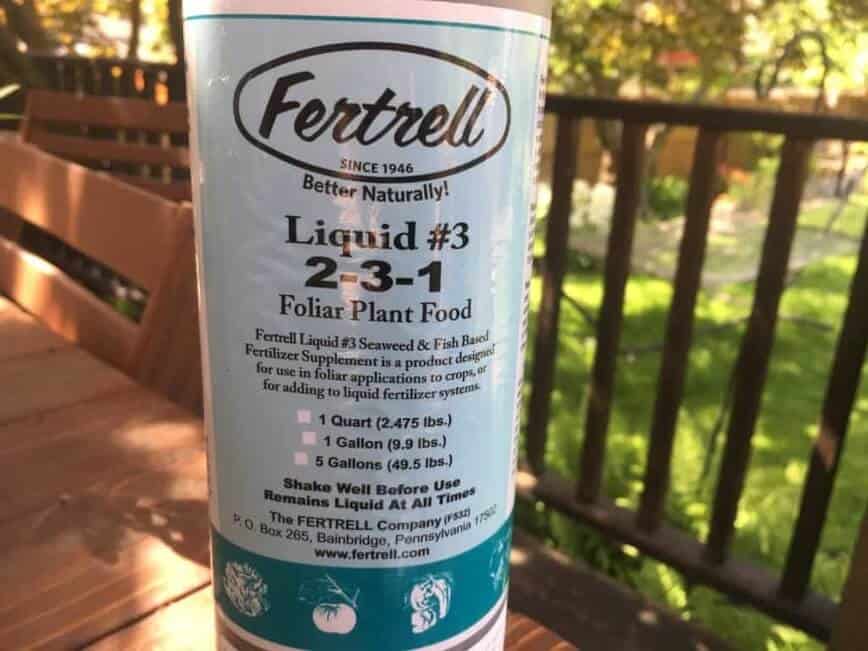
- An organic seaweed & fish-based 2-3-1 liquid fertilizer. Yes, it is smelly, but the plants love it! Those numbers stand for nitrogen (N), phosphorus (P), and potassium (K). I won’t get all technical here about what each of them do, but if you’d like to understand what each of them do, you can read more here. Instructions on how to prepare it will be on the label of your bottle. For ours, we mixed 2 tablespoon liquid fertilizer with a gallon of water in our watering can.
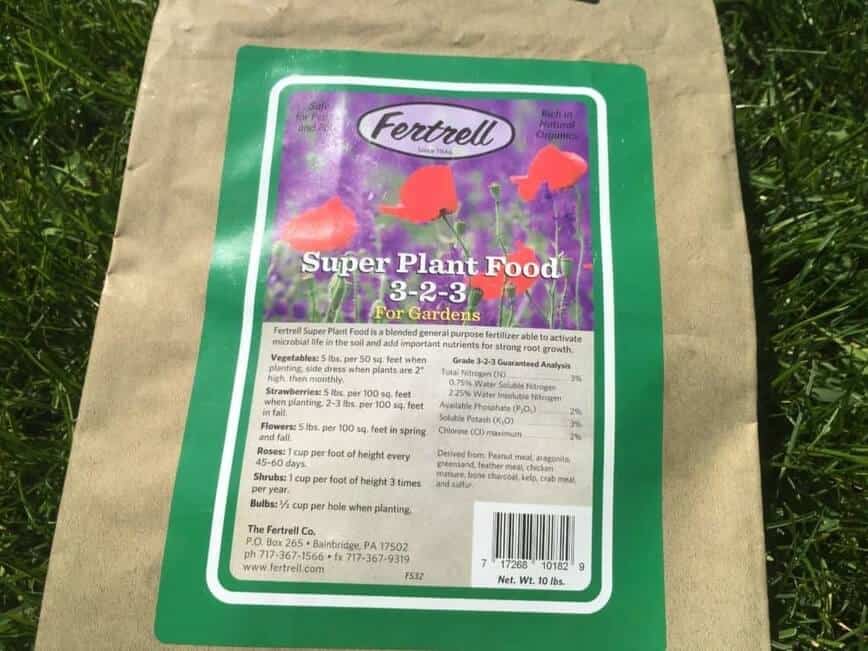
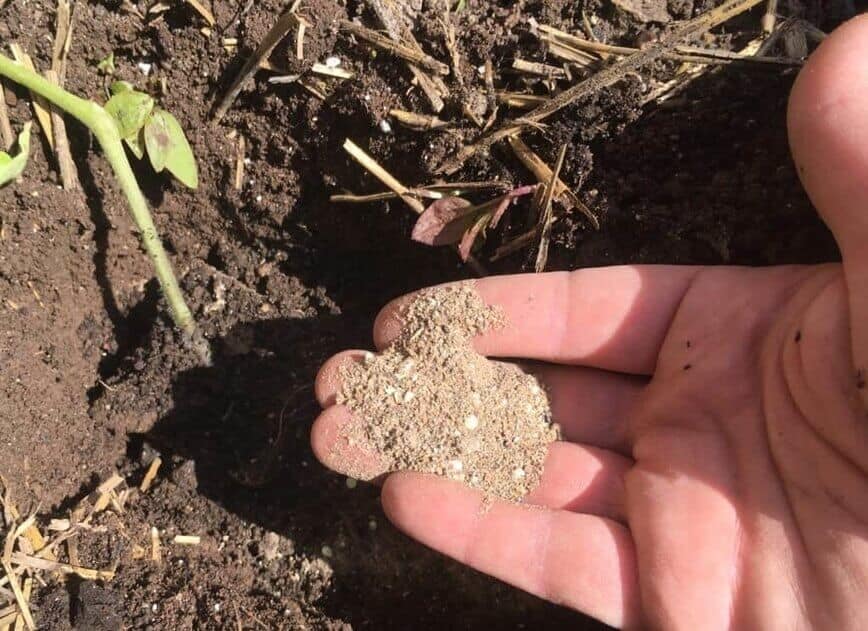
Organic liquid fertilizer (Photo by Viana Boenzli) - An organic general-purpose granulated 3-2-3 fertilizer, which benefits the little microbes in the soil to do their job and also promotes healthy plant roots & growth. No preparation is necessary.
Organic granulated fertilizer (Photo by Viana Boenzli)
Preparing The Soil
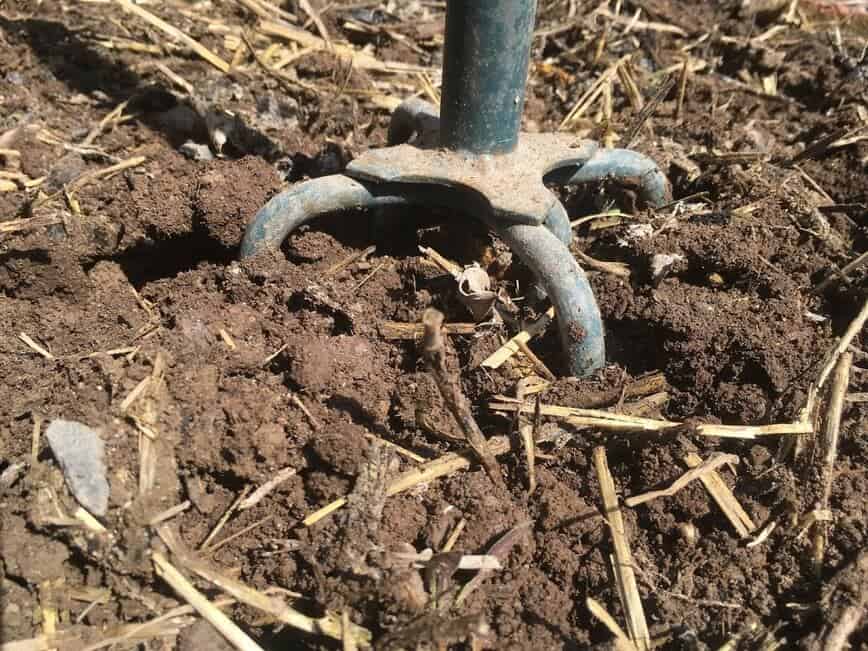
Pick a sunny spot in your garden (tomatoes love at least 6 hours of full sun per day). Using a hand tiller, till your soil to about 6 inches deep. This will loosen up the soil so that your plant roots have room to grow without feeling all crowded against dense hard walls of dirt. It’s a great workout for your arms. You can also add any amendments while you’re tilling, such as compost...or you can add them later, like we do.
Getting Dirty
Using a small garden trowel, dig a hole about 6 inches deep and twice as wide as your plant root. Remove the tomato plant from its container and very gently loosen the roots a bit. This will encourage the roots to start growing out and about and exploring the soil around them (instead of continuing to grow in a circle, like they tend to do in the container).
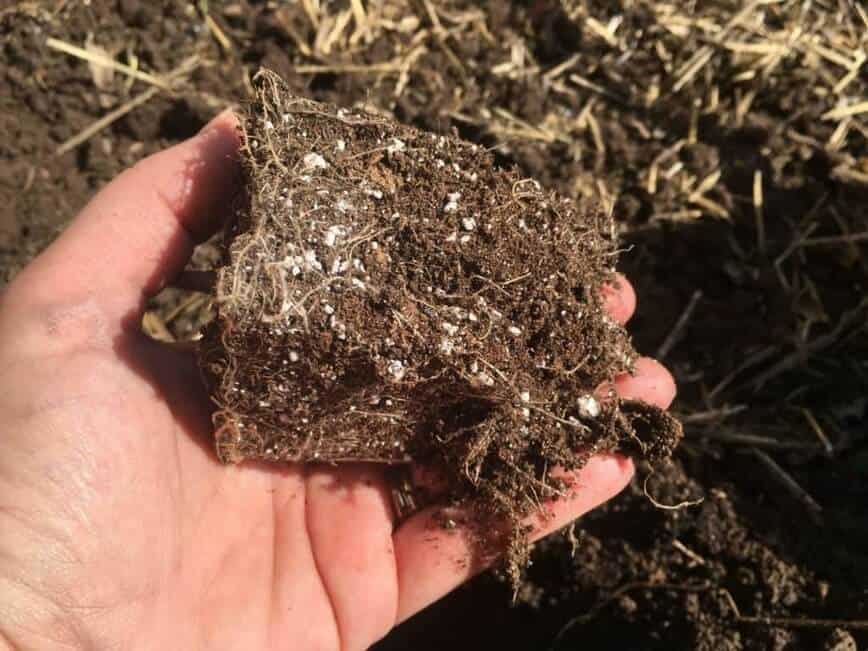
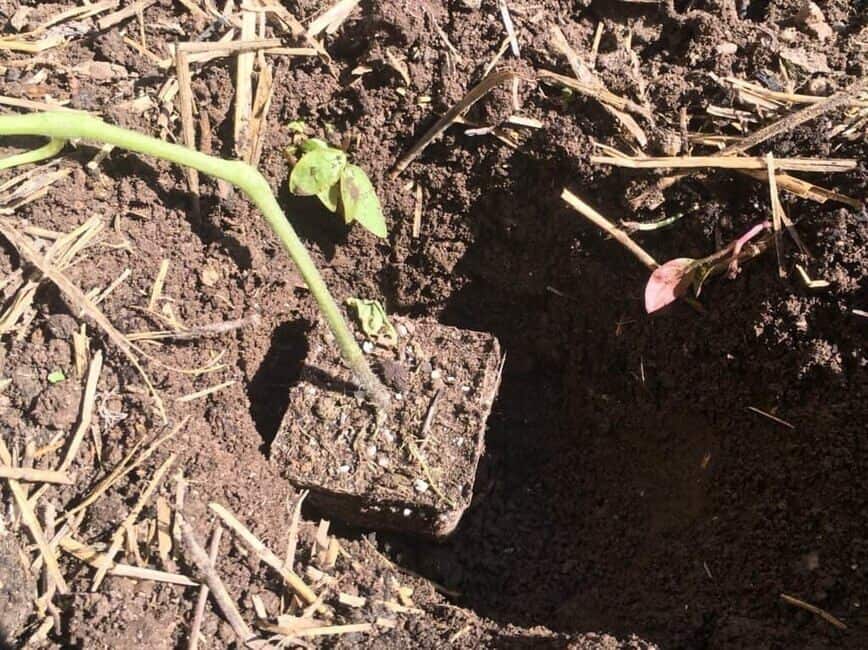
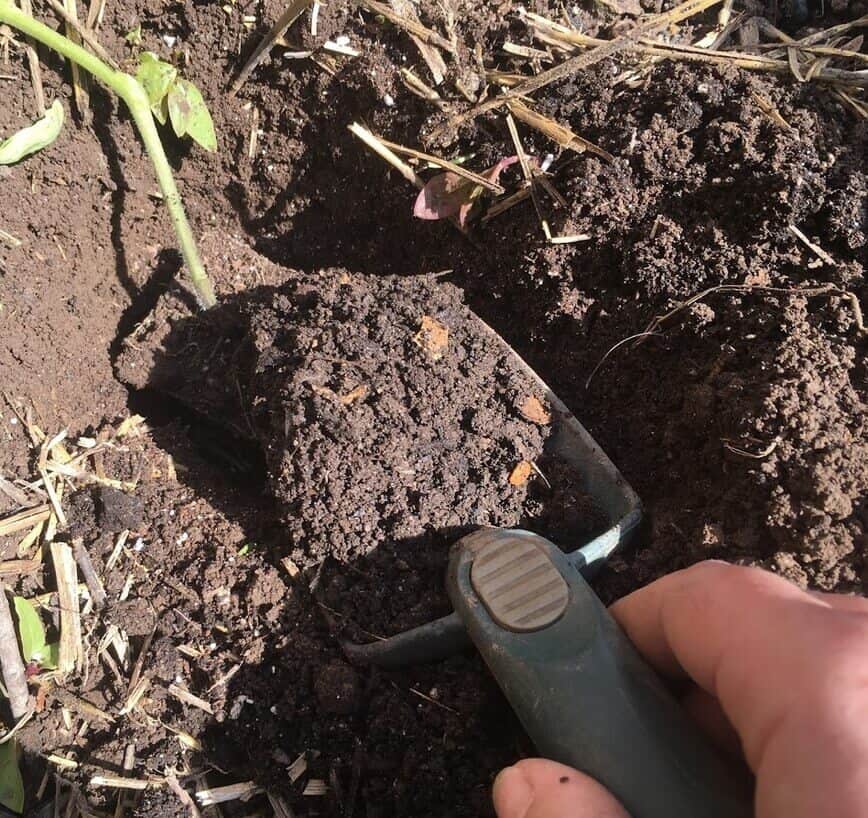
Place the plant in the hole you dug and then cover it with a bit of compost. Compost is called “black gold” for plants, full of vitamins and nutrients that the plants need to grow strong and healthy.
Next, sprinkle some of your granulated fertilizer around the edge of the hole, not directly on the plant...this is powerful stuff and we don’t want to burn the delicate roots with too much fertilizer.
Lastly, give your plant a good dose of water from your watering can, in which you’ve prepared the liquid fertilizer.
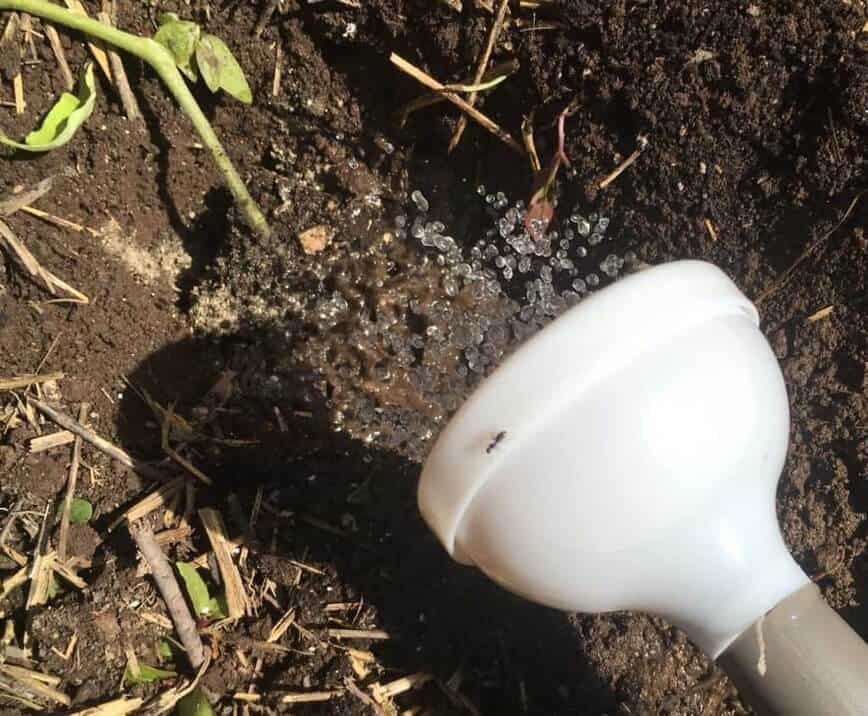
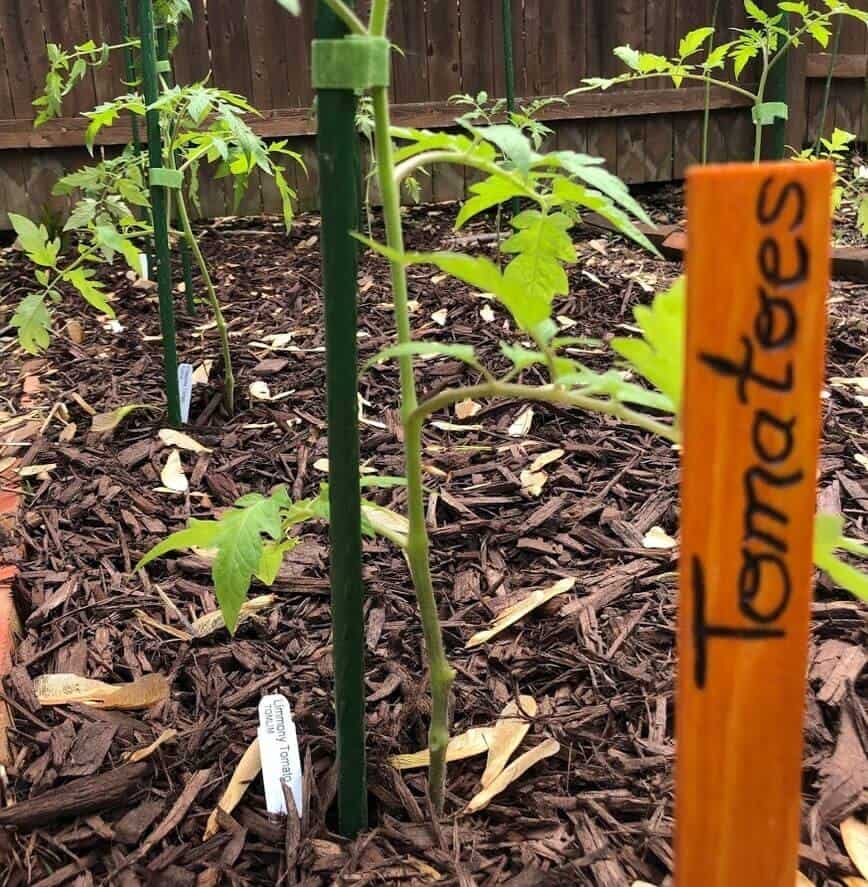
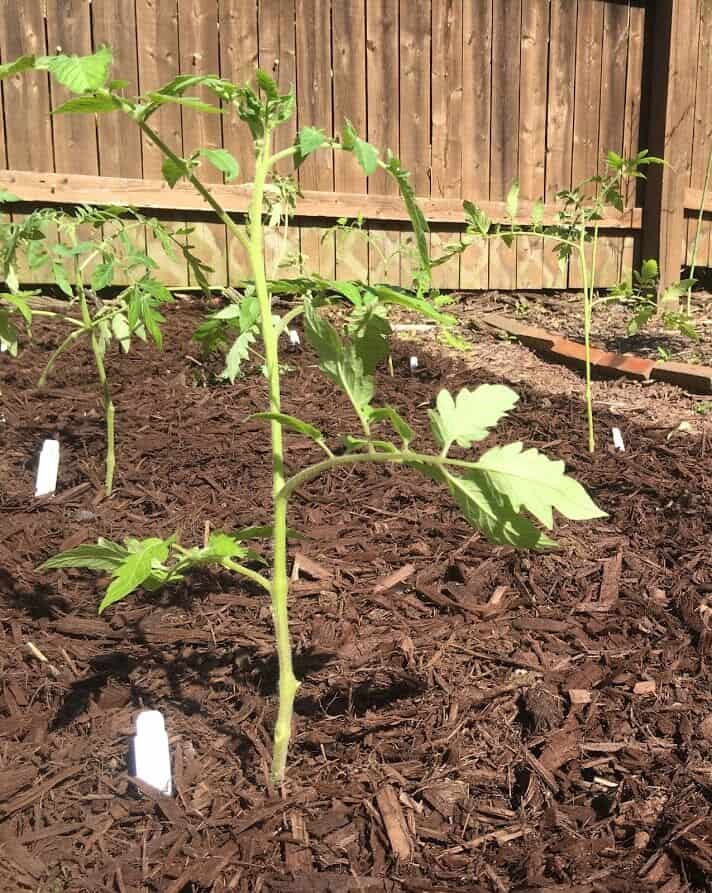
Cover the plant with soil and lightly press down on the soil with your hands all around the plant. Remove any leaves that are touching the ground (to reduce the chance of soil-borne diseases - see my comments in "Mulching" below). You can give your plants a little support with garden stakes and some Velcro garden tape...just be careful to insert the stake into the ground away from the plant roots, so as not to damage them. Cover your plants with 2-3 inches of mulch to help with moisture retention, add your plant markers, and you’re done! Ta-daa!
If You’re Unable to Dig Deep
If you’re planting in an area where you can’t dig 6 inches deep (due to a rocky bedrock, raised beds, etc), there’s another technique you can use to plant your tomatoes! We’ve done both techniques in our garden and both work equally well.
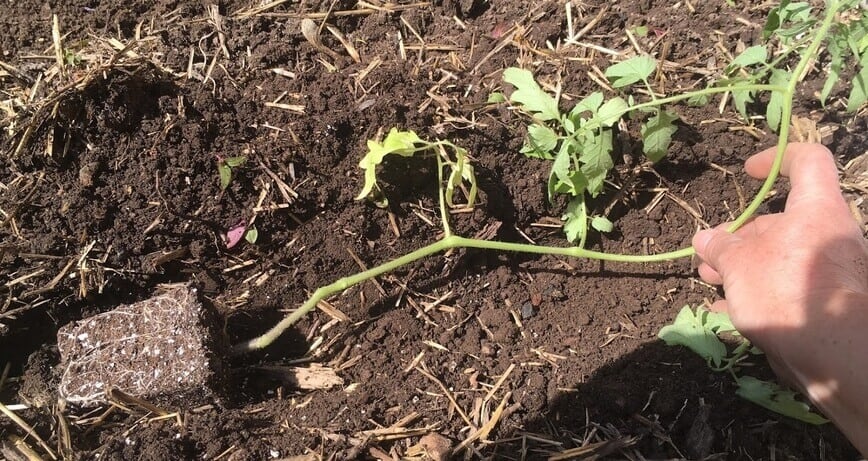
Dig a trench measuring a few inches deep and a length measuring half the height of the plant. Lay the plant sideways in the trench and follow the same instructions as above. Remove any leaves that will be underground or even touching the ground (to reduce the chance of soil-borne diseases - see my comments in "Mulching" below). Tomato plants have a pretty unique ability to grow roots all along their stems, resulting in even more roots in the ground (great in times of drought).
Keep the top part of the plant sticking above ground level, but don’t bend it or you’ll risk breaking the main trunk of the plant. Over the next few days, the plant will gradually stand more upright on its own, and then you can stake it for more support. Later on, as they get bigger, you can add tomato cages to give your plants even more support.
Mulching
Mulching has a lot of benefits for the vegetable garden. It keeps the soil warm, reduces soil erosion, reduces the amount of weeding that has to be done, keeps the soil moist, and reduces the amount of soil-borne tomato diseases, like leaf spot and blight. Certain tomato plant diseases like these live in the soil and when the plants are being watered, some of the spores can splash up onto the plant...mulching reduces this risk.
Mulching can be done with lots of different materials...it just depends on your personal preference....fine wood mulch, larger wood nugget mulch, rubber mulch, straw, or grass clippings.
Staking the Plants
While some tomato plants grow more bushy and are great for containers, most tomato plants will need to be staked as they grow taller. There are lots of options you can find at your local garden center, anything from simple tall stakes you can attach your plant to with Velcro tape or different heights of cages that will support all of the branches.
Waiting for Delicious Tomatoes
All that’s left to do now is let your tomato plants grow, water them deeply once or twice a week (more often if the weather has been really hot and dry), and wait for those lovely, delicious tomatoes!
Lifehack
If later this summer, you're feeling impatient, waiting for your tomatoes to ripen, Erich told me a trick you can do:
Tell your tomatoes a dirty joke...they'll turn red! 🙂
Companion Planting
If you want to take your garden planning to another level, consider companion planting. By planting certain plants near each other, they can benefit each other, in ways like providing shade, or not competing for nutrient resources, or the scent of certain plants keeping particular bugs away. For the same reason (but opposite reason, if that makes sense), other plants are foes to each other. Here's a list of a few of the tomato plant's friends and foes:
Tomato Friends
Asparagus, Basil, Beans, Borage, Carrots, Celery, Cilantro, Dill, Fennel, Lettuce, Melons, Mint, Onions, Parsley, Peppers, Radishes, Spinach, and Thyme.
Tomato Foes
Broccoli, Brussels Sprouts, Cabbage, Cauliflower, Corn, Kale, and Potatoes.
Lots More On Caring For Tomato Plants
Now that your tomato plants are in the garden, I've got you covered with what to do next. To learn about general tomato plant care, as well as a video on how to prune your tomato plants, and information on common pests and diseases, check out my Definitive Guide to Caring for Tomato Plants.
Are you going to plant tomatoes in your garden this year? Let us know in the comments below!
Do your friends enjoy yard & garden articles too? Share this article with them and let us know what you all think by commenting below!
Tag your photos with #maplewoodroad on social media and share them on our Facebook page! Have any questions? Ask on our Maplewood Road Community Facebook page and I’ll be happy to help. 😊
Subscribe to our weekly newsletter for more great yard & garden articles!

