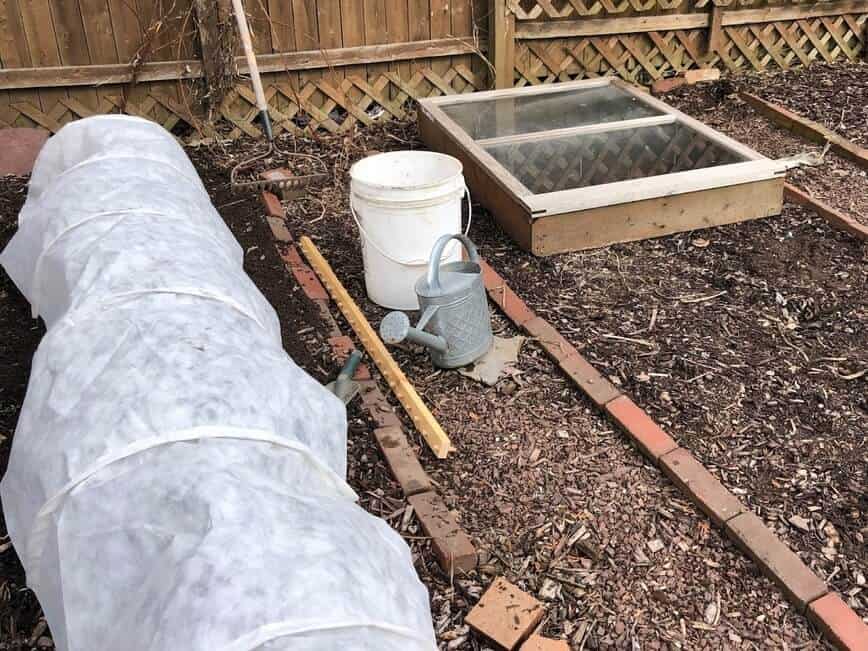
Although spring is just beginning, now is the perfect time to learn how to grow salad greens! Some vegetables prefer the cooler weather of spring and fall, including lettuces, spinach, and peas. And they’re super easy to grow! Now that you’ve built your cold frame, let’s get some seeds in there and start a garden! If you don't have a cold frame, you can also use a row cover.
In addition to lettuces, it’s also the perfect time to get our peas in the ground! Our favorite is the sugar snap pea, but there are many different varieties, so have fun and experiment! The sugar snaps rarely make it into our house though. They’re so delicious and sweet like candy, we eat them raw, pod and all, right off the plant. A neighborhood kid, who didn't like veggies, used to come to our yard just to eat some of our sugar snap peas!
So, your assignment for this weekend is to get out there and plant your lettuces and peas! This may sound like a lot of information, but I promise it’s very easy...and we’ll even show you how to build your very own tee-pea for your pea plants to climb!
Grow Some Leafy Greens
Here are some easy lettuces (and pea) we recommend for the home gardener:
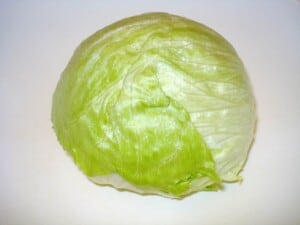
Iceberg: Probably the lettuce we’re all most familiar with; grows in a round shape; delicate flavor.
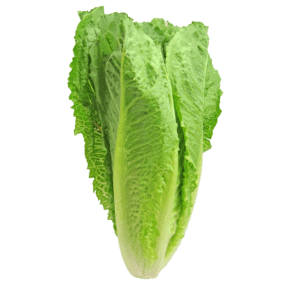
Romaine: Long leaves; crisp texture; perfect for any salad, famously in a Caesar salad; fast growing.
Buttercrunch/Butterhead/Bibb: Soft ruffled leaves; sweet buttery flavor; developed by Cornell University.
Radicchio: Deep red/purple color; bold, bitter flavor; great addition to other greens in salads; can be eaten raw or cooked.
Arugula: Small delicate leaves; peppery flavor; wonderful mixed with other greens or by itself with slices of Parmesan cheese and Balsamic vinegar.
Spinach: Several varieties available, may have smooth or crinkled leaves; delicious raw or cooked; cold hardy.
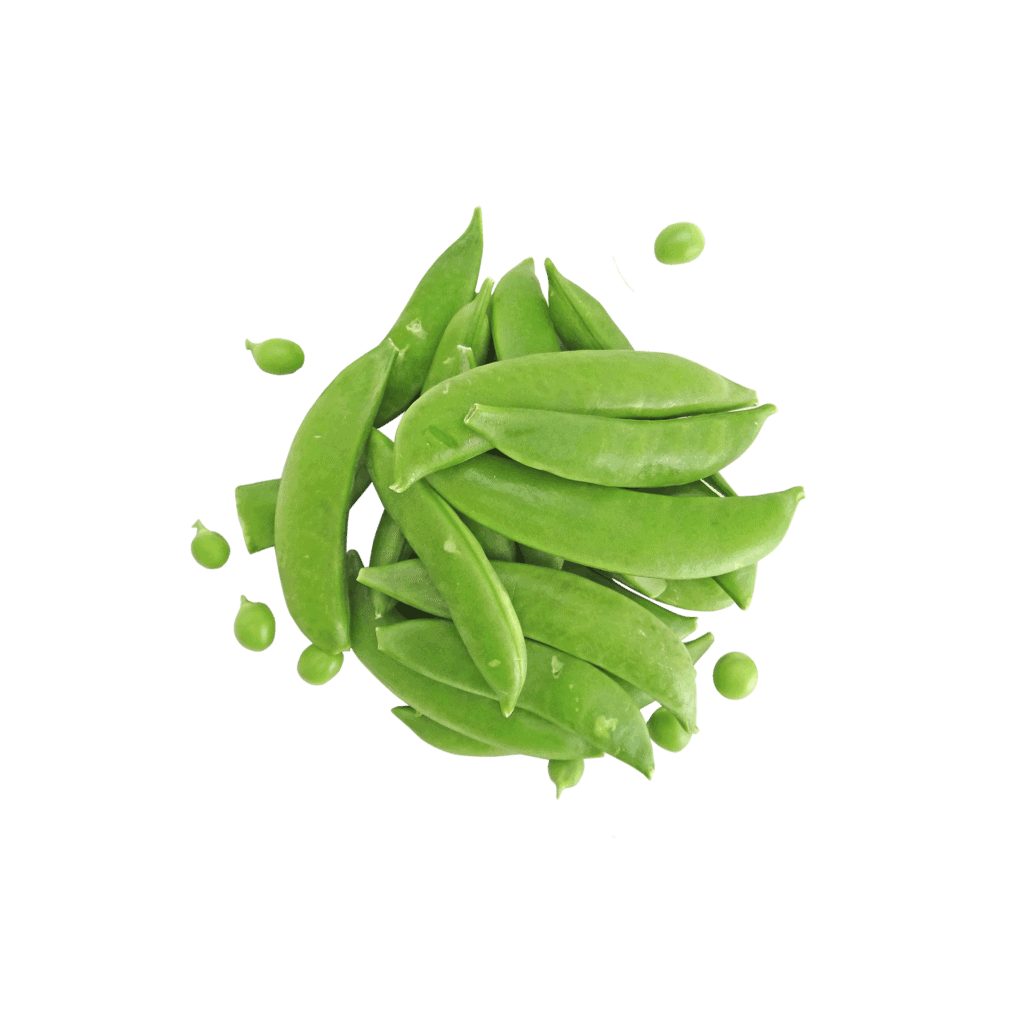
Sugar snap peas: Edible plump pods; very sweet flavor; crunchy “snap”; prolific producer; avoid hot afternoon sun.
Tip: Keep in mind that leafy greens like lettuces do not like the hot afternoon summer sun, but instead prefer morning sun and part-sun in the afternoons. For now, in the spring, they’ll be just fine, but if you’d like to extend your lettuce growing into the summer months...well, we’ll address that in a future article. Just wanted to mention it now. Make sure you subscribe to our weekly newsletter so you won’t miss a thing!
How To Grow Salad Greens
Read the Back of Your Seed Packet
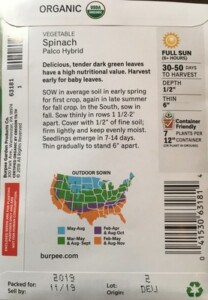
The first thing to do is read the back of your seed packets, as each plant will have different requirements. You’ll find a wealth of information there, often including depth and distance to plant, outdoor sowing dates by zone (although we're planting earlier in a cold frame or row cover), sun requirements, days until seedlings emerge, days to harvest, when to thin, and more! See photo below for an example.
Soil Amendments
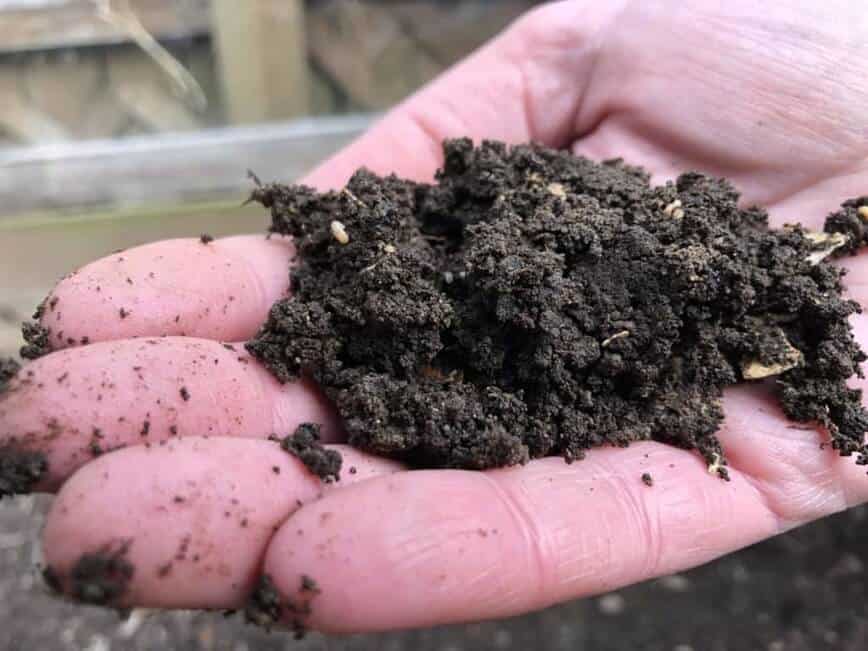
If you happen to keep a compost pile, like we do, scoop up a small bucket of it to put on top of your seeds...this stuff is black gold! If not, you may want to use an organic soil with nutrients or other organic fertilizer to help your plants get a strong healthy start.
Planting Seeds in the Cold Frame
Begin by lightly watering the soil where you’ll be planting your seeds. This ensures that the soil is moist, without risking washing your seeds away afterward.
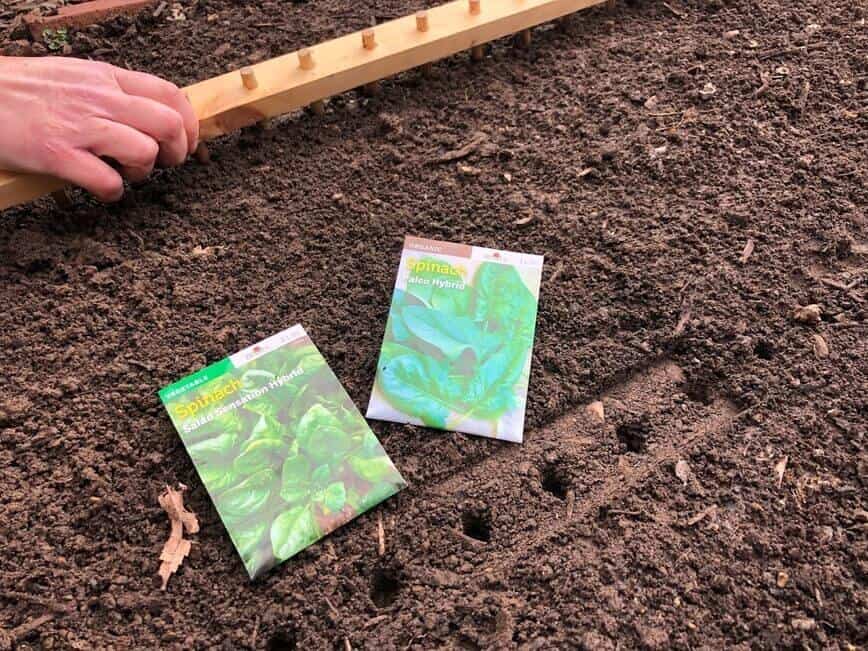
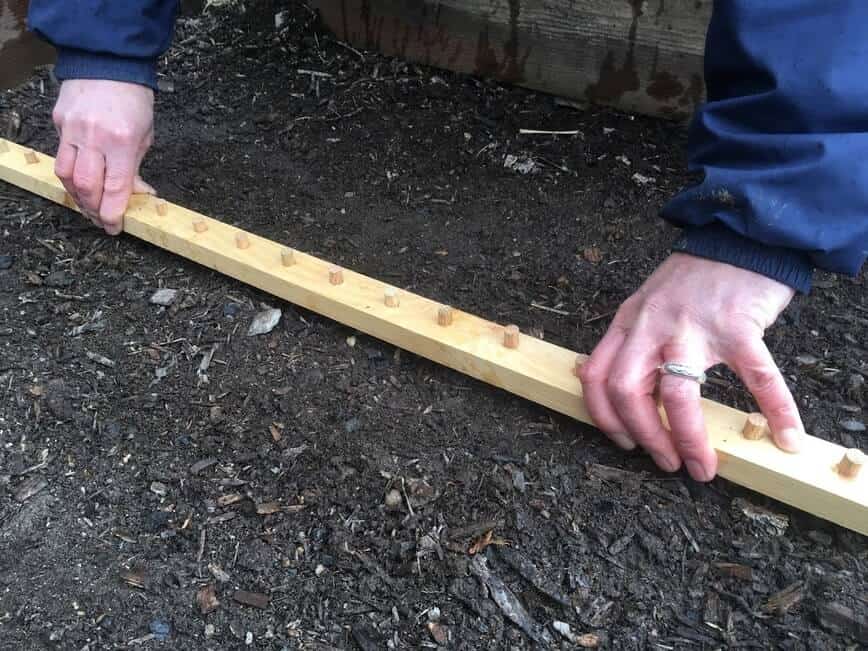
Next, make small holes in the soil, following the recommended planting distance and depth on your seed packet.
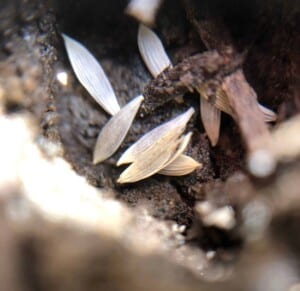
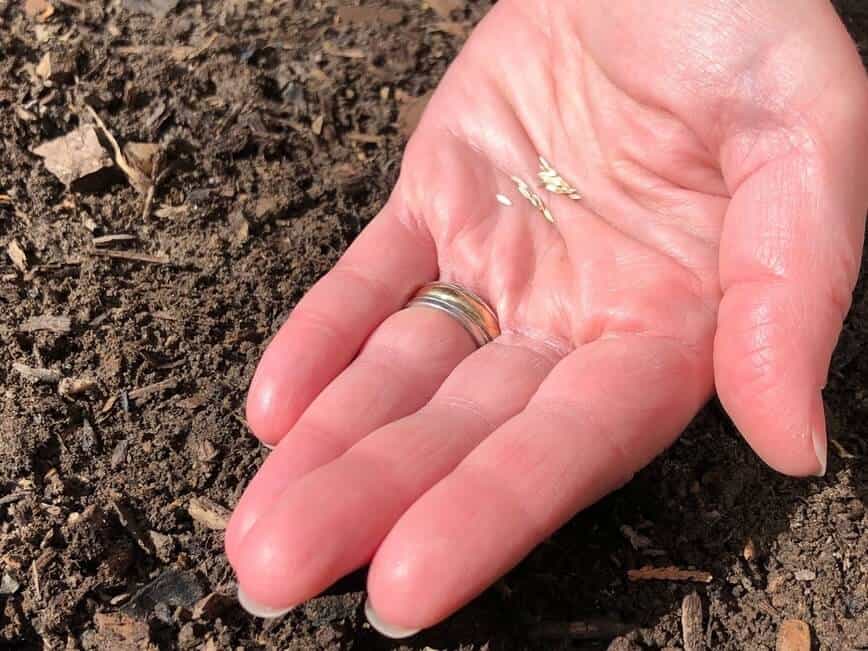
Simply drop 2 or 3 seeds into each hole and cover with compost or gardening soil. The reason for the multiple seeds is because if one doesn’t grow, you’ll have back-ups.
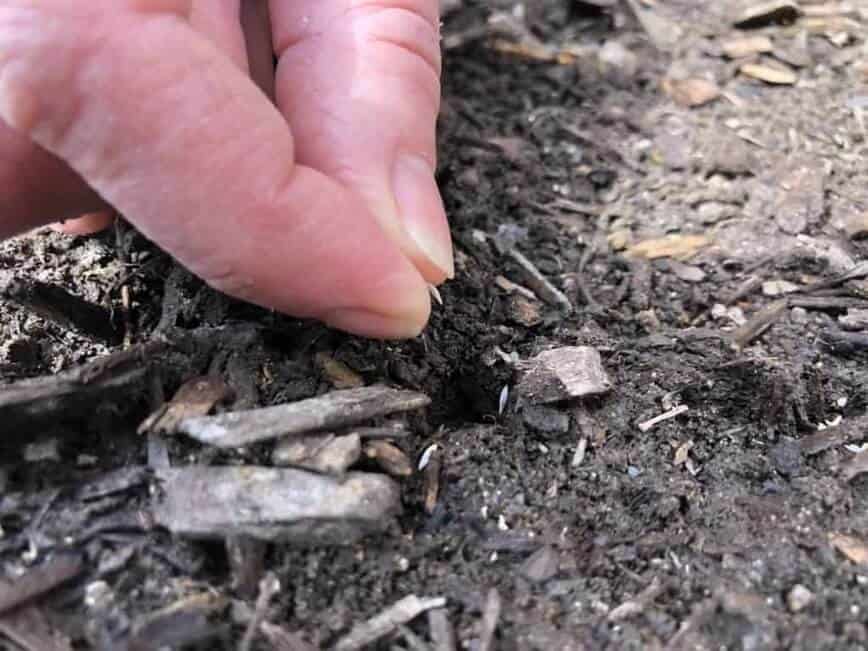
That’s it! You’ve planted lettuce!
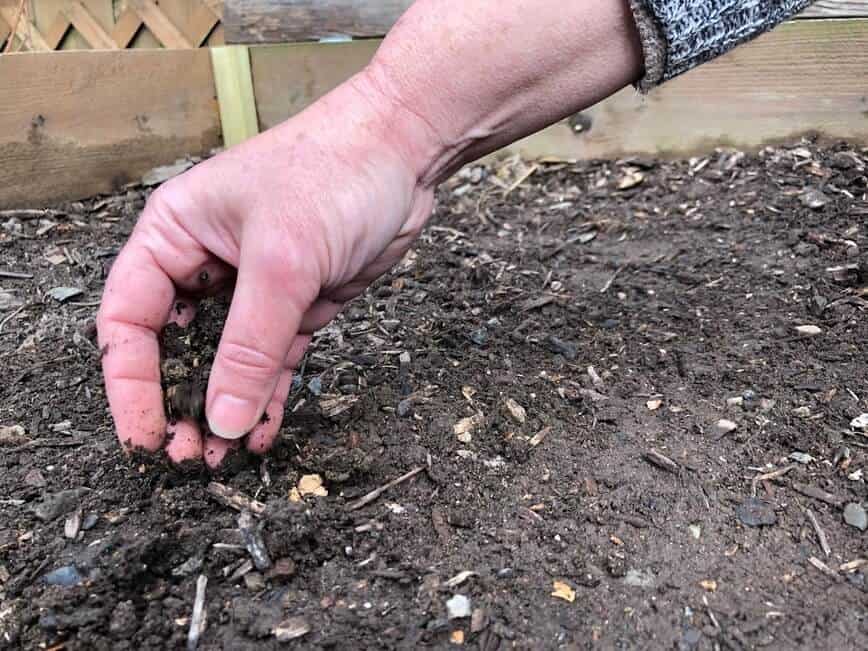
Over the next couple weeks, keep the soil moist, but be careful not to flood it or you’ll risk washing your seeds away. For most lettuces, within the next 7-14 days, you’ll start to see your seedlings emerge. How exciting!
Tip: Plant a few seeds now, then a few more in a couple weeks, and so on. This way, you’ll have an extended harvest, as the veggies will mature over a period of time.
Thinning
Once your plants have grown to about 1” tall, you’ll want to thin them to the recommended distance on your seed packet (mostly 6” to 8” apart). The reason for thinning is so that each plant has room to grow properly and it’s not fighting with other plants for nutrients. You can thin these baby plants by pinching off the tops with your fingernails. DO NOT PULL THEM OUT! You’ll often see that the seedlings are growing very close together...if you pull them, you’ll also pull or damage the roots of the nearby plants that you want to keep.
Caring for Young Lettuce Plants
In a few weeks, when the weather warms up a bit more, start propping open the cold frame during the warmest times of day for a couple hours. Gradually increase the amount you open it and the time you leave the cold frame open, in order to acclimatize the plants to the outdoors. Once the danger of a hard frost has passed, usually around Mother’s Day, you can remove the cold frame completely. Again, keep the soil moist.

Building a Tee-Pea
Peas are just about the easiest thing in the world to grow. We’ve always said that you put them in the ground in spring and they’ll know when it’s time to start growing. There are both bush and climbing types of pea plants. If you’re growing a climbing type (read the back of your seed packet), you’ll first need to build a tee-pea for the plants to climb! It’s a fun project and all you’ll need are a few branches and some twine.
Gather about 6-8 thin branches from trees or bamboo that are approximately 6 feet long. Scratch a circle in your garden, to the size you’d like for your tee-pea (ours is about 2 ft in diameter). At equal distances, push one end of the branches into the ground around the circle. Next, gather the tops together, knot the twine to one of the branches (to make sure it doesn’t unravel), and wrap them together with twine. Continue circling the twine downward, at about 6” intervals until you reach the ground, making sure to keep it close to the ground all the way around so the tiny seedlings have something to grab onto, then tie it off. You’ve just built a tee-pea!
Planting Peas
Make a trench (to the recommended depth on your seed packet) around the base of each branch. Drop several pea seeds all around each trench and cover with compost or gardening soil. Keep the soil moist and expect to see your seedlings emerge in about 7-14 days. If they don’t find the strings by themselves, you can gently lean the plants onto them and they’ll grab on with their little tendrils.
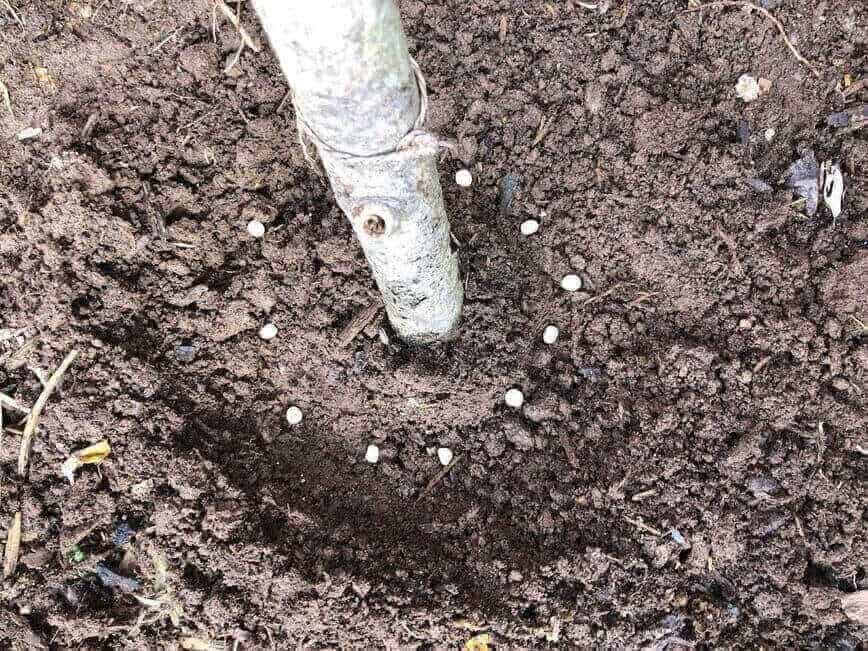
It is also recommended that you thin pea plants, but personally I’ve never had a problem with growing them this way and my tee-pea is always covered with peas. It provides really delicious food and looks pretty cool too!
Tip: Plant a few seeds now, then a few more in a couple weeks, and so on. This way, you’ll have an extended harvest, as the veggies will mature over a period of time.
Please take photos of your spring garden and share them with us! We can't wait to see them! Happy gardening!
Are you planting leafy greens, lettuce, and peas in your garden this year? Let us know in the comments below!
Do your friends enjoy yard & garden articles too? Share this article with them and let us know what you all think by commenting below!
Tag your photos with #maplewoodroad on social media and share them on our Facebook page! Have any questions? Ask on our Maplewood Road Community Facebook page and I’ll be happy to help. 😊
Subscribe to our weekly newsletter for more great yard & garden articles!

