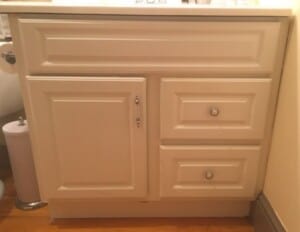
Let’s face it, you wake up in the morning, stumble into the bathroom, and say “Ugh.” You haven’t even had your coffee yet, but there it is, staring you in the face, that old, boring vanity. It’s so desperately in need of updating, but just the thought of it sounds expensive and exhausting.
But you don’t have to spend a fortune and an entire weekend buying and installing a new vanity...you can paint it instead. This will give an updated look to your entire bathroom, in 3 quick & easy steps, for just about $20! Awake now? Yea, I thought so!
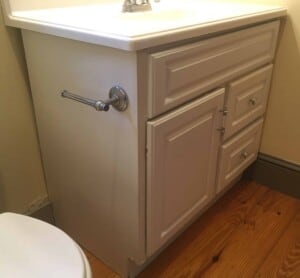
Our bathroom vanity had nothing technically wrong with it...it did its job, had enough room inside, and looked...eh, okay. But I was tired of looking at the same boring white color day in and day out, so I finally decided to do something about it. The weather was miserable outside, so it was the perfect day to finally tackle this project!
Get yourself to your local home-improvement store and pick out a color of paint that would work perfectly in your bathroom. I would recommend getting a quart of primer & paint in one, in a satin finish, as it’s not too shiny and will be washable. If you don’t already have it, also pick up a paintbrush, sandpaper, a foam roller, and painter’s tape.
Hardware Removal
The first step is to remove any doors, drawers, and hardware from your vanity. That will make it much easier to paint, without having to work around hinges and whatnot.
Sanding the Surface
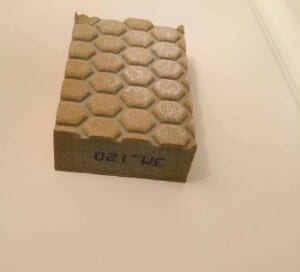
Once everything is off, lightly rough up the surface with your sandpaper (I used #120 grit). You can use regular sandpaper, but as our surface has a lot of curves and grooves, I found a sanding block more effective. When you’re done sanding, make sure to remove all sanding dust with a damp cloth.
Tape off all edges abutting the vanity that you don’t want to get painted, such as the edge of the sink, walls, and floor.
Painting
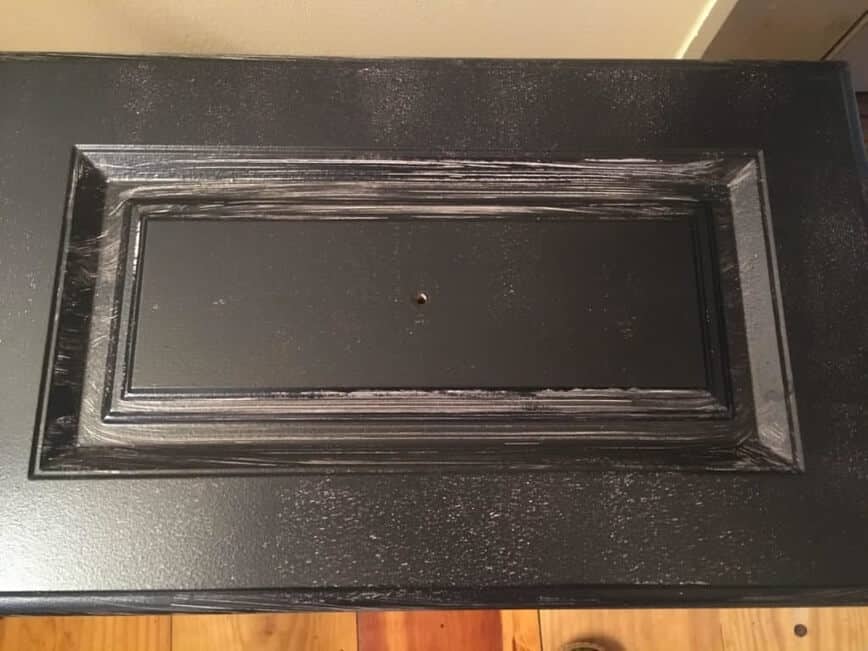
Okay, time to paint! Using your paintbrush, paint all the grooves and edges of your vanity, doors, and cabinets (don’t forget the inside edges!). Next, roll the flat areas with your foam roller. If you’re working on a laminate surface, like I did, don’t panic when it looks like the photo below...it’s okay…breathe. You’re just going to need several coats to cover everything nicely (mine took 3 coats), just make sure to let the paint dry completely between each coat.
Once you’re finished painting and allowed it to dry completely, carefully remove your tape and replace any doors or drawers you removed earlier. If you want to go really crazy, you can also replace the door handles & drawer pulls (which are inexpensive), and since you’re already covered in paint, why not paint the bathroom woodwork to match? Eh, maybe next weekend.
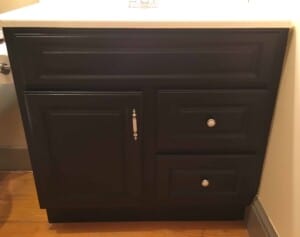
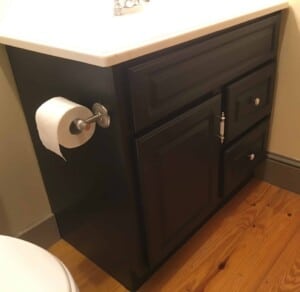
I love the new look of our vanity! It now matches the black tile in our shower and really spruces up the place! What do you think? Let’s see your before and after pics!
Still not done in the bathroom? Find out how to Make Your Shower Sparkle in Just 15 Minutes!
Do your friends enjoy fun projects too? Share this article with them and let us know what you all think by commenting below!
Tag your photos with #maplewoodroad on social media and share them on our Facebook page! Have any questions? Ask on our Maplewood Road Community Facebook page and I’ll be happy to help. 😊
Subscribe to our weekly newsletter for more great project ideas!
